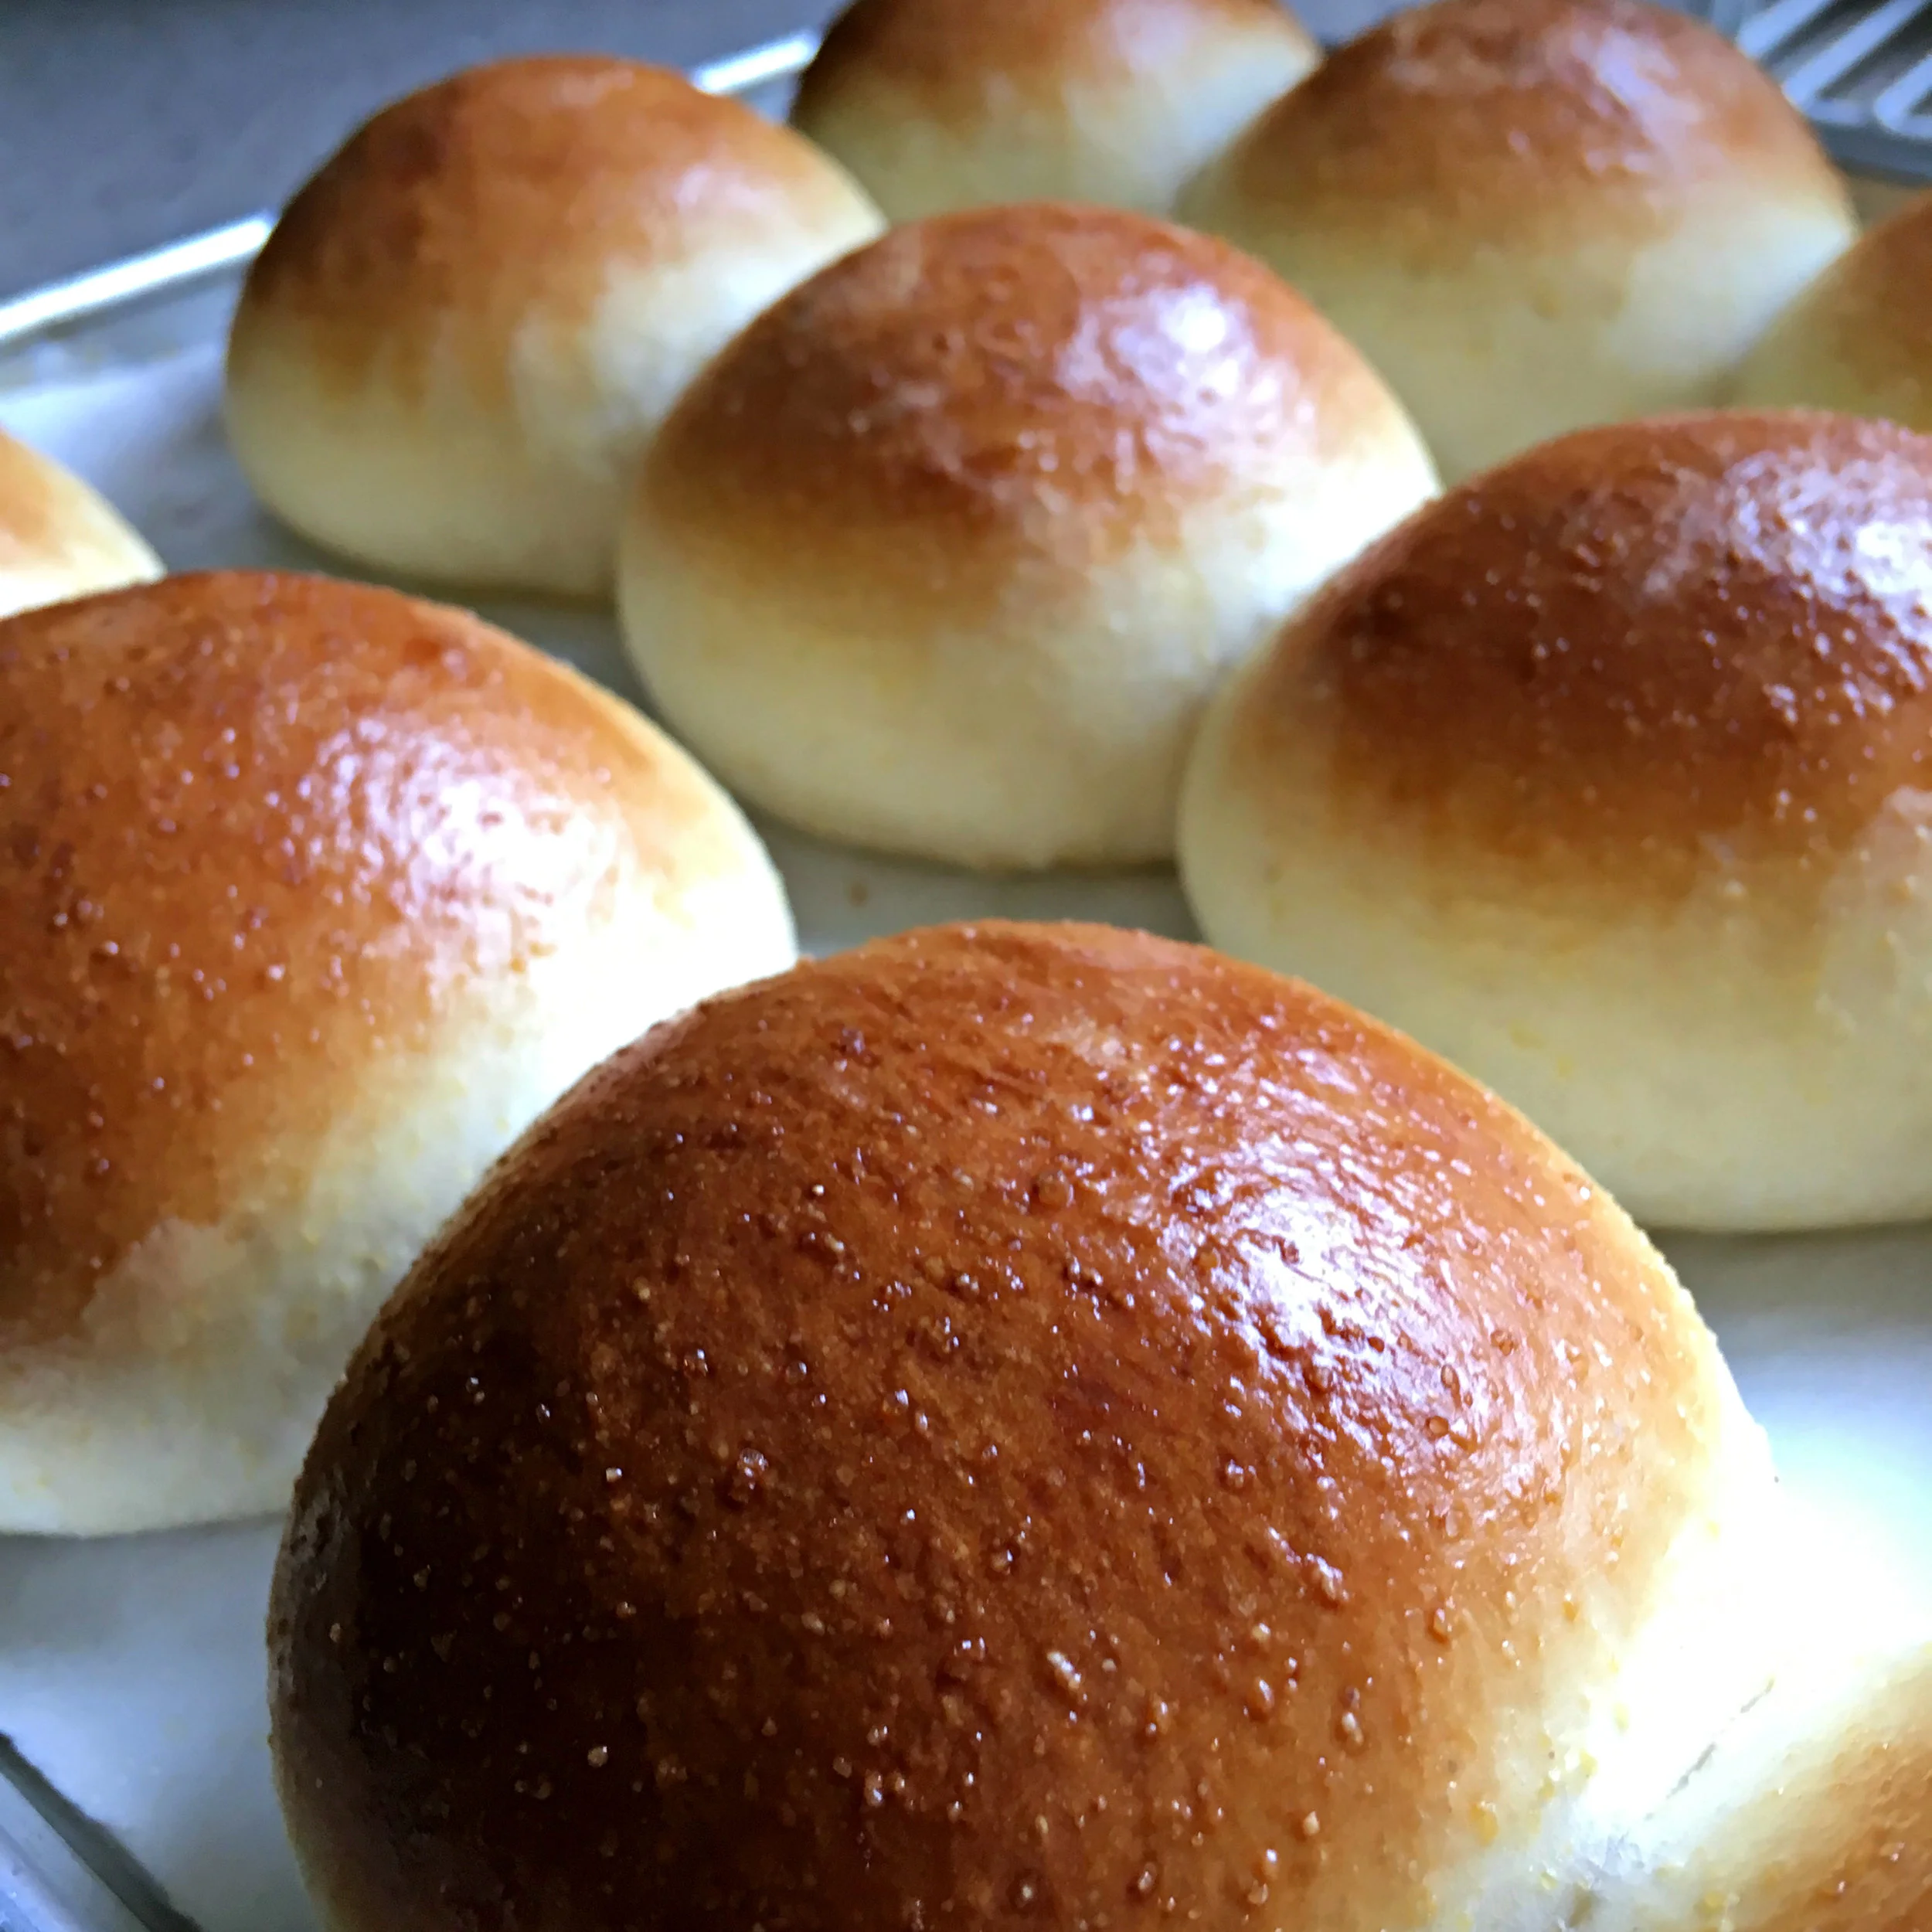
honey cornmeal hamburger buns
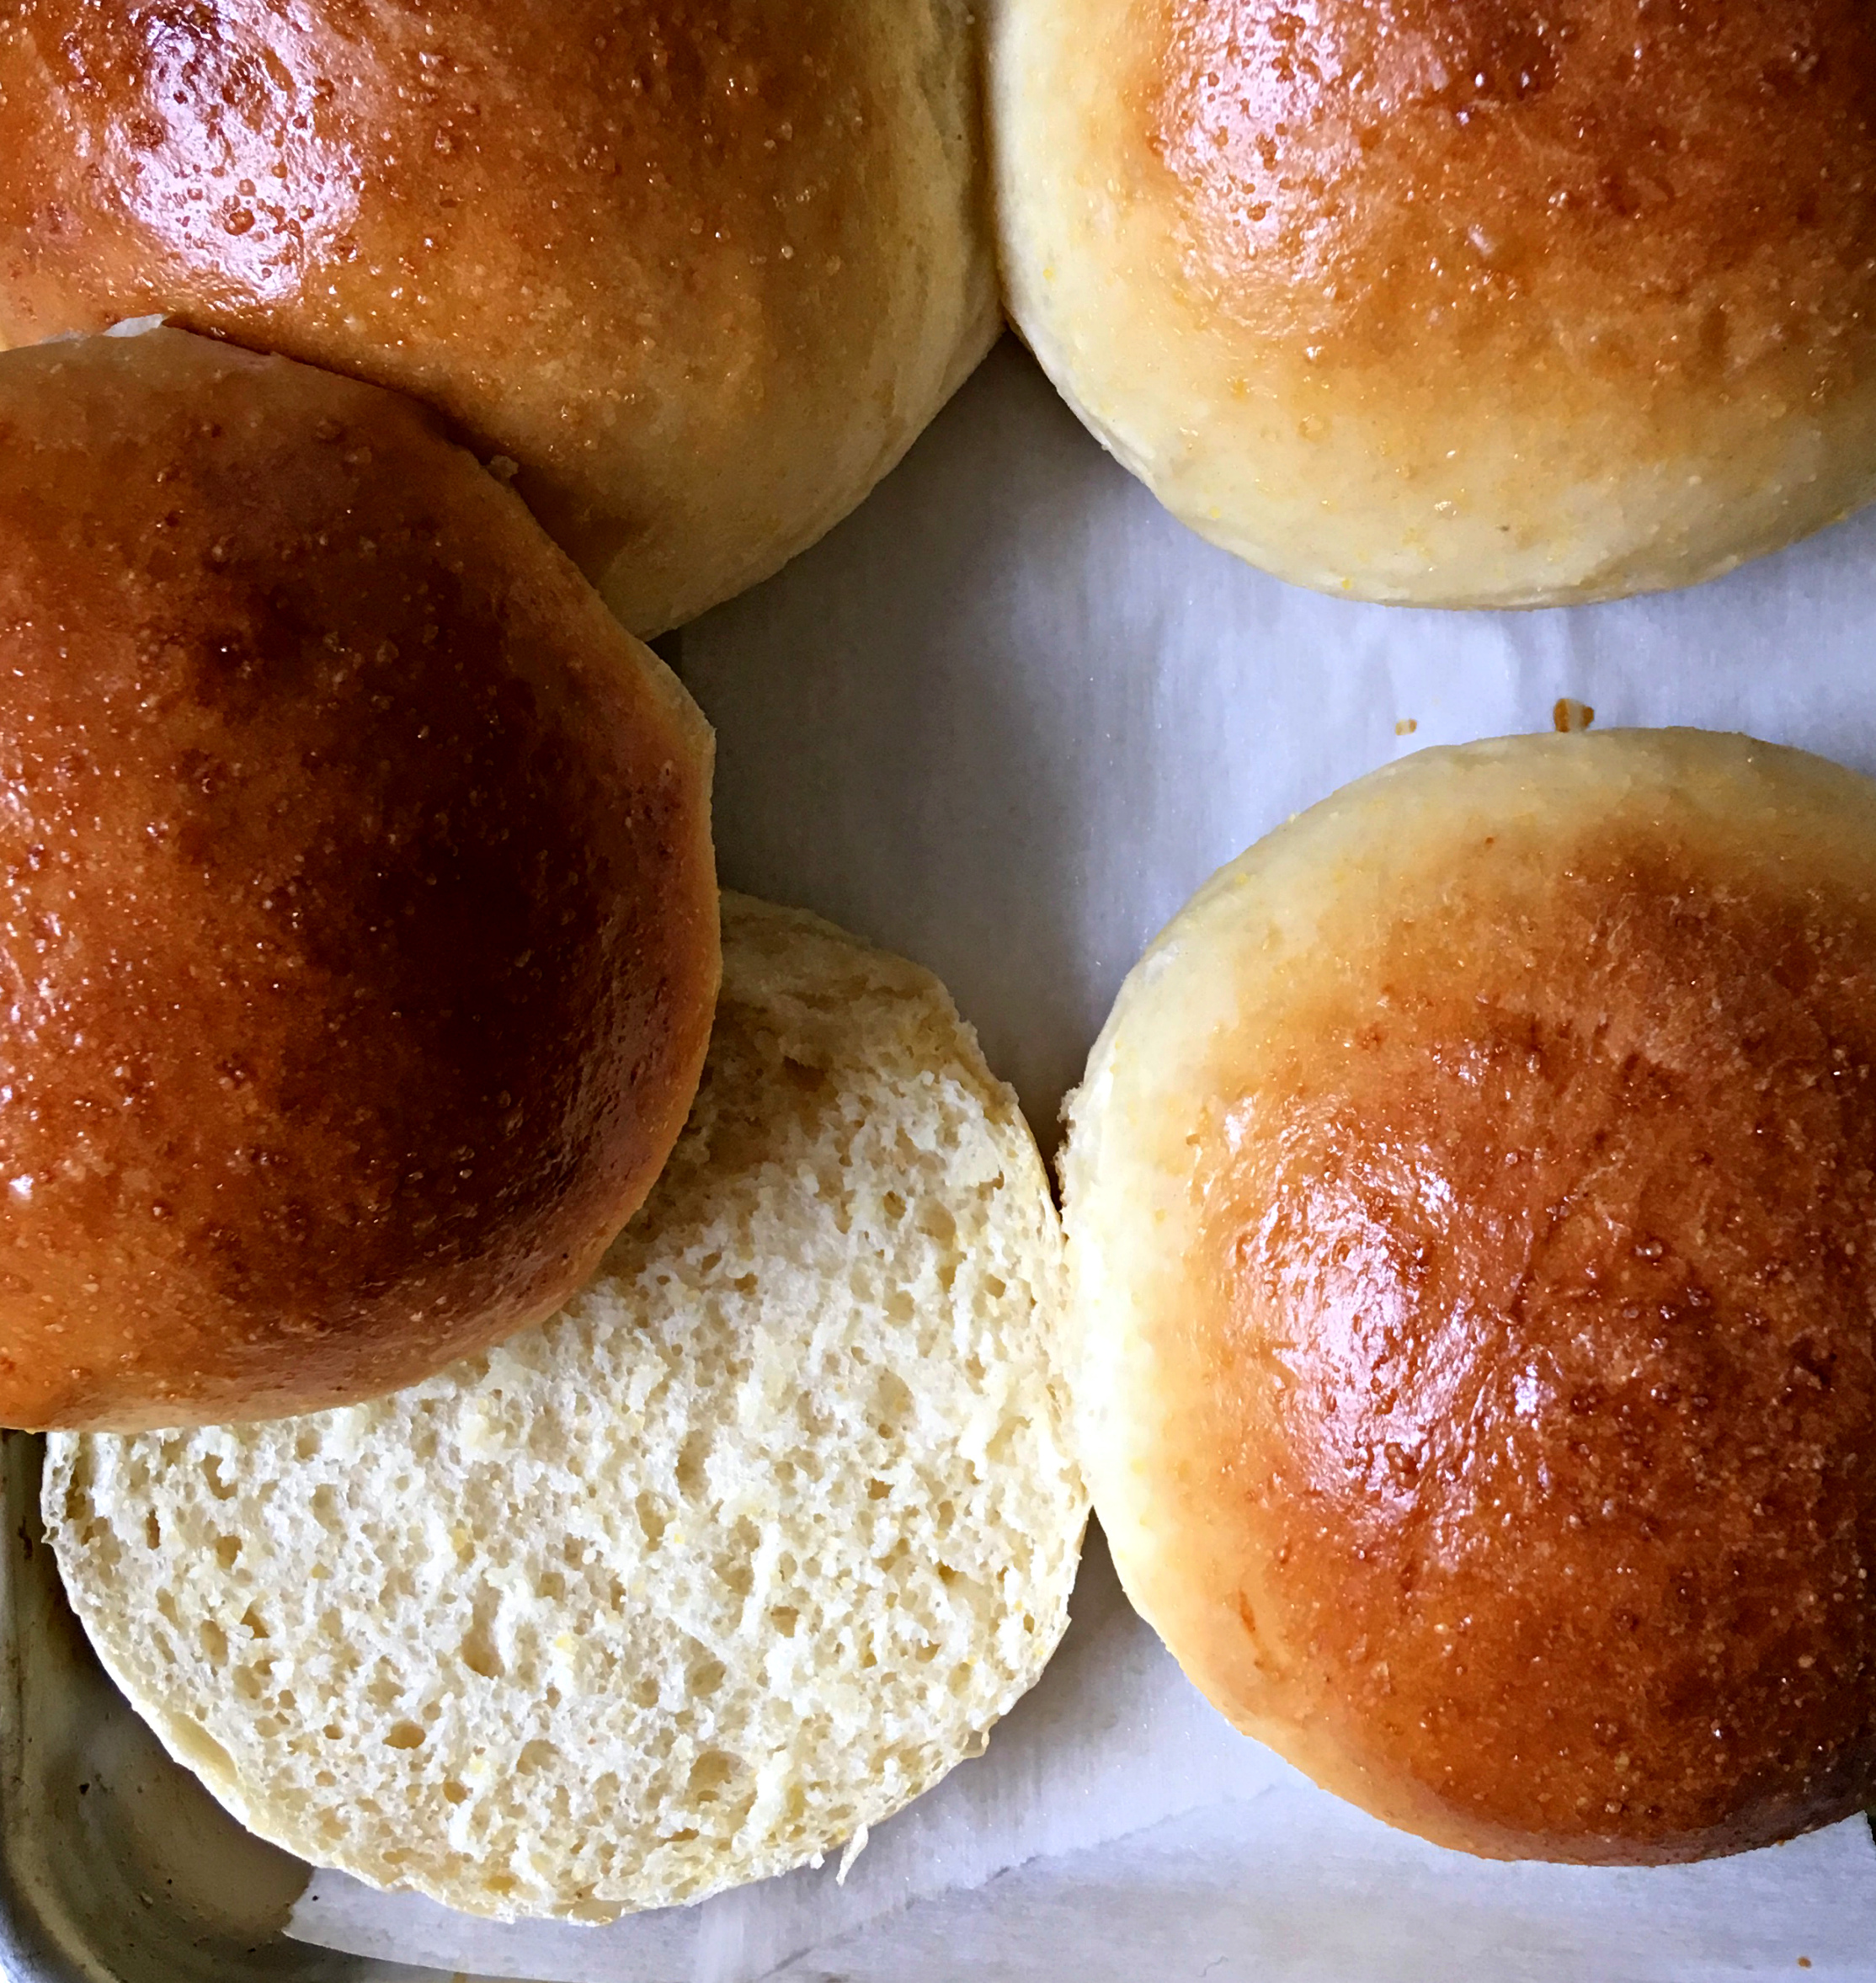
We were having BBQ pulled pork the other night, and in my mind, BBQ requires cornbread. Problem is, my husband and kids don’t like cornbread (truuuust me, I know…) so if I ever make it I spend a week afterward trying to peddle leftovers to my kids until I end up eating it crumbled and warmed with butter and honey. It doesn’t sound like such a bad ending, but it’s just not worth it (much as I love crumbled up, warmed up, buttered and honeyed cornbread mash). Anyway, so I dreamed up these yeasted cornbread buns. Necessity is the mother of invention, right? I got my honey corn contrast to the salty BBQ and my husband and kids didn’t get … cornbread. Instead, they got these delicious, buttery, honey sweet cornmeal hamburger buns. They are tender and soft but sturdy enough to hold pulled pork (or later on I made them again for zucchini turkey burgers!). They are simply delightful. You know you’ve done something right when the kids ask for a second bun over the (very delicious) BBQ pulled pork.
honey cornmeal hamburger buns
makes 15 smaller buns, 12 medium, or 10 very large buns
Ingredients:
3/4 cup buttermilk
1/2 cup cornmeal
3/4 cup warm water
1 egg, plus another for the egg wash
scant 1/4 cup (80g) honey
4 Tbsp (2 oz) butter, soft
1 Tbsp active dry yeast
3.5 - 4 cups flour (this will vary so start with 3.5 and add more as needed. I used precisely 20 oz)
2 tsp kosher salt
Instructions:
Combine the buttermilk and cornmeal in a medium bowl let sit for 30 minutes. Also go ahead and take your egg out of the fridge to take the chill off.
Add the warm water and honey to the buttermilk mixture. Sprinkle over the yeast and then stir to combine. Add the egg and stir.
In the bowl of a standing mixture fitted with the bread hook, combine the 3.5 cups flour and salt. Add the cornmeal mixture and the butter and stir on low until combined. Turn to medium and knead for 8-10 minutes, or until the dough is smooth and soft and elastic. Place the dough in a lightly oiled bowl, turning to coat both sides. Cover and let rise until doubled in a warmish spot, 1.5 - 2 hrs.
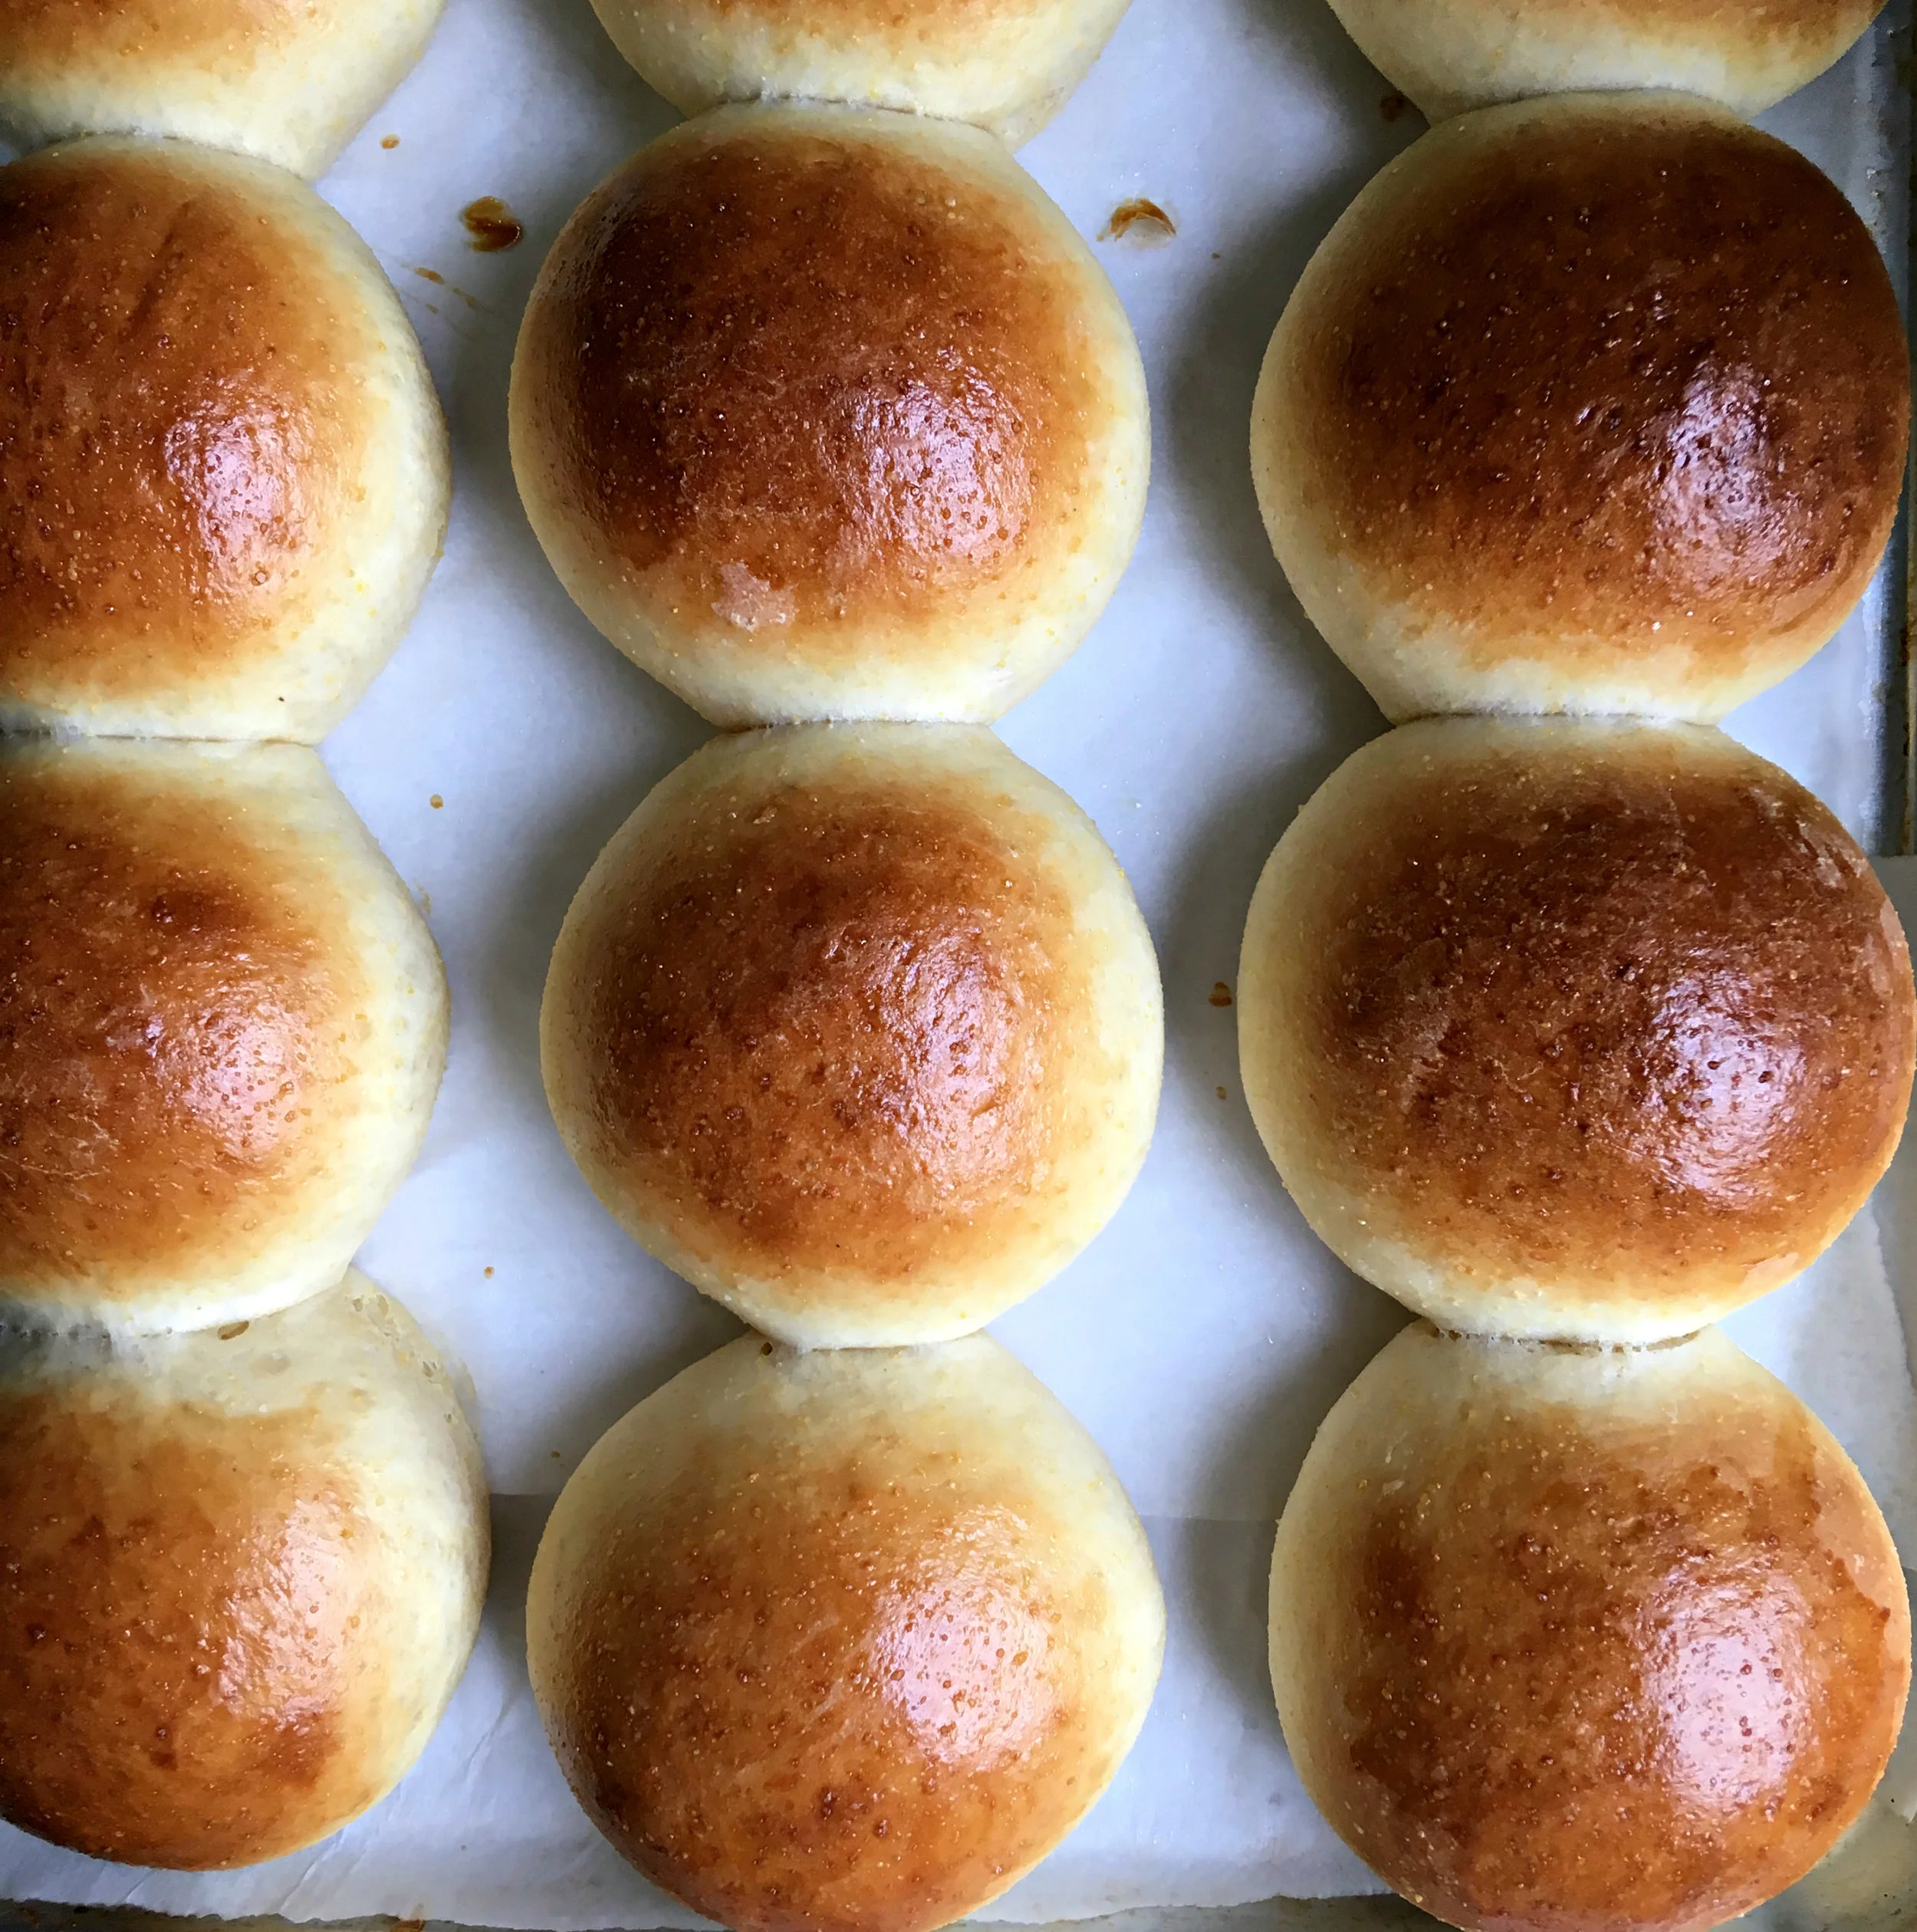
Turn dough out onto a lightly oiled surface. Divide into however many buns you would like. I divided mine into fifteen 2.75 oz (give or take) buns, which ended up being about three inches across. Roll the dough into a ball on the counter surface by cupping your hand over and moving it lightly in a circular direction. It creates a very tidy little seam on the bottom and achieves a really even crumb structure. Try it a few times and you’ll get the hang of it!
Place buns on one large baking sheet (or two smaller ones). Line with parchment paper and spray with nonstick spray. Or skip the parchment and just spray, but I recommend the parchment. Cover with lightly oiled saran wrap and let rise another hour or so. It’s hard to give a precise time for the second rise … it’s kind of something you get the hang of the more you do. I recommend the poke test. If you gently poke the dough when they are still underproofed, the dough will feel a tense and spring back very quickly. If they are overproofed, the dough will offer no resistance at all to the poke and the indent won’t spring back at all. (Should that happen, roll, shape, and let them rise all over again). What you’re looking for is the in between. They will look puffy and decently increased in size and if you poke them gently the dough, the indent will gradually spring back.
About 20 minutes prior to bake time, preheat your oven to 375. Whisk an egg with a tablespoon of water. Using a pastry brush, brush the egg over the buns. (You can skip this of course but it makes them look very pretty. You can also just brush them with milk, or with melted butter immediately after baking.)
Bake for 16-18 minutes or until golden brown. Remove and let cool before slicing.


