potato buttermilk sandwich bread
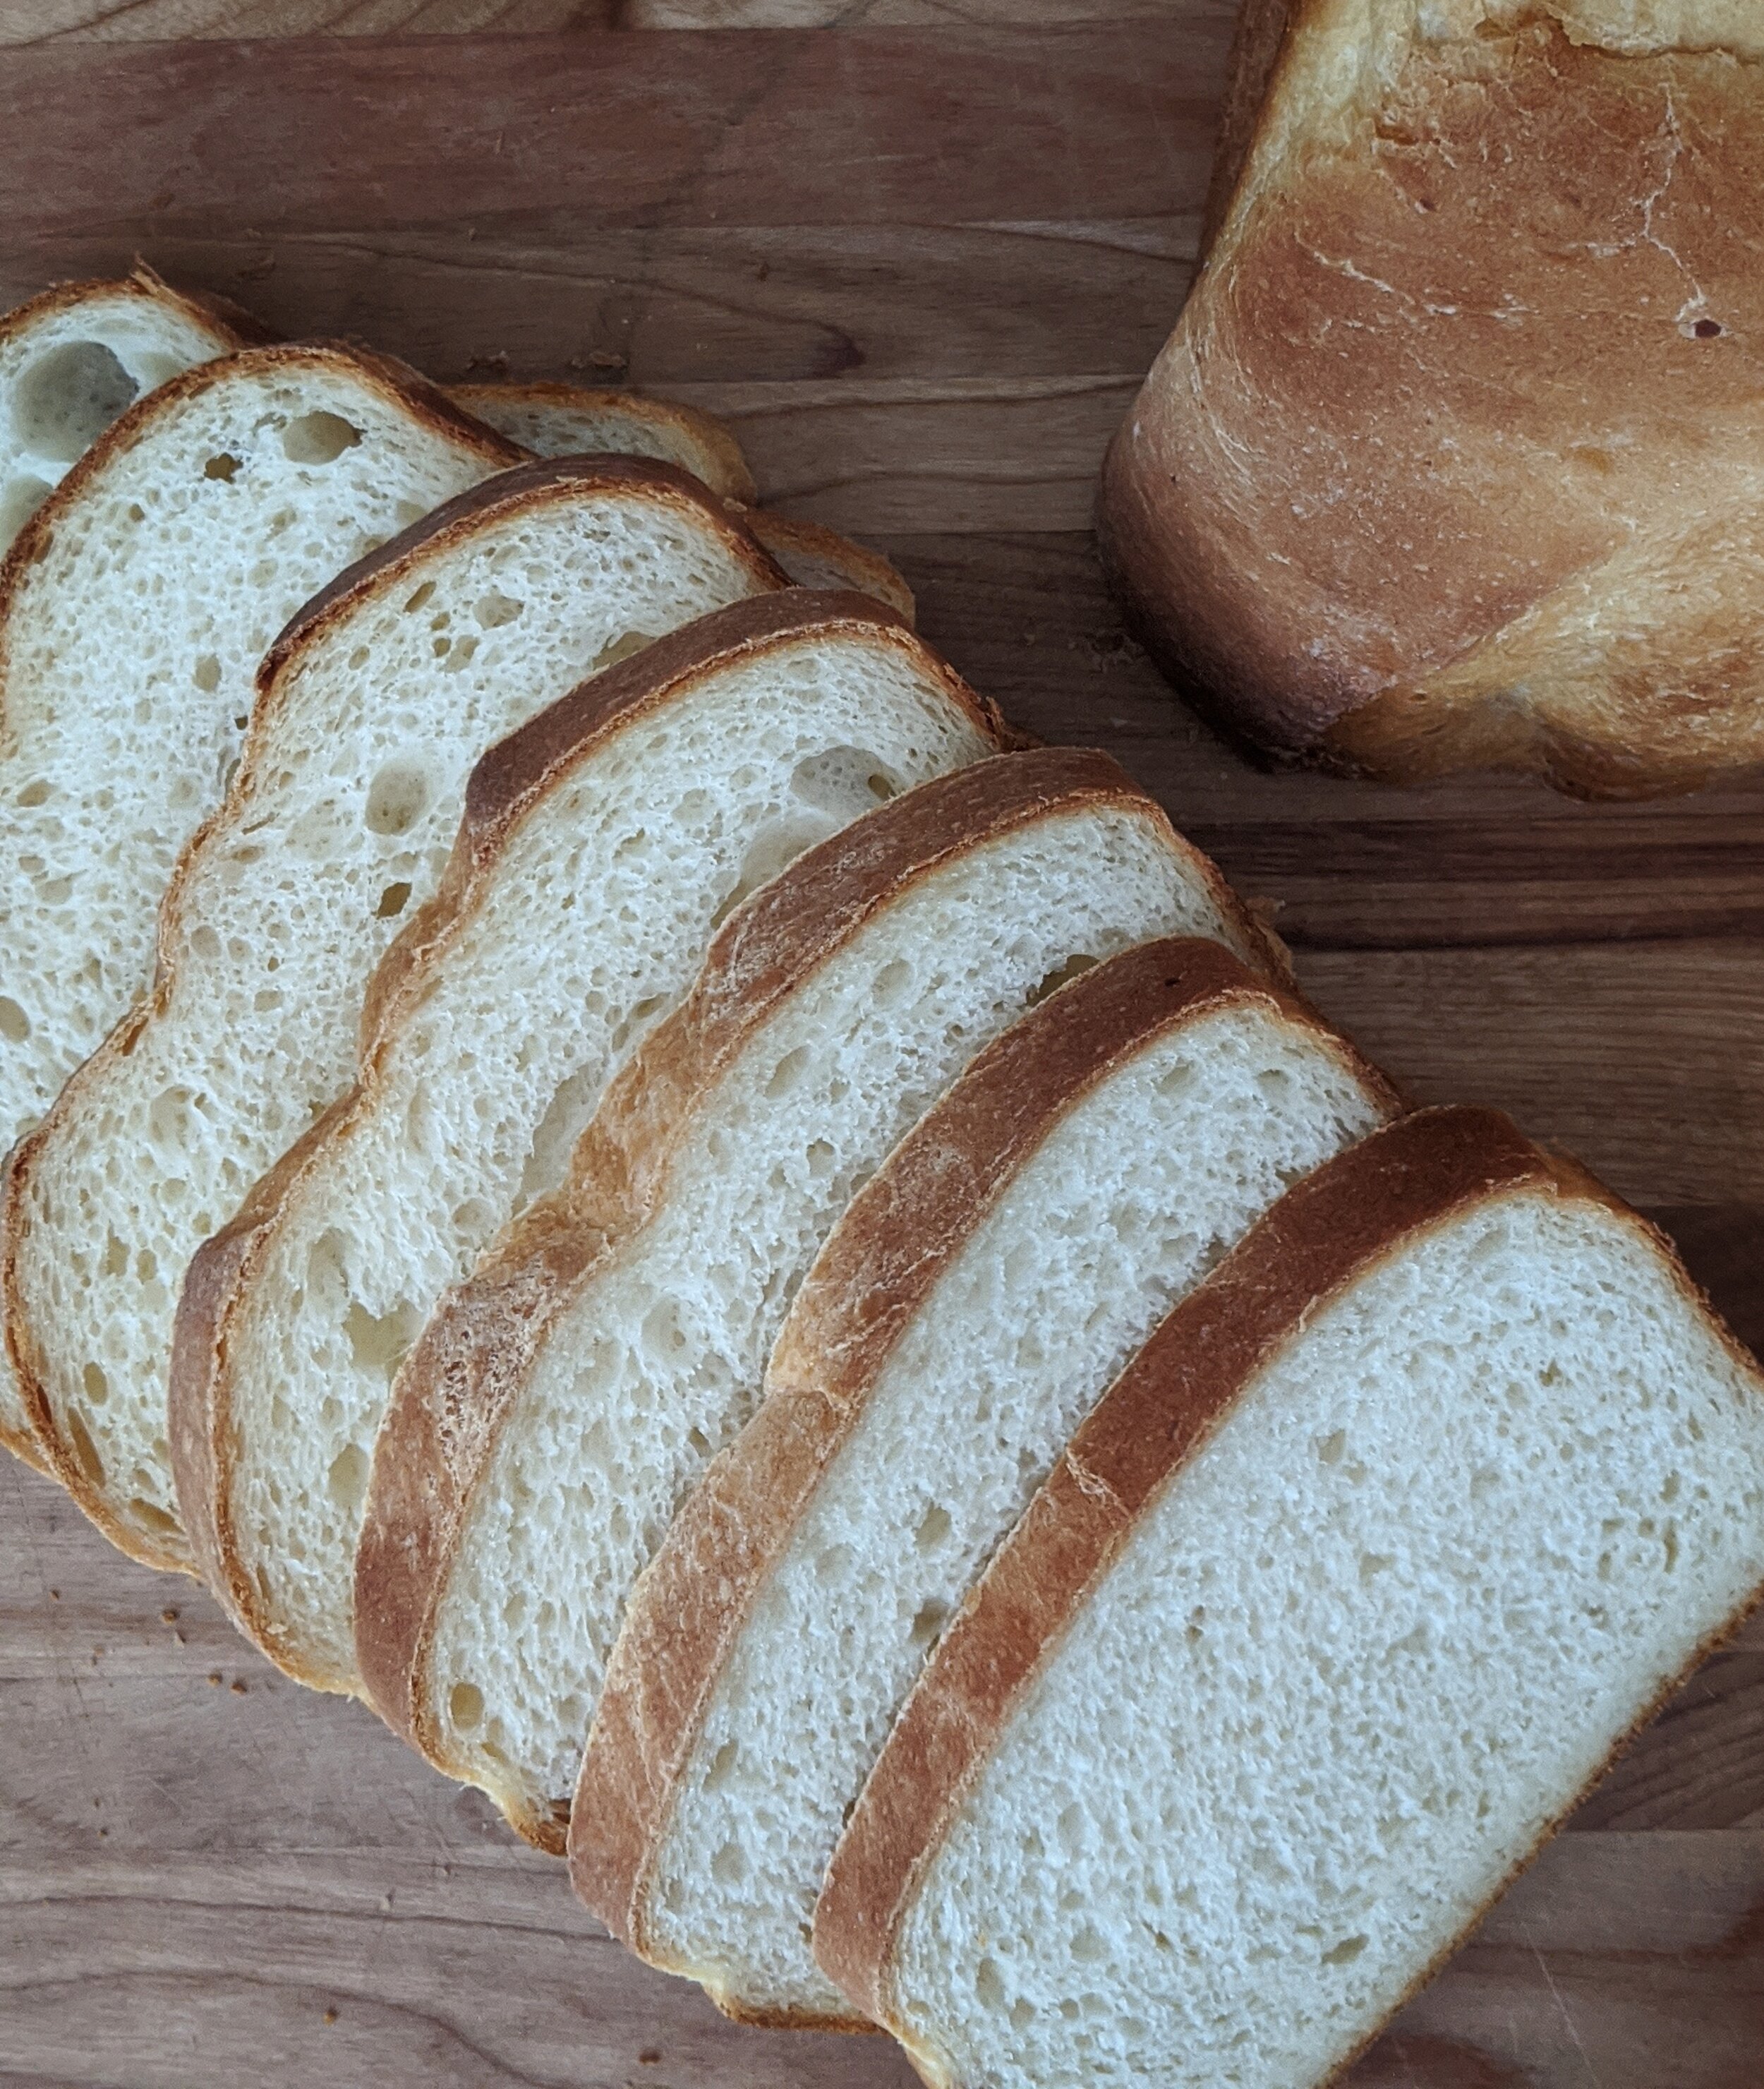
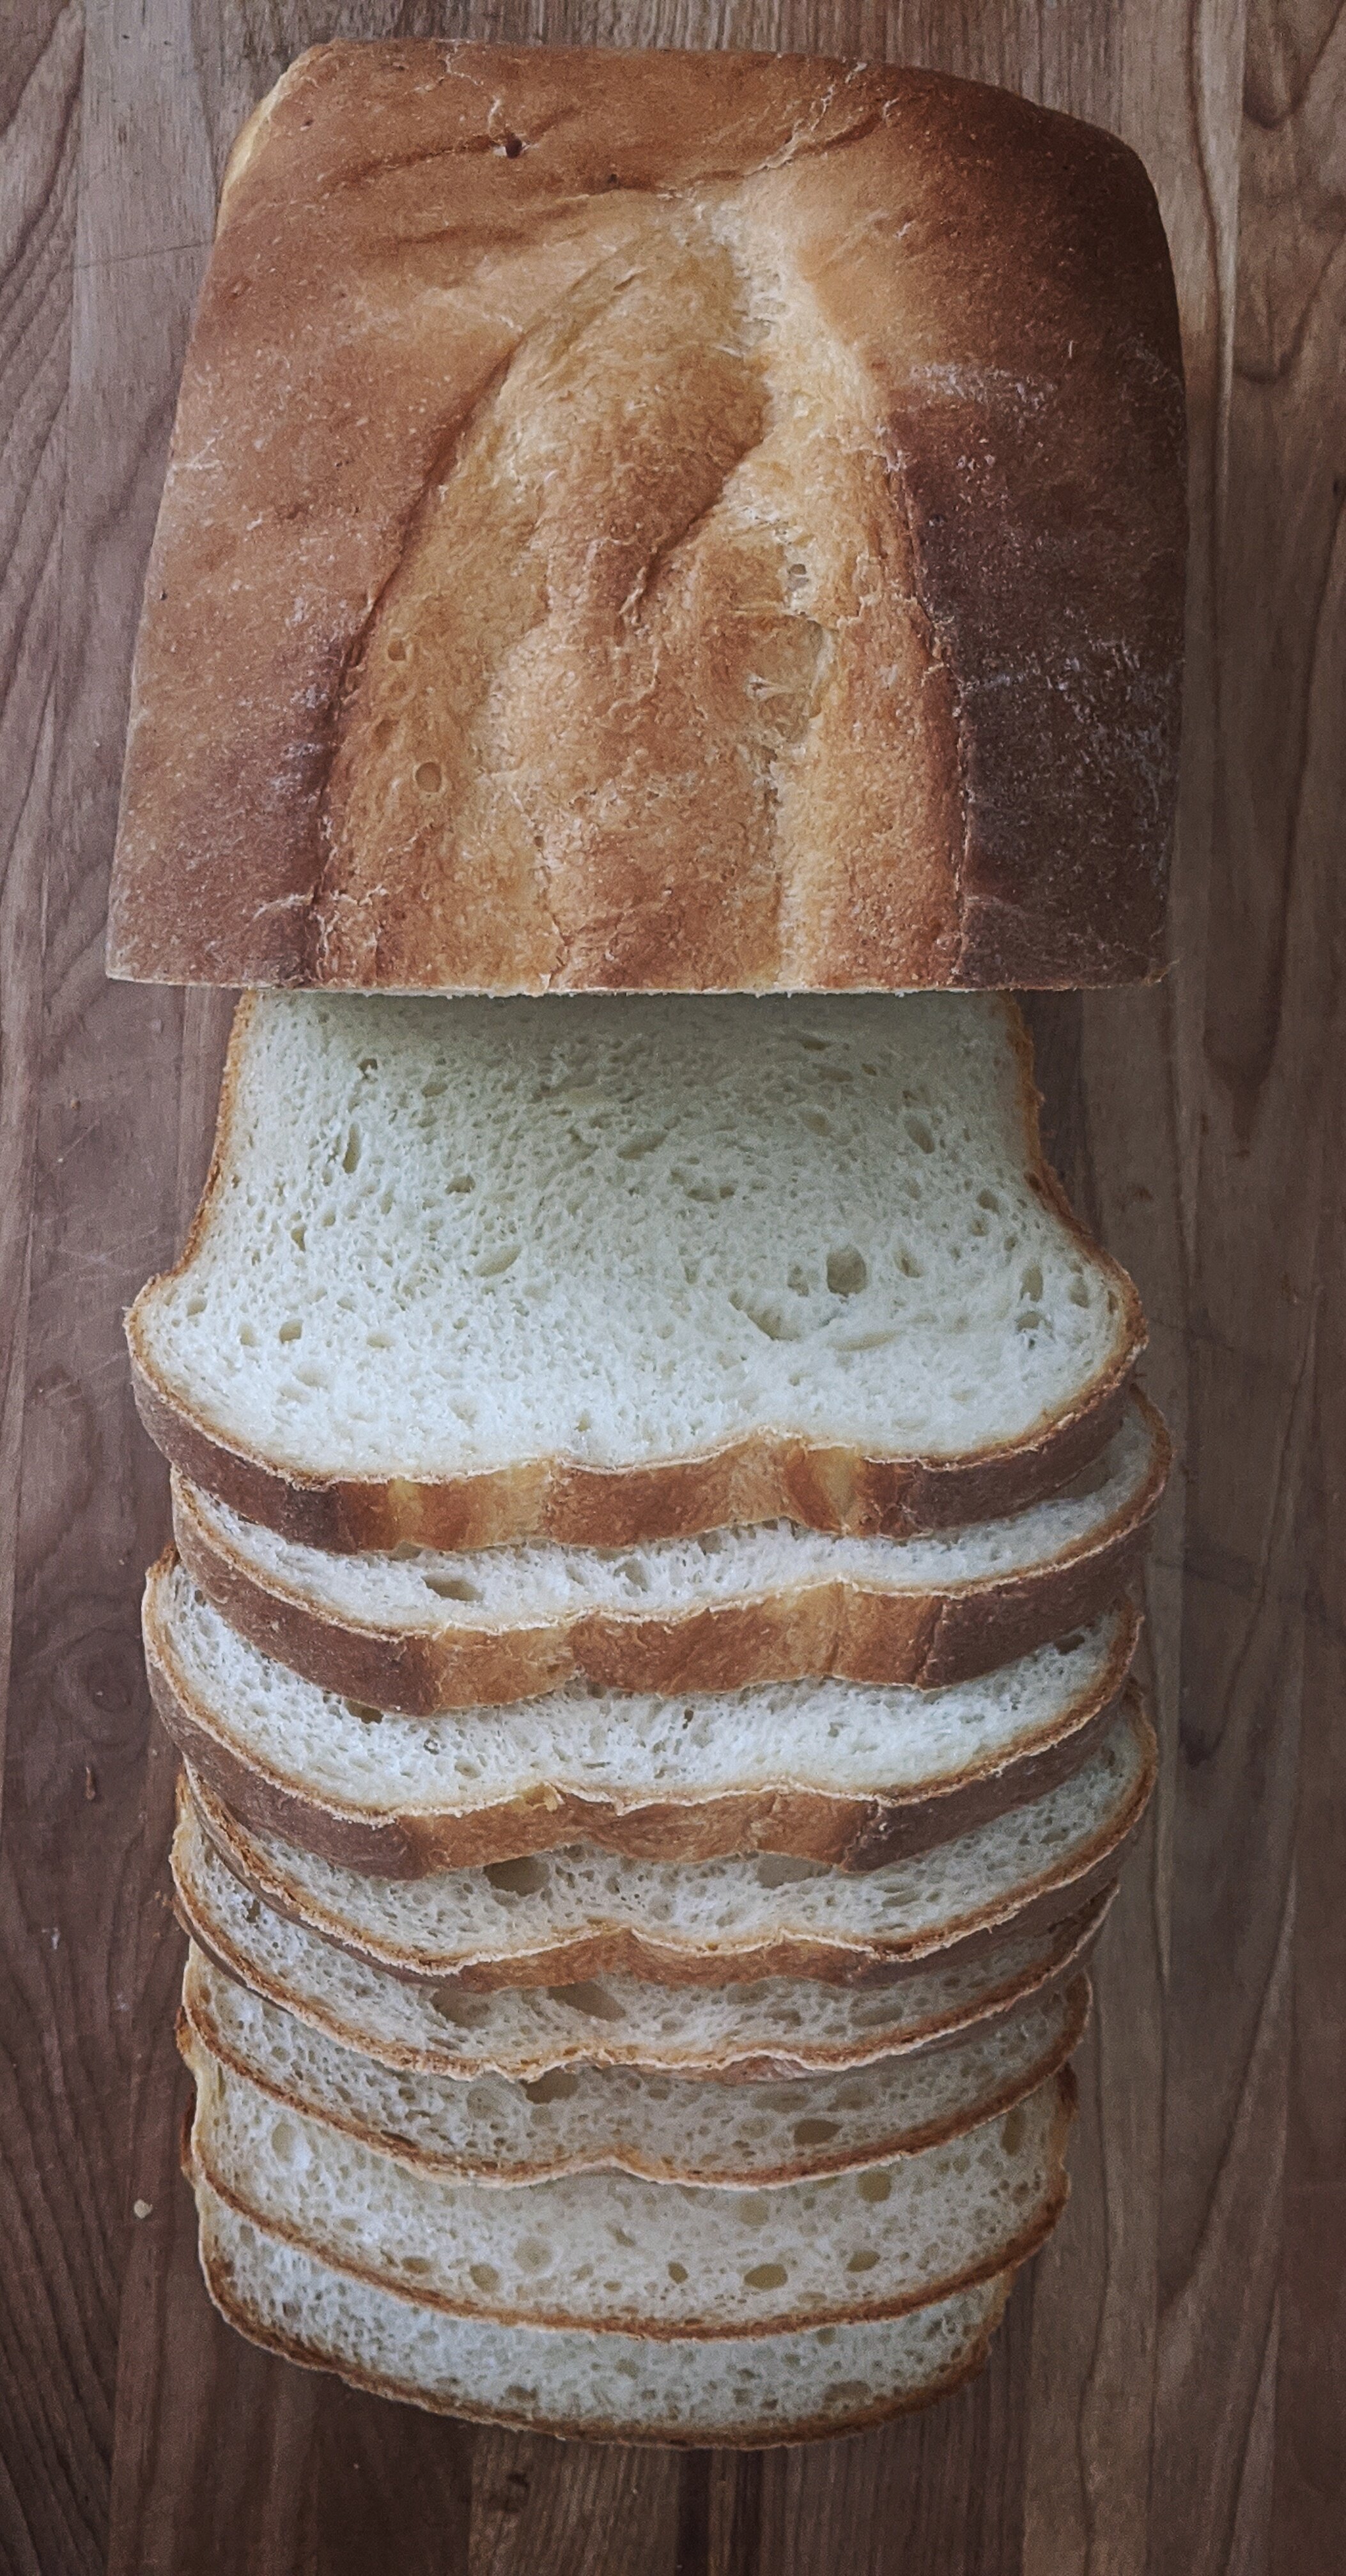
Before you ask me, “Why another white sandwich bread recipe?”, let me ask you: do you ever have leftover mashed potatoes going bad in your fridge because no one wants to eat them? Or do you ever have that last bit of buttermilk that you can’t find a use for? And if you said no to both of those, then how about this: Why NOT another white sandwich bread recipe? Especially when it is a supremely soft, voluminous loaf, with a little more chew than your standard white and a bit more flavor profile from the buttermilk, This is a glorious loaf of bread. If you have enough restraint to let it cool completely before slicing, it makes for wonderful sandwiches and even better toast.
potato buttermilk sandwich bread
makes two 9x5 inch loaves
Ingredients:
3/4 cup mashed potato
1 stick butter, soft
2 cups buttermilk, room temperature
4 tsp active dry yeast
2 Tbsp sugar
6 - 6 1/2 cups flour
2 1/2 tsp salt
Instructions:
In the bowl of a standing mixer, combine the potatoes and butter. If your potatoes are freshly cooked and hot, great!, just stir in the stick of butter until it melts in. If they’re cold from the fridge, heat them up a bit to the same end.
Mix in the buttermilk and sugar. Sprinkle the yeast over, and stir to combine. Finally, add the flour and salt, and knead until the dough becomes soft and supple, 10 minutes or so.
Transfer the dough and allow to rise until doubled, anywhere from an hour and a half to two hours, depending on how warm your kitchen is.
Grease two 9x5 loaves. Gently deflate the dough and divide in half. Shape each half into a loaf. There are a lot of ways to shape a loaf but the easiest way is to gently press and stretch the dough into a rectangle roughly the size of printing paper, 8 x 11 inches. Fold the bottom third up, then the top third over, then place the loaf seam side down in the pan, tucking the ends underneath.
Cover with lightly oiled plastic wrap and allow to rise until the loaf is about 1 inch over the edge of the pan, 1 - 1.5 hrs. Keep an eye on this if your house is especially warm, because you don’t want to overproof your bread. You’ll know the loaf is ready to bake by a simple poke test: Gently poke the dough with your finger; if the dough springs back immediately, it’s not ready to bake; if the poke remains permanently in the loaf, you’ve taken it too far. You want the indentation to linger a few seconds and slowly return to shape. When the dough is close to done, start preheating your oven to 375.
When the loaves have risen, slash the loaf lengthwise with a sharp blade if you’d like that classic bread loaf look, or don’t! And brush the loaf with a lightly beaten egg for a shiny crust, or don’t! You can also just brush with a little milk and cream for some color, or don’t! A lot of this is just aesthetic. Bake the loaves for 40 minutes, or until they are golden brown and the bottoms sound hollow when tapped - or, if you’re looking to be more precise, the internal temperature registers around 180-185.
Allow to cool fully before slicing. Enjoy!
Source: Joy of Cooking


