Soft white sandwich bread
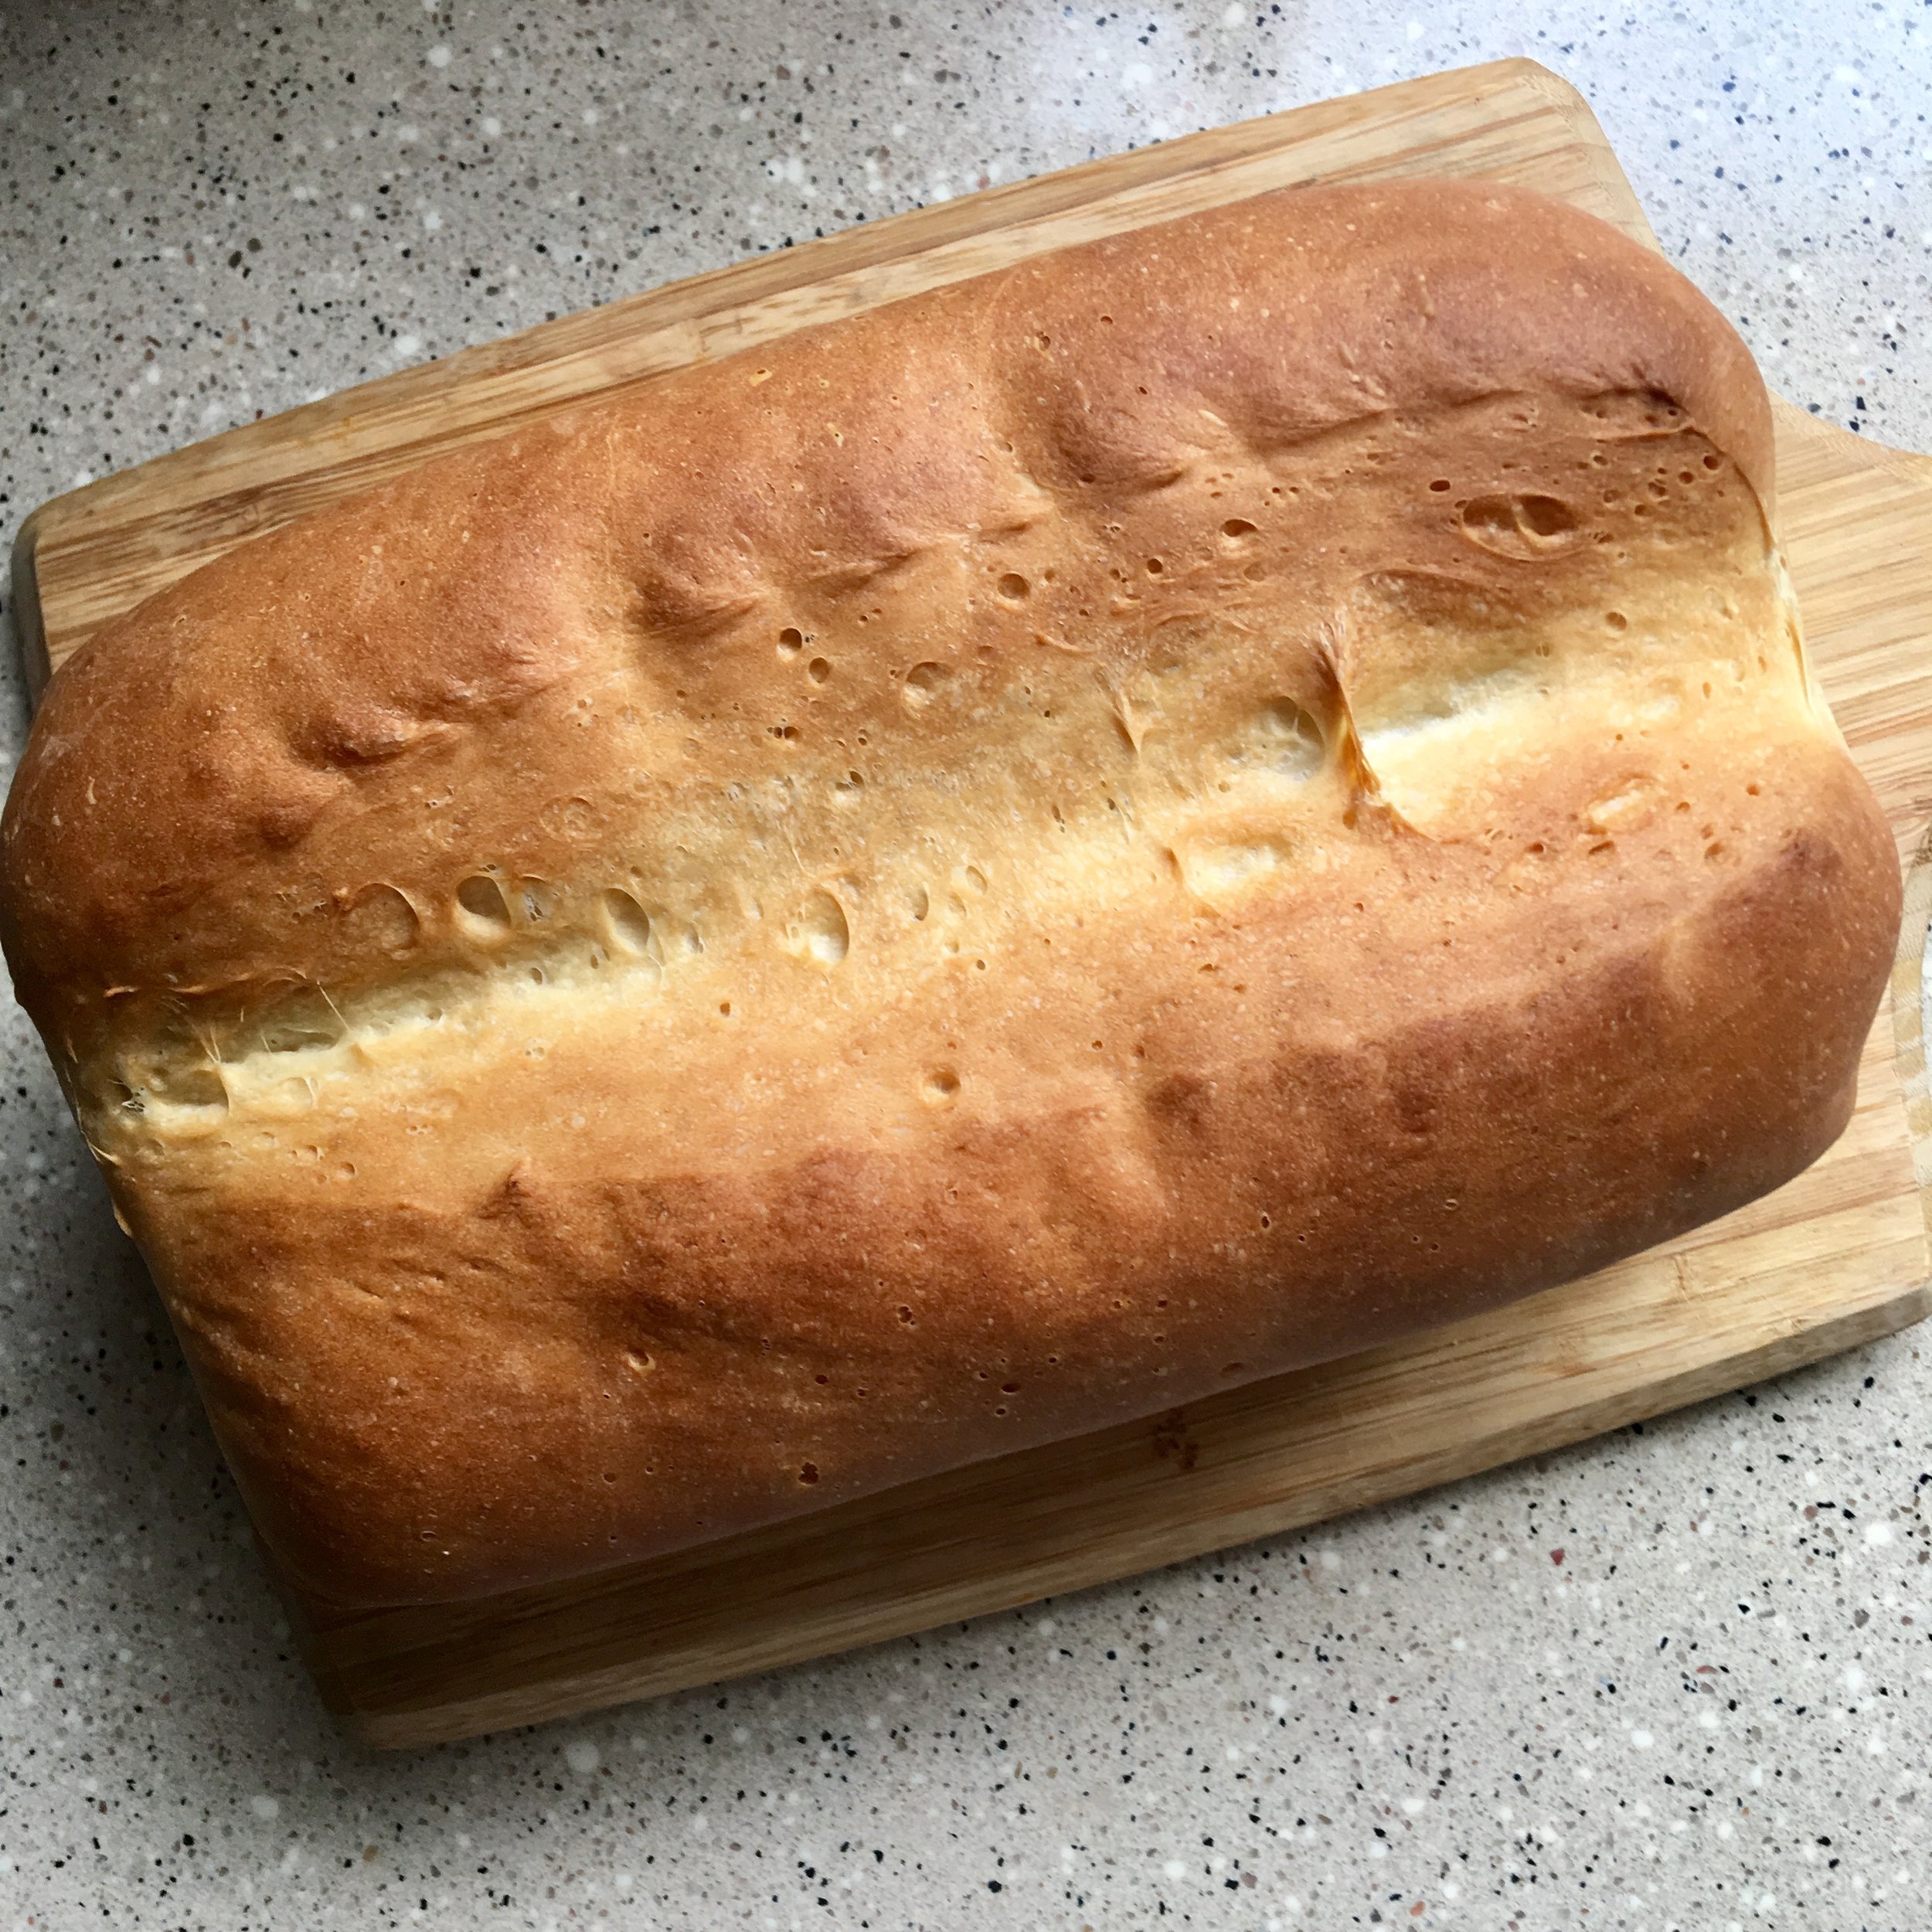
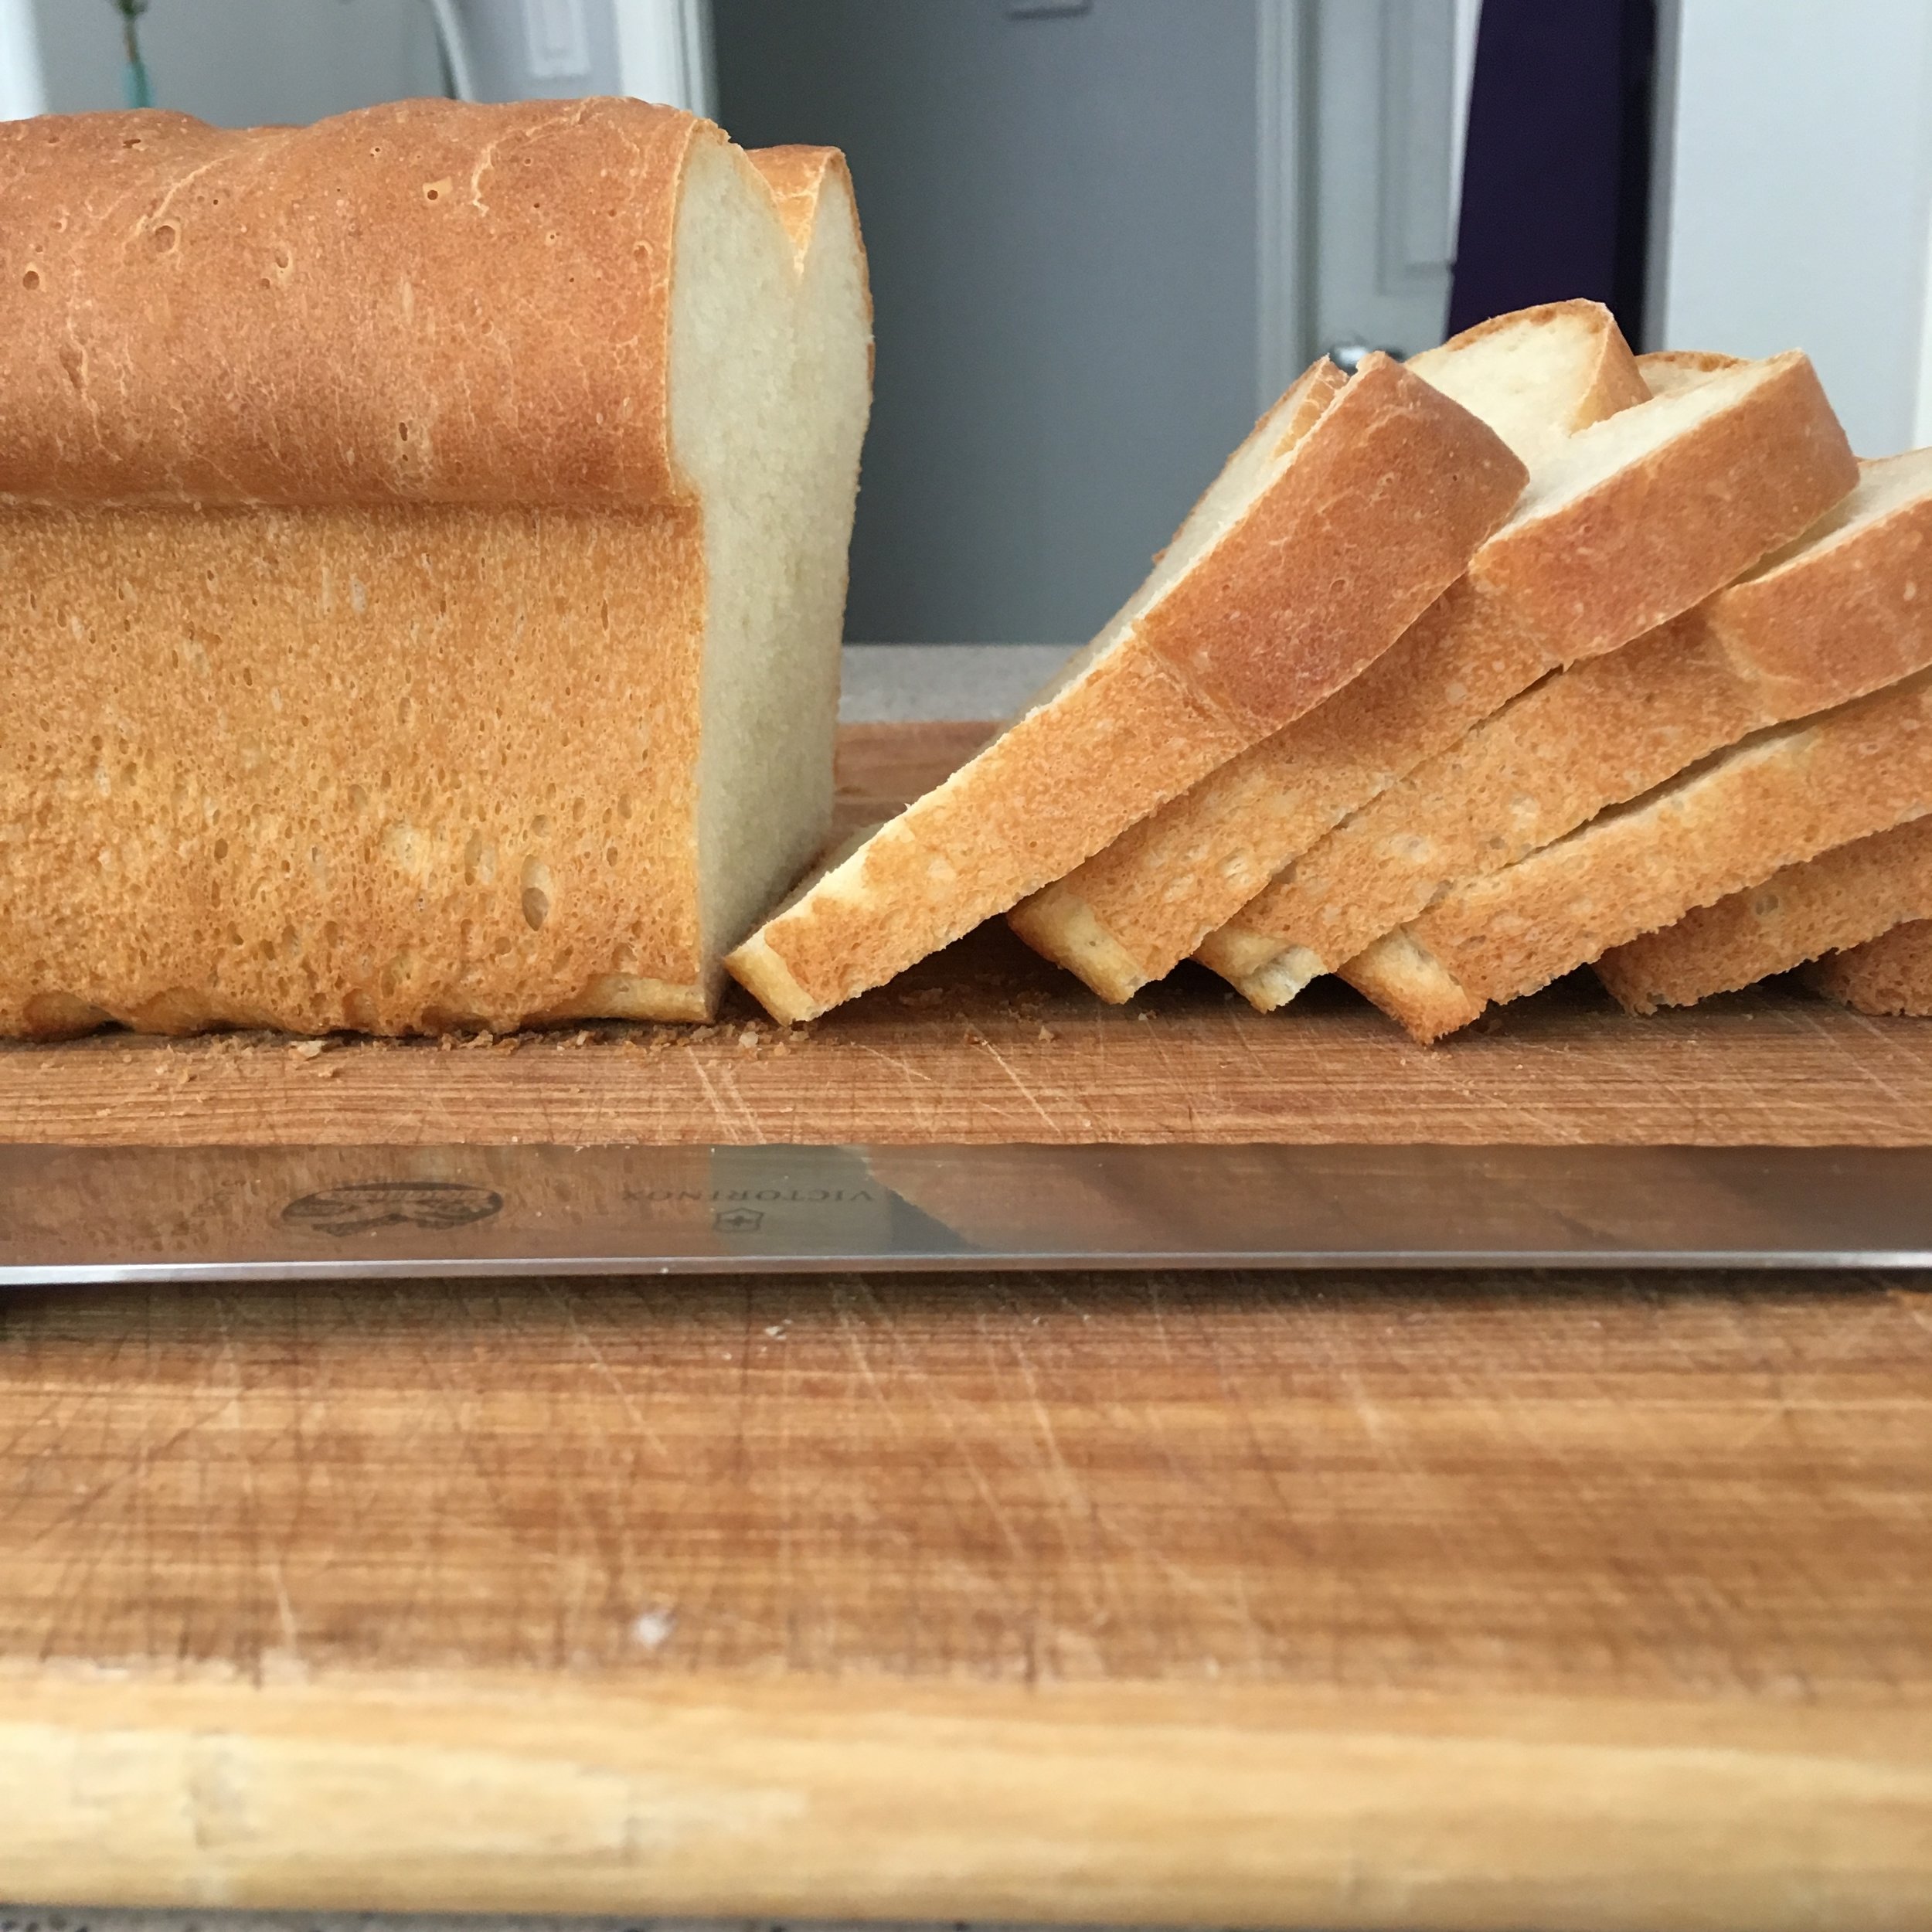
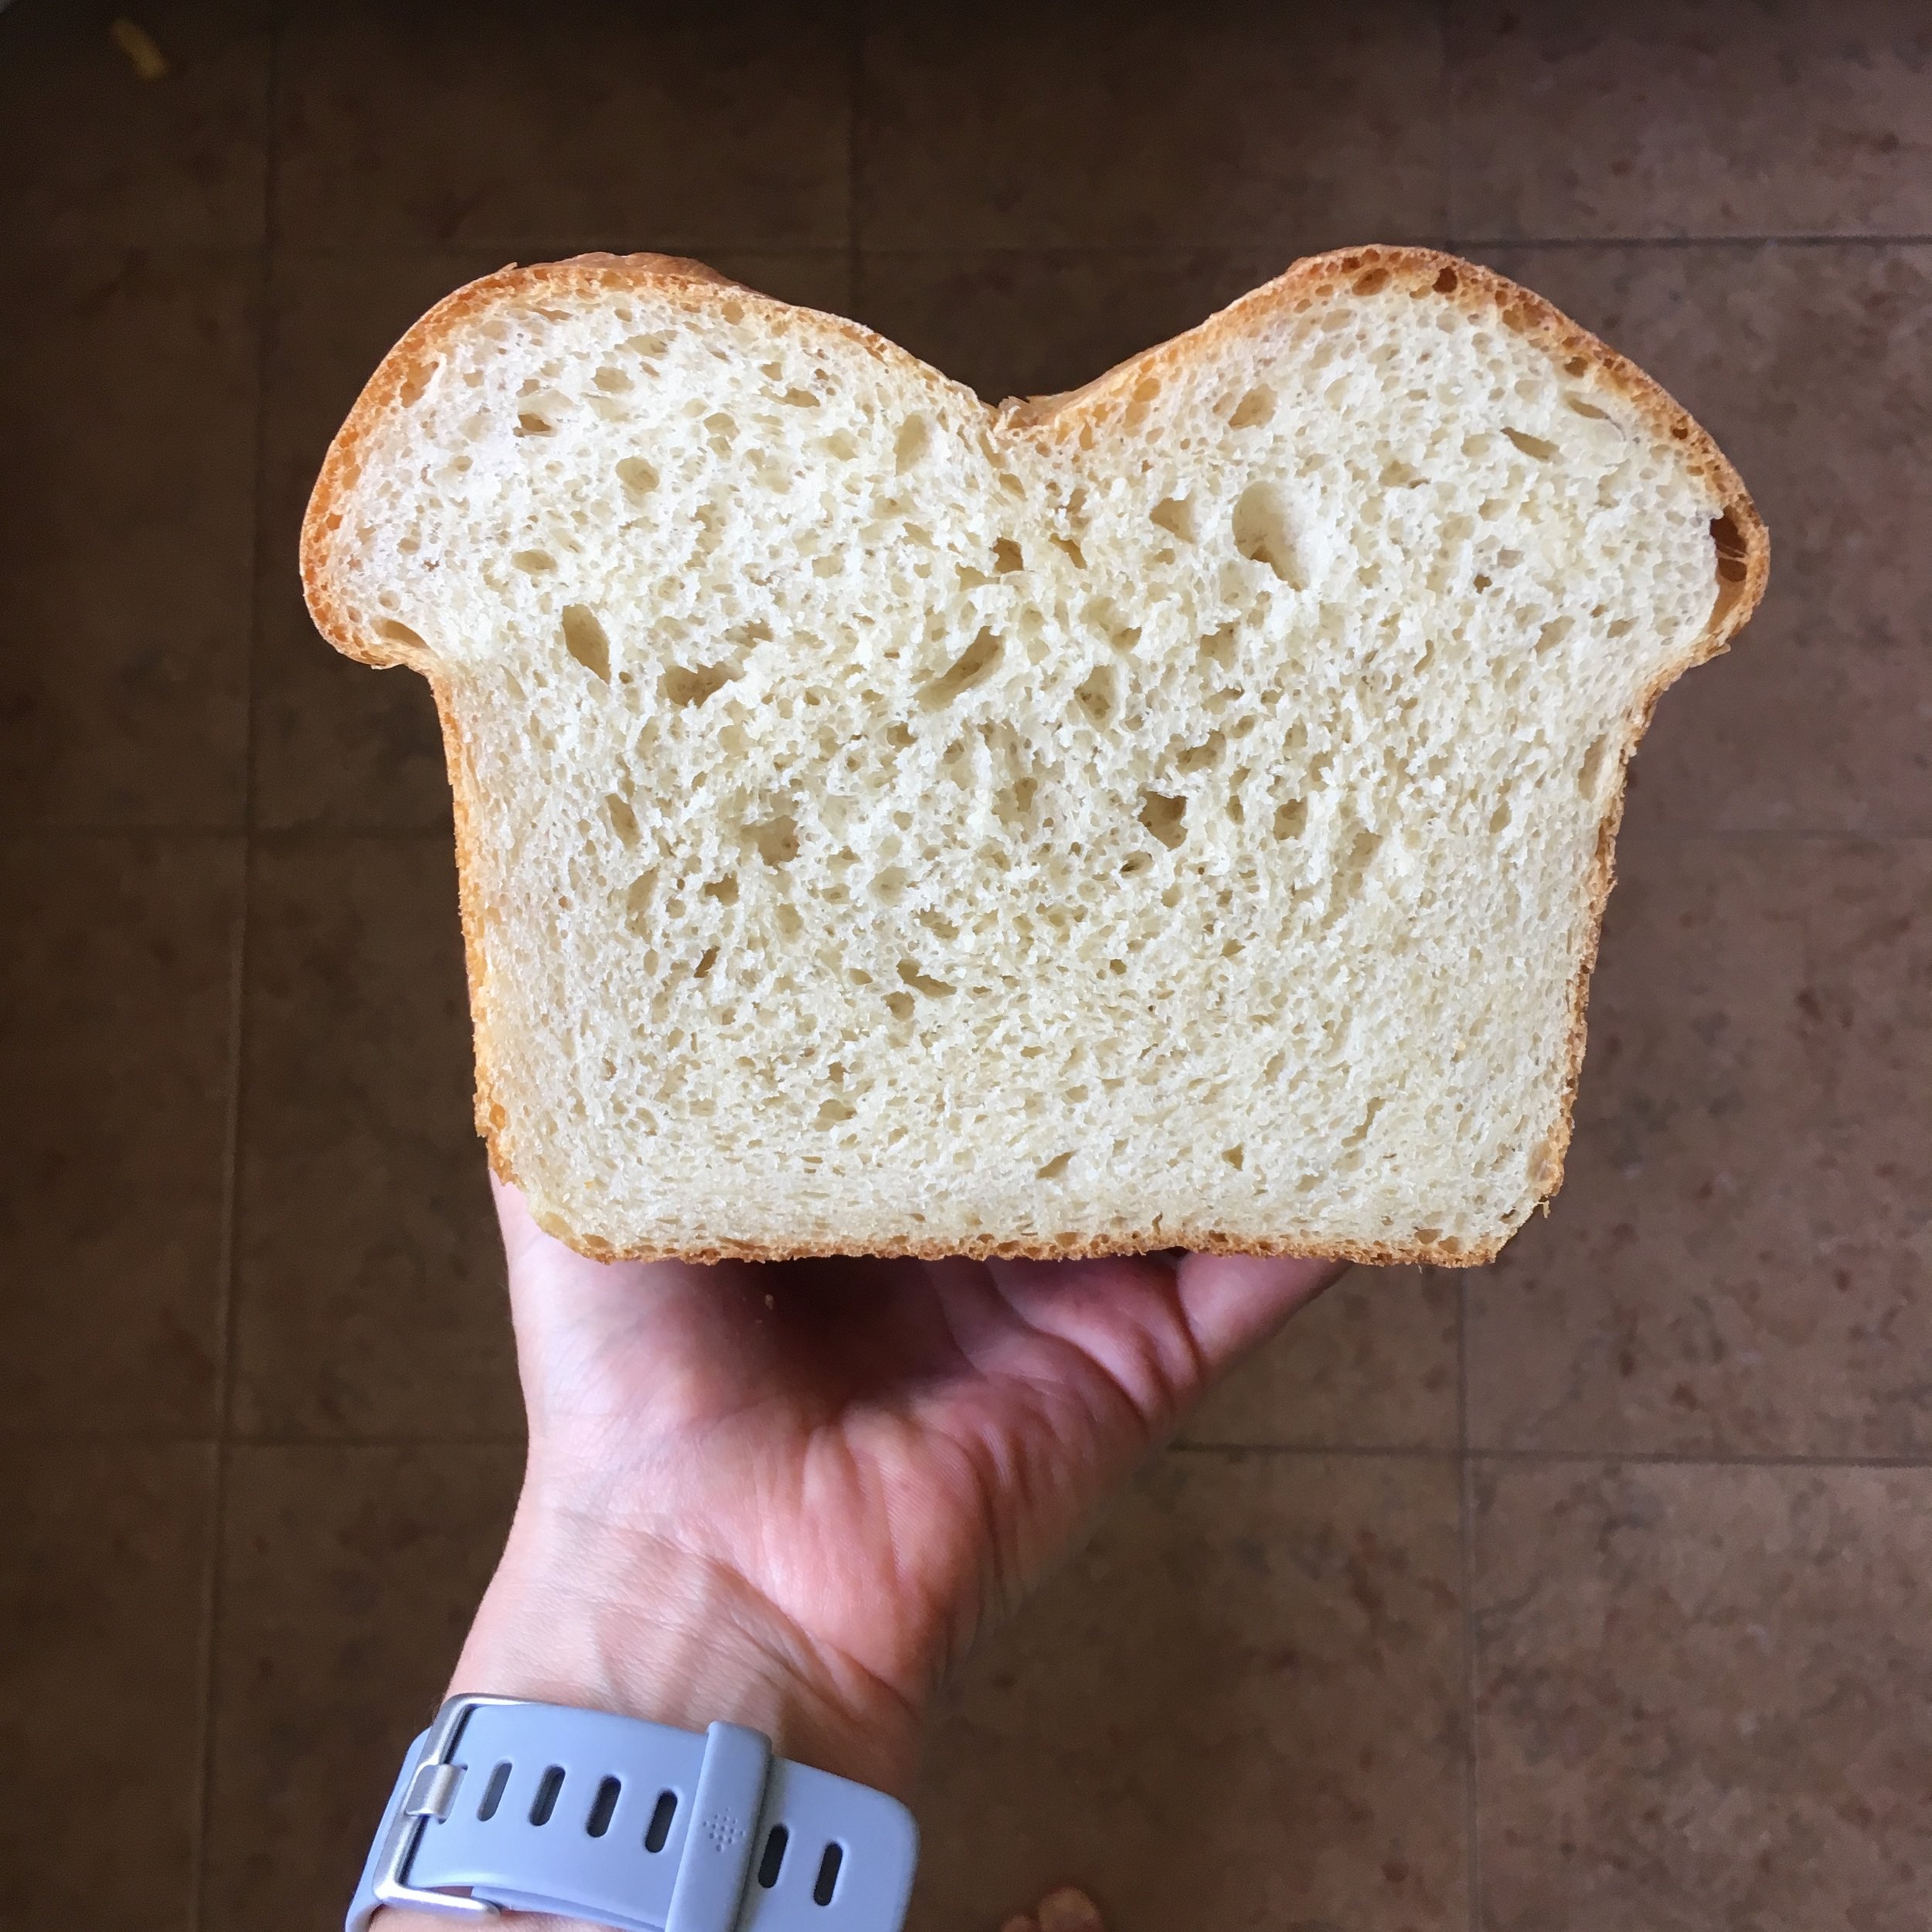
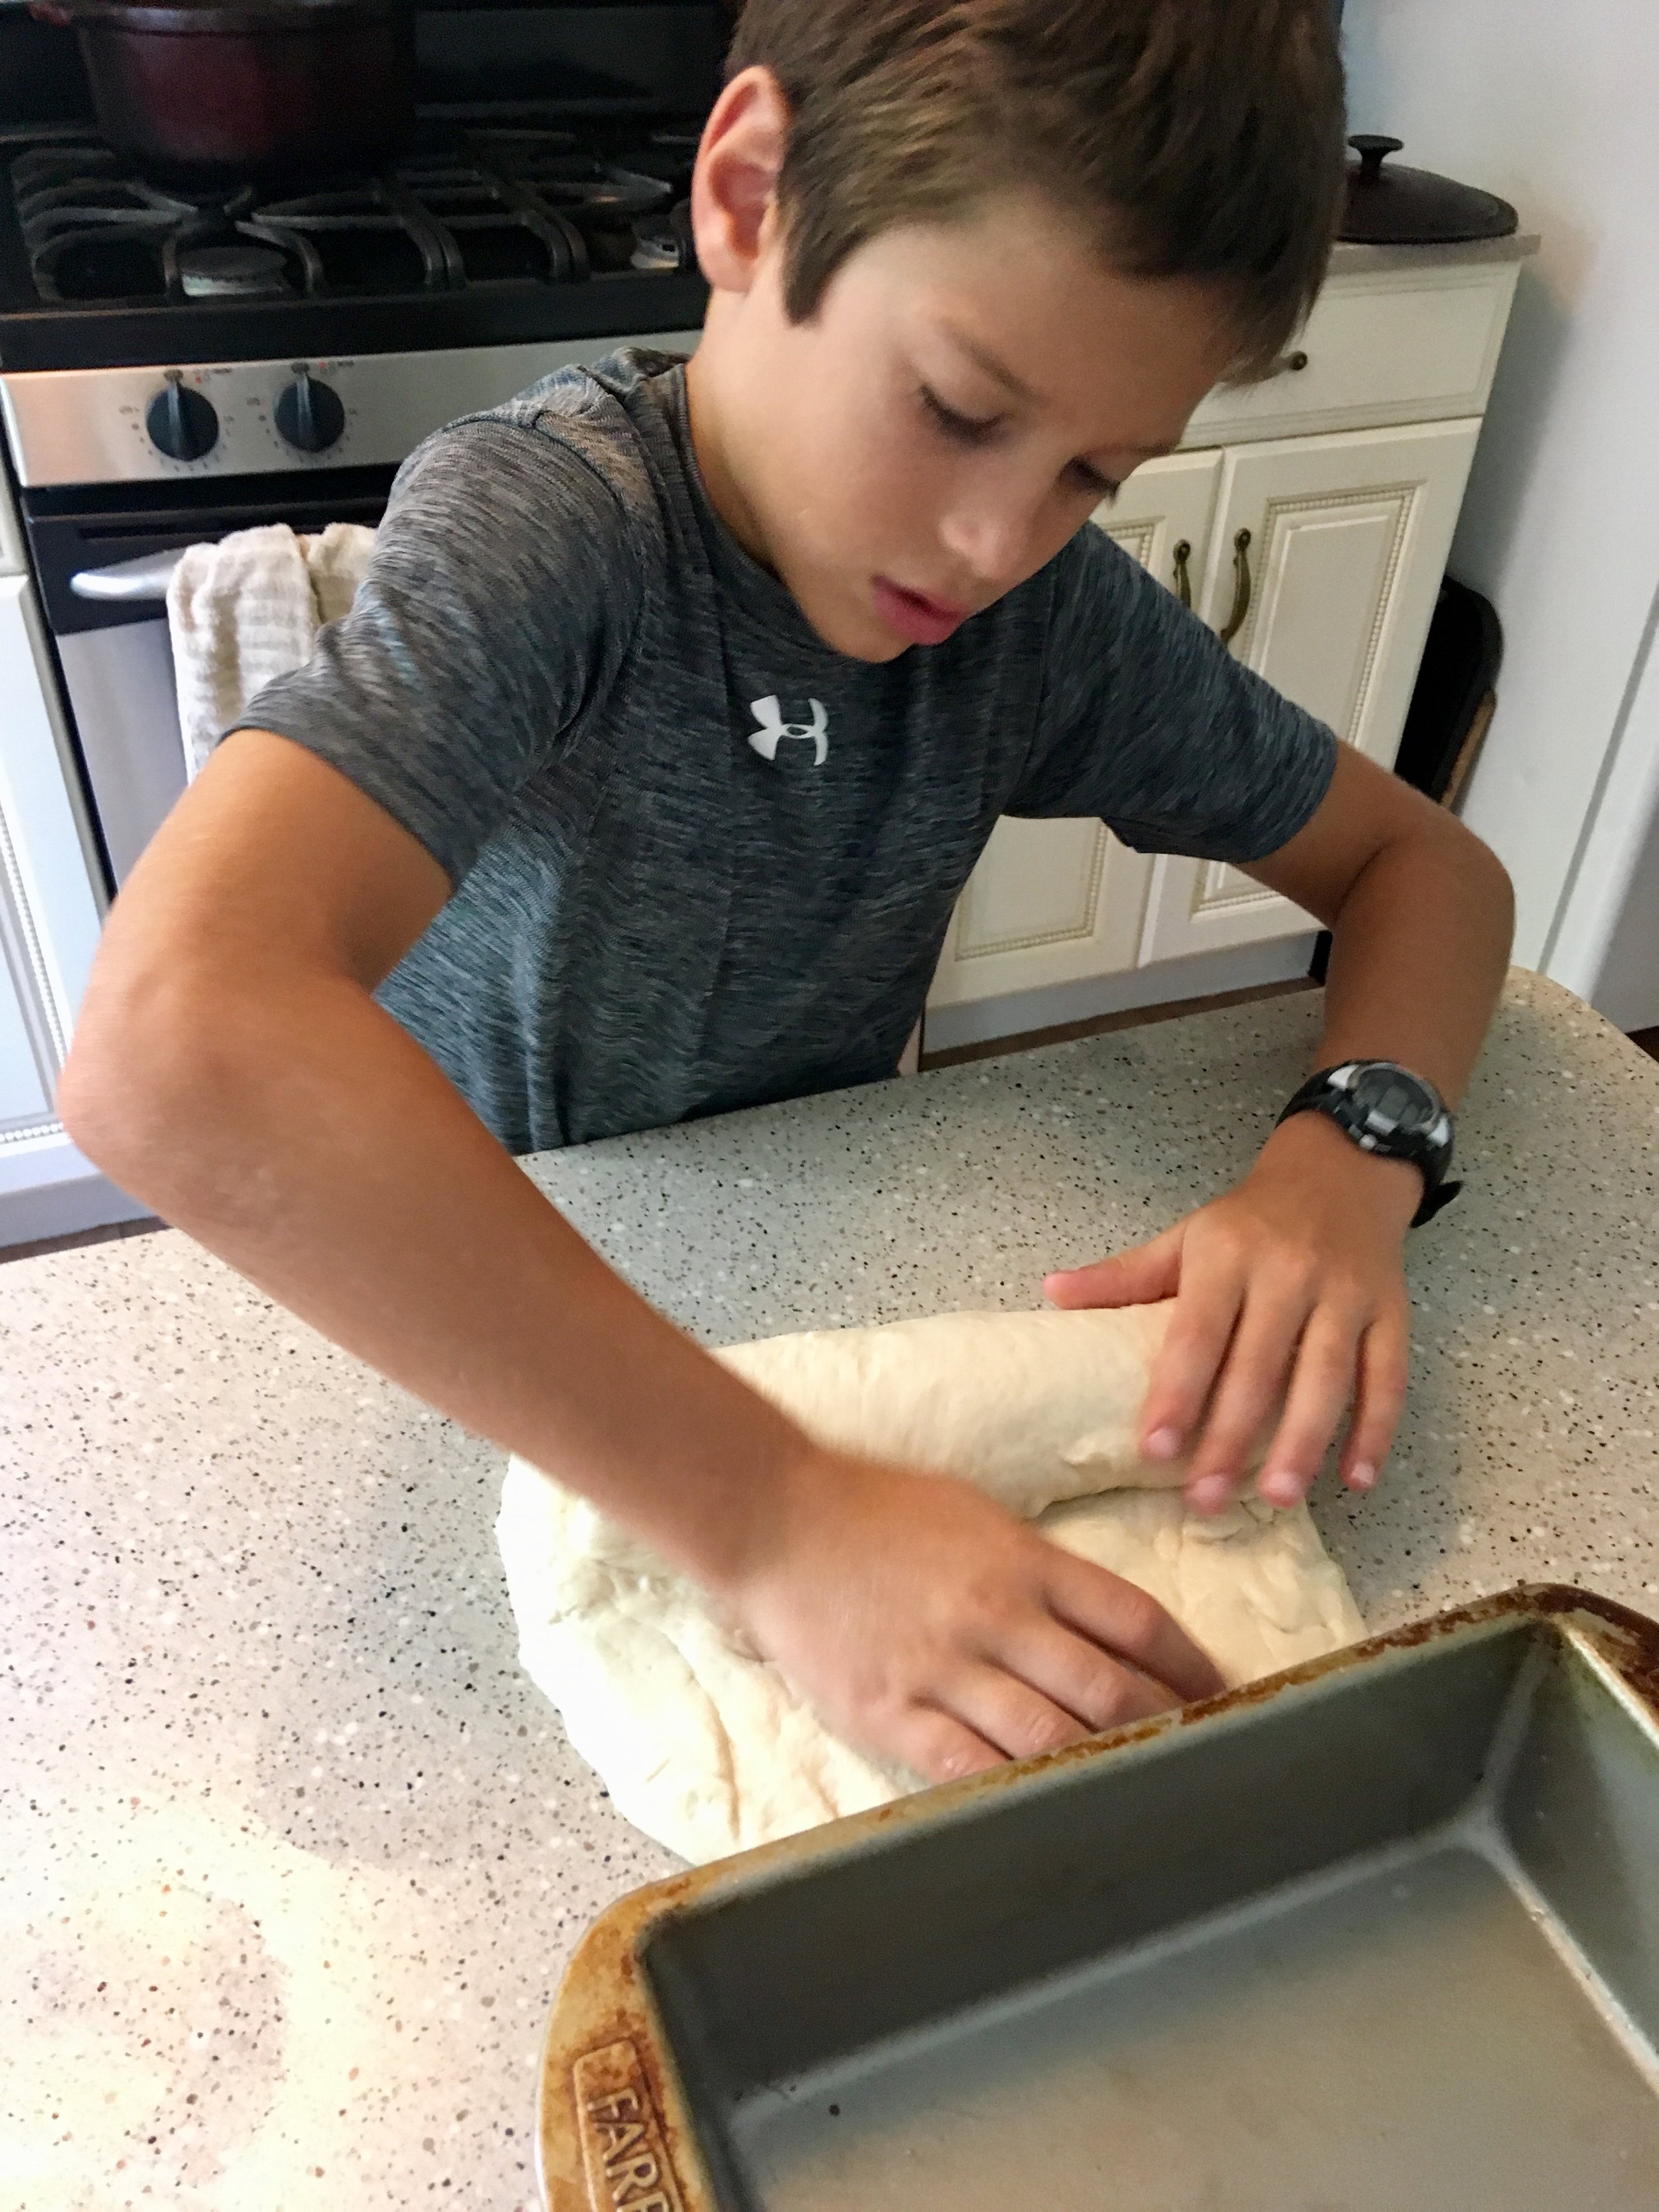
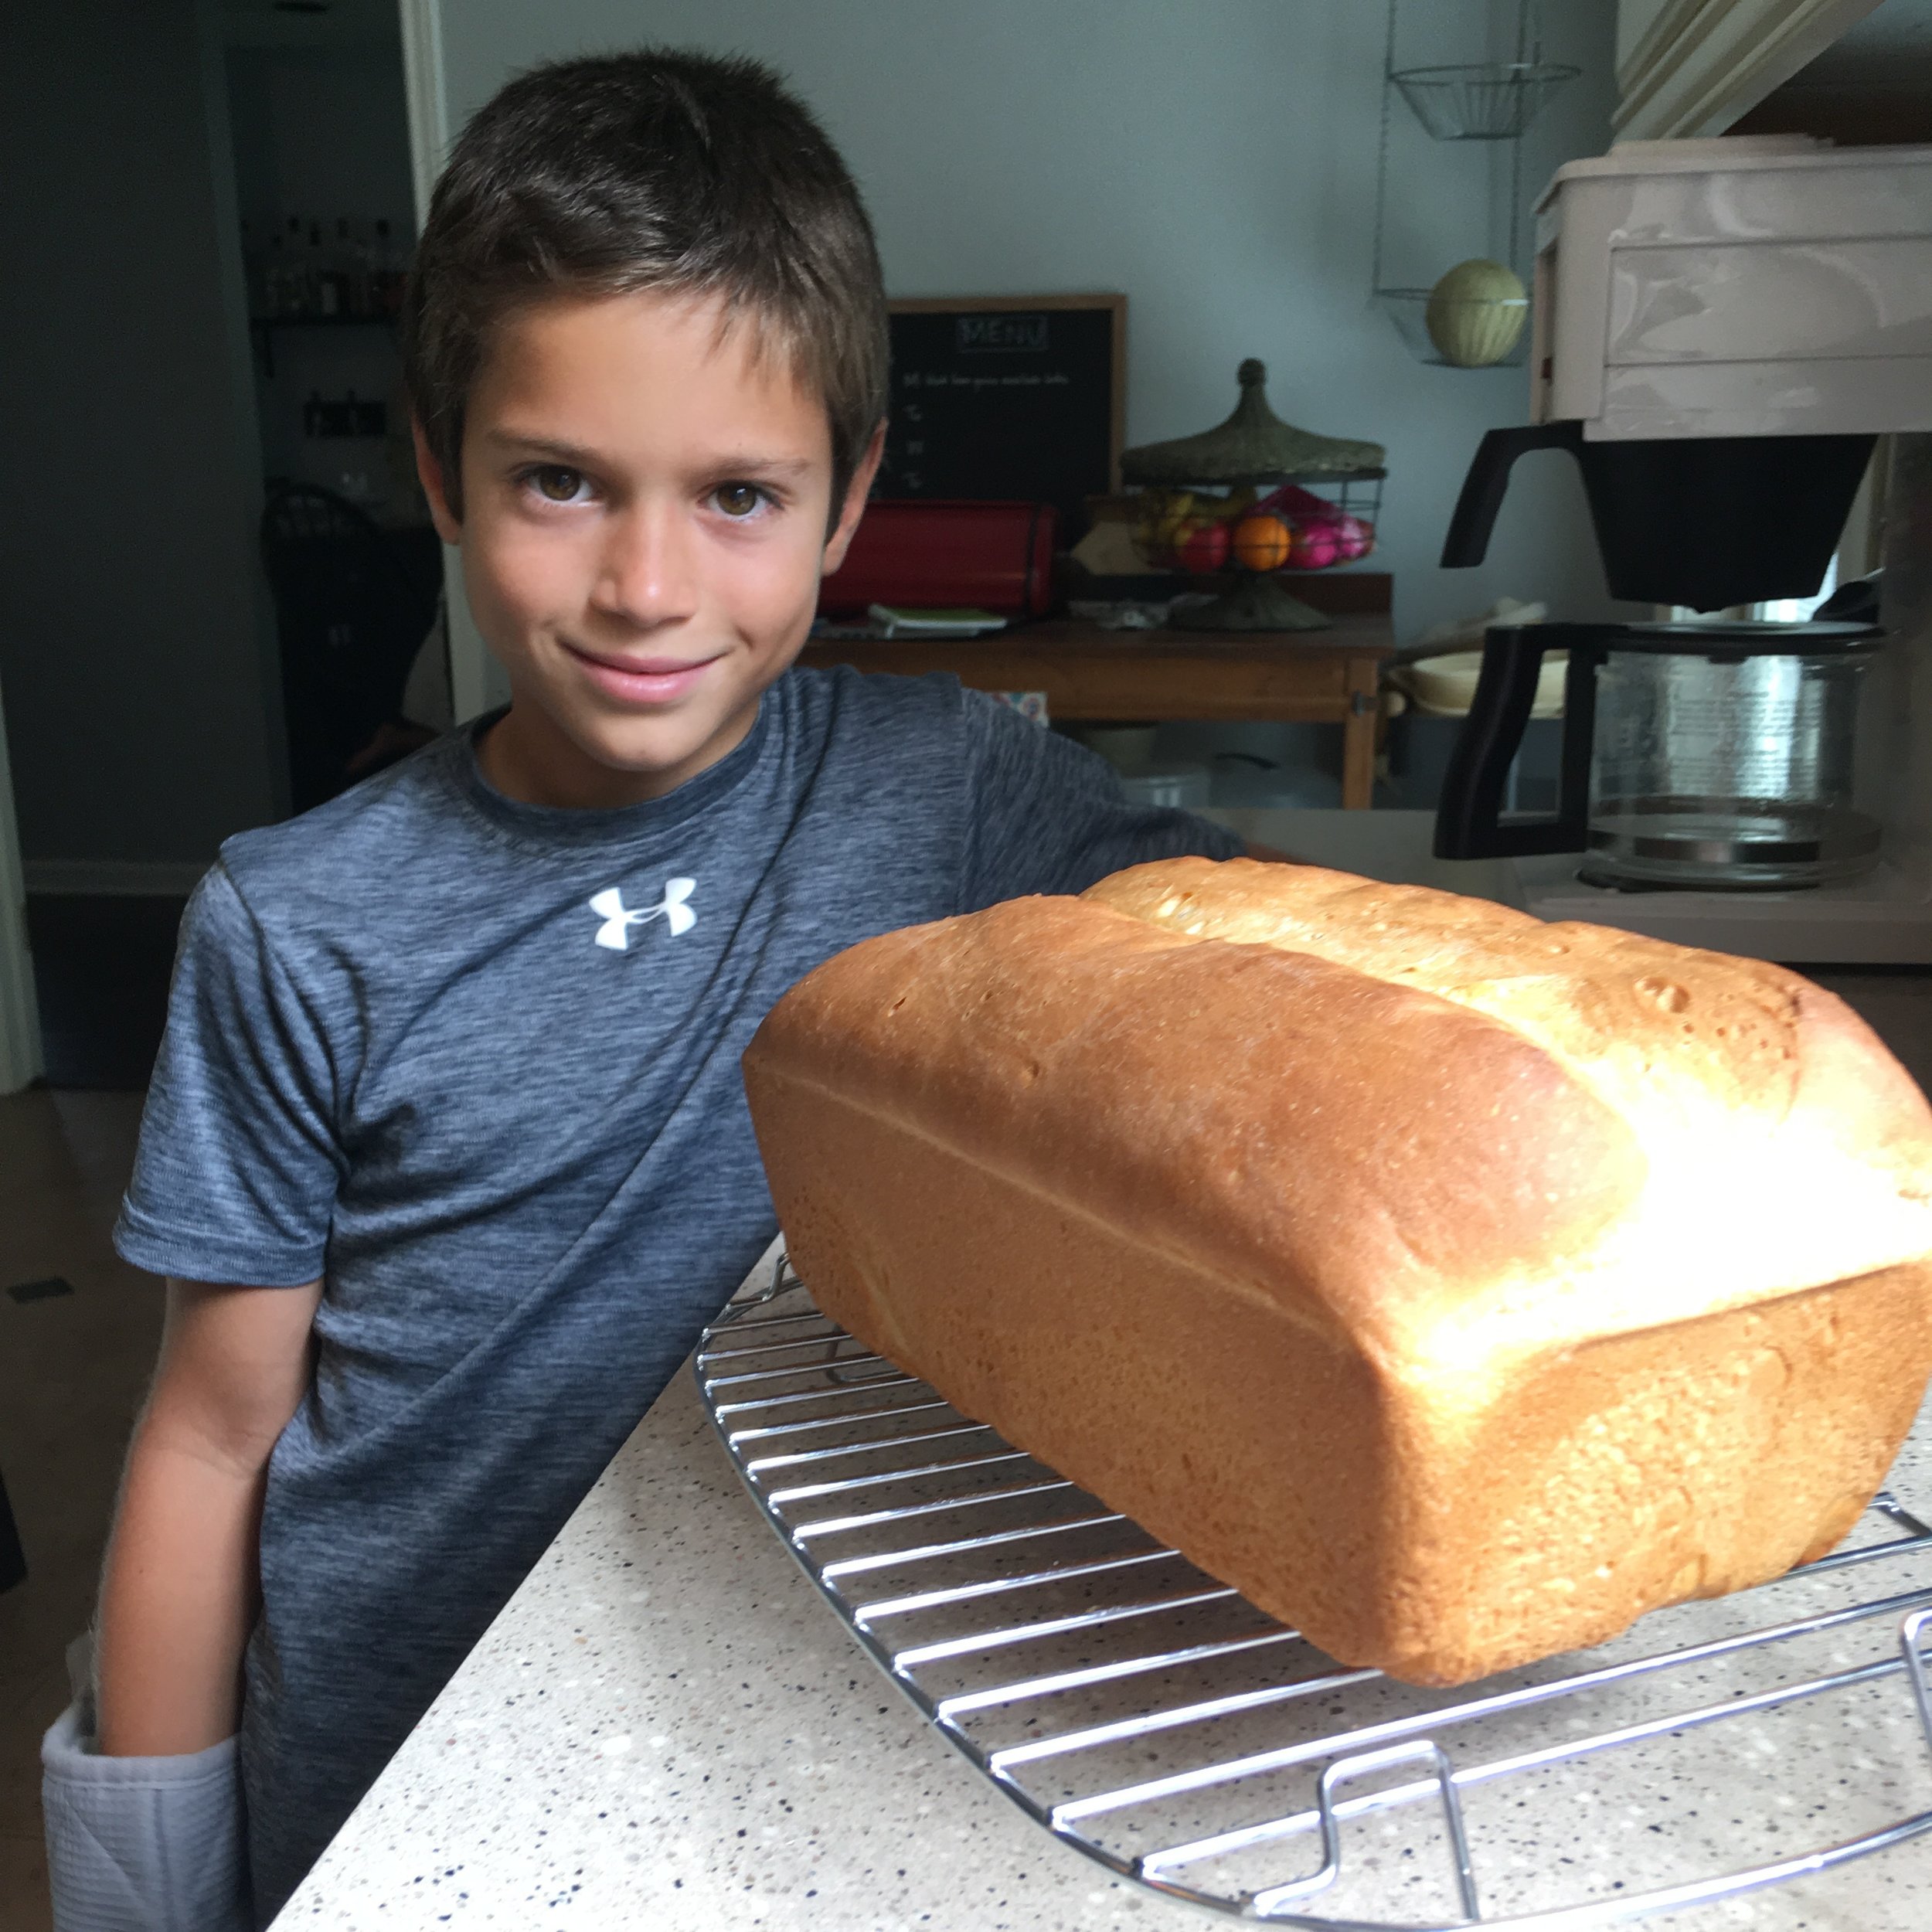
If you look closely at these photos, you’ll notice that the crumb is a little more open than it should be. You’ll see that the knife was dragged when scoring and maybe cut too deeply. Perhaps the loaf wasn’t shaped as tightly as possible or the dough wasn’t developed as well as it could be for even distribution of yeast development. Guess why I don’t care. BECAUSE MY EIGHT YEAR OLD SON MADE IT. I realized one day that he was totally capable of baking bread start-to-finish all on his own and that not only would it be a great learning opportunity for him, but it could also become one of his “chores”. I walked him through the process and wrote down this recipe as we baked this loaf together - intended to be easy and forgiving and to yield a loaf that he would be proud of and all the kids would want to devour. The next few times I stood by and watched as he did it himself, only helping when necessary. Now he makes it entirely on his own. Sometimes it’s perfect, sometimes it has a few small issues. But even “not perfect” is still delicious and no one seems to mind or even notice.
Full disclosure, I have to restrain myself from intervening sometimes (all the time), put aside my semi-neurotic perfectionist tendencies, and let him work on his own. He might make some mistakes, but he’ll learn from them - not to mention the pride and satisfaction of his doing it on his own goes a long way in making up for little imperfections.
So even though we already have a lot of bread recipes on the blog, this one is worth adding because it’s soft and fluffy, it produces a large loaf perfect for sandwiches, and, well, it’s straightforward enough for an 8 year old boy.
white sandwich loaf
makes one 9x5 loaf
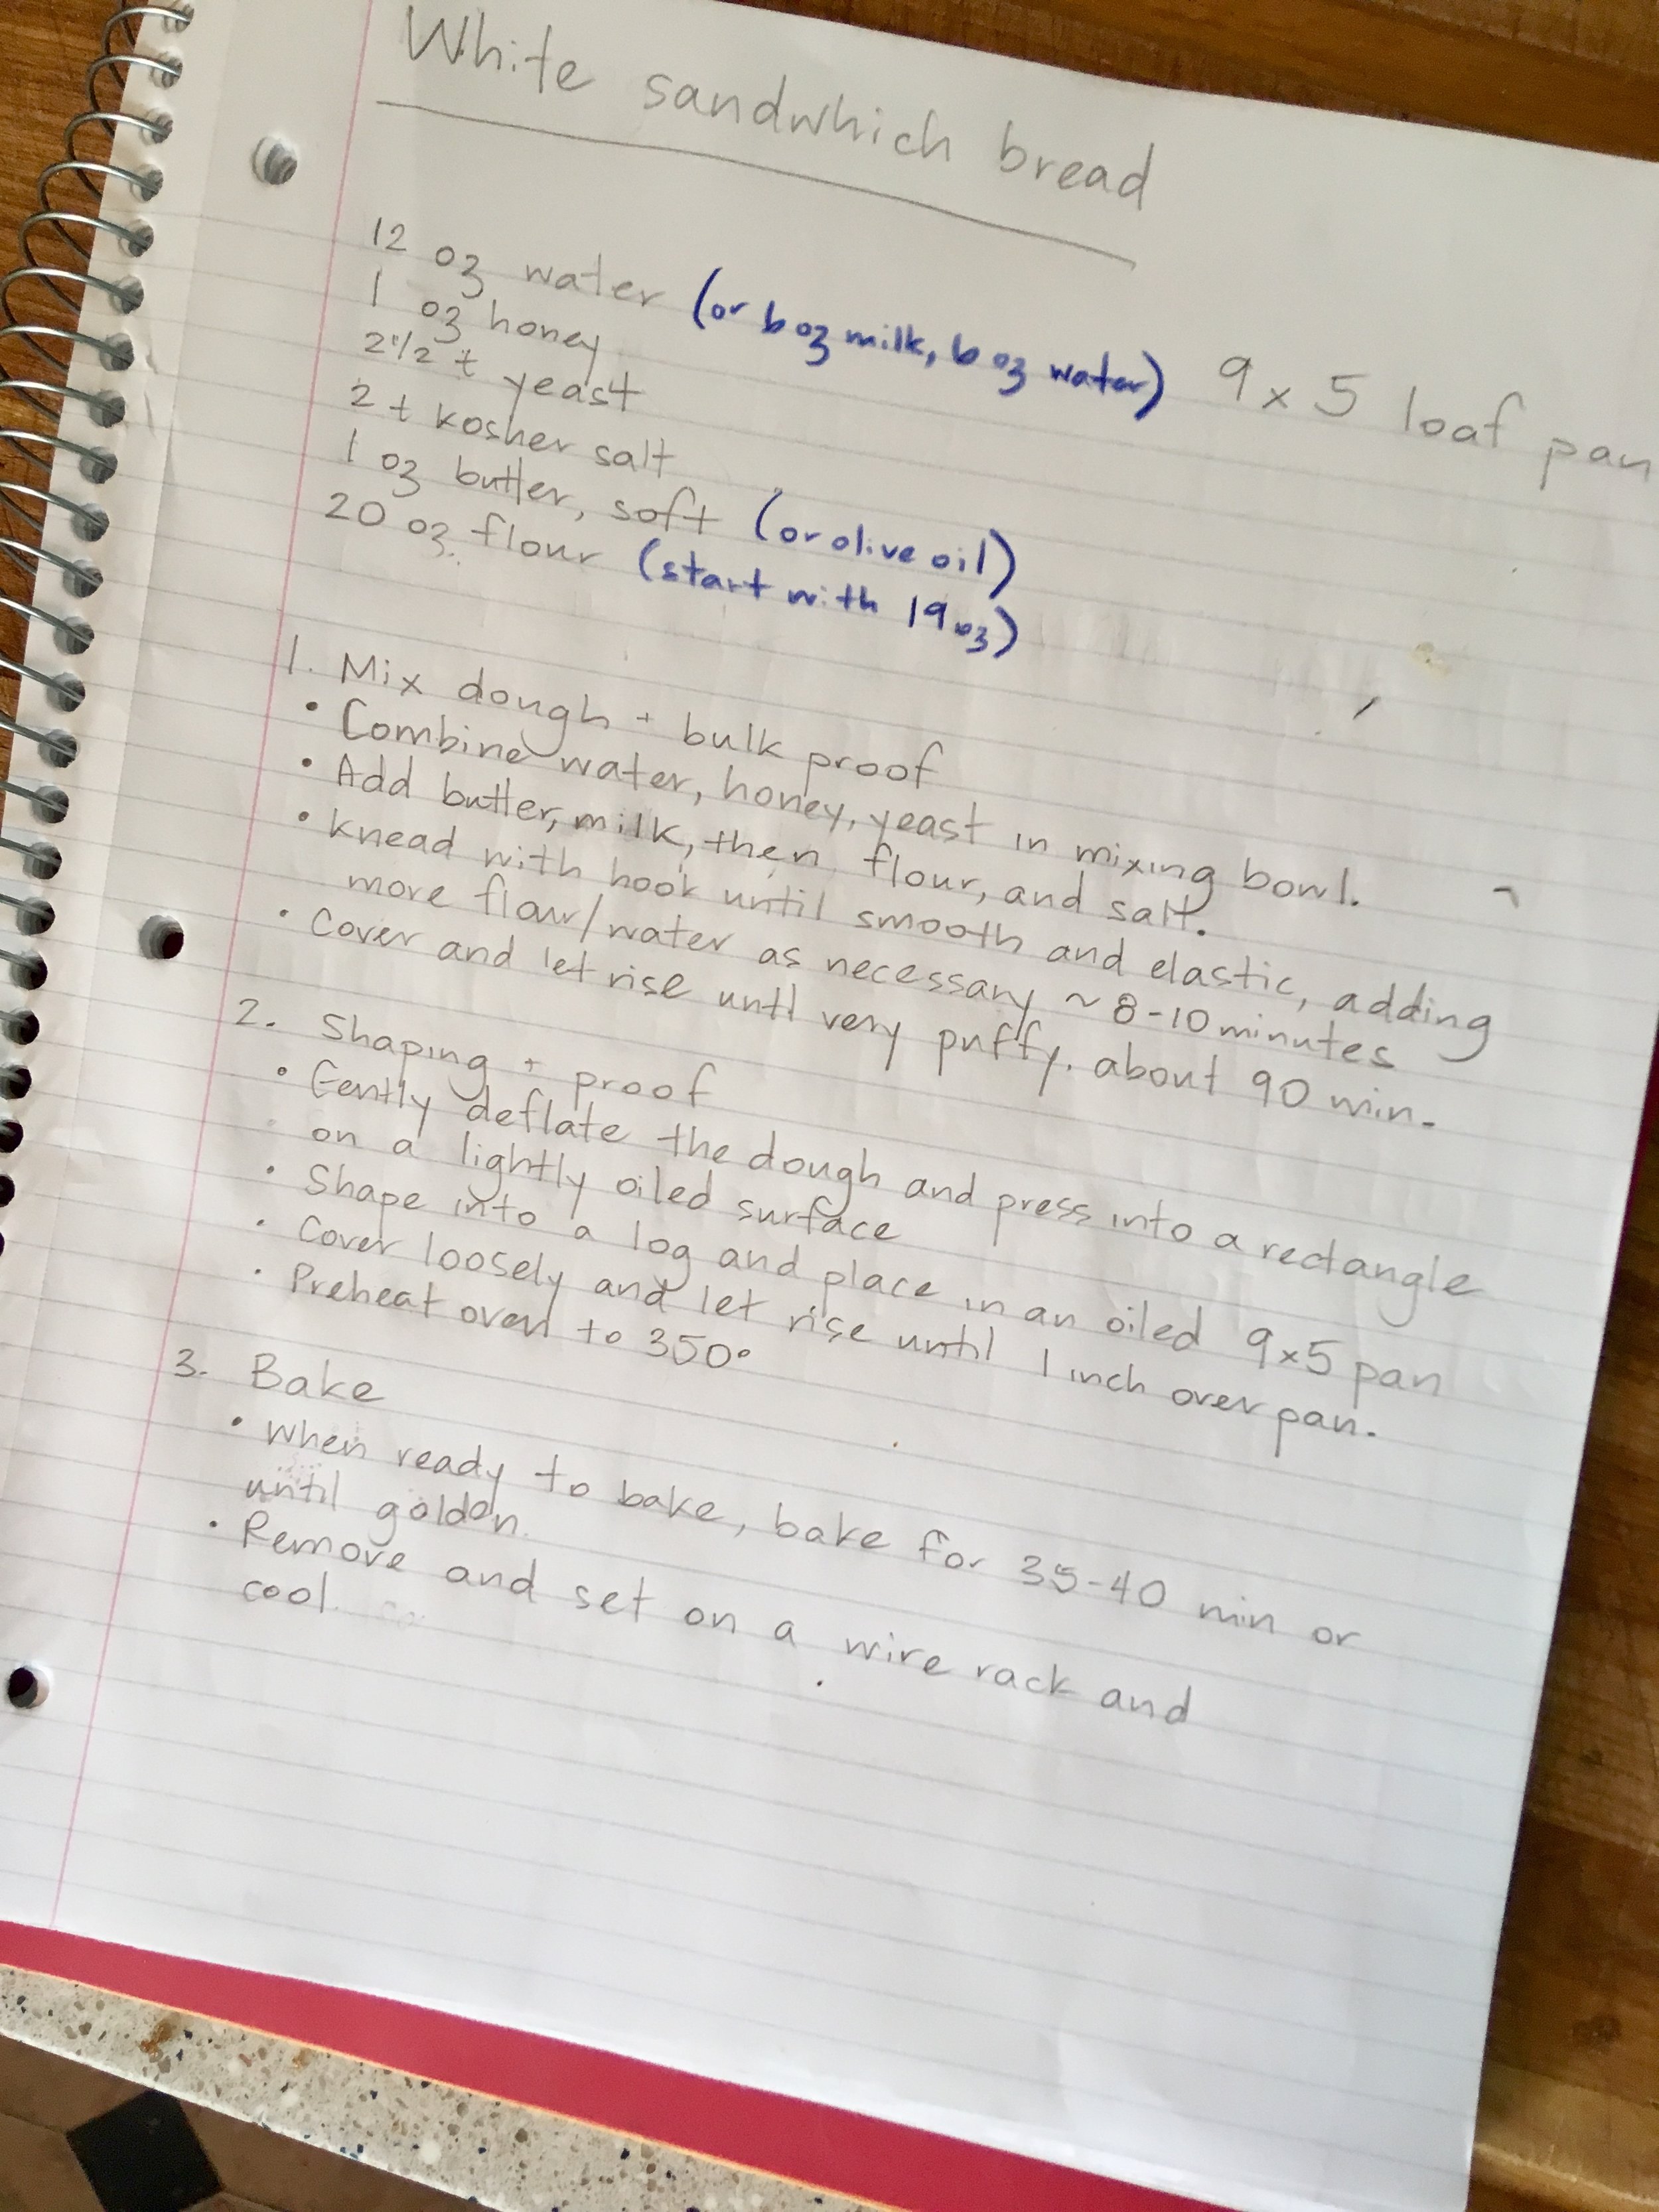
I wrote out the recipe for Sammy using weights because it’s much easier for him to just plop the bowl on a kitchen scale and measure everything straight into it. But not everyone has a scale and/or doesn’t like that method, so I’ve included other measurements in the recipe. I also fleshed out the recipe that I wrote for him because I was with him, walking him through and making it, as I was writing it down - he can fill in the gaps from memory and now experience. But I’m not with you!
Ingredients
3/4 cup (6 oz) warm water
3/4 cup (6 oz) lukewarm milk (or can just use all water)
2 Tbsp (1 oz) honey
2 1/2 tsp yeast
2 rounded tsp kosher salt
2 Tbsp (1 oz) butter, softened (can sub in oil)
scant 4 cups (18-20oz) flour
Instructions
Mix dough/bulk proof. Combine the water, honey, and yeast in the bowl of a standing mixer and swirl to combine. Add the milk, butter, flour, and salt. Mix on low, then knead with the hook attachment on medium low speed until smooth and elastic, about 8-10 minutes. The dough will be tacky but not overly sticky. Collect into a ball and place in a large oiled bowl, turning to coat. Cover with plastic wrap (or a lid of some sort) and let rise until very puffy, 1 to 2 hours (depends largely on the warmth of the dough and the temperature of your house.)
Shaping/proof. Lightly grease a 9x5 loaf pan. Gently punch down the dough and turn it out onto a lightly oiled surface. Press and stretch it out into a rectangle about the size of a piece of printer paper, situated vertically. Imagining the rectangle in thirds, fold the bottom third up and press down, then fold the top third over. Tuck the ends underneath and place in the pan, seam side down, pressing the dough gently into the bottom of the pan. Cover loosely with plastic wrap and let rise until it has domed about 1 inch over the edge of the pan. This sometimes takes as little as 30 minutes in my hot Texas kitchen, but it could take up to 45 - 60 minutes depending on the temperature.
Bake. Preheat oven to 350 when the loaf is close to fully risen. When the loaf is ready place the pan on the middle rack and bake 35-40 minutes or until a rich golden. If desired, take the temperature - the loaf is baked at 180-185. Carefully turn the loaf out of the pan and let cool completely before slicing.

