Basic Sourdough Bread
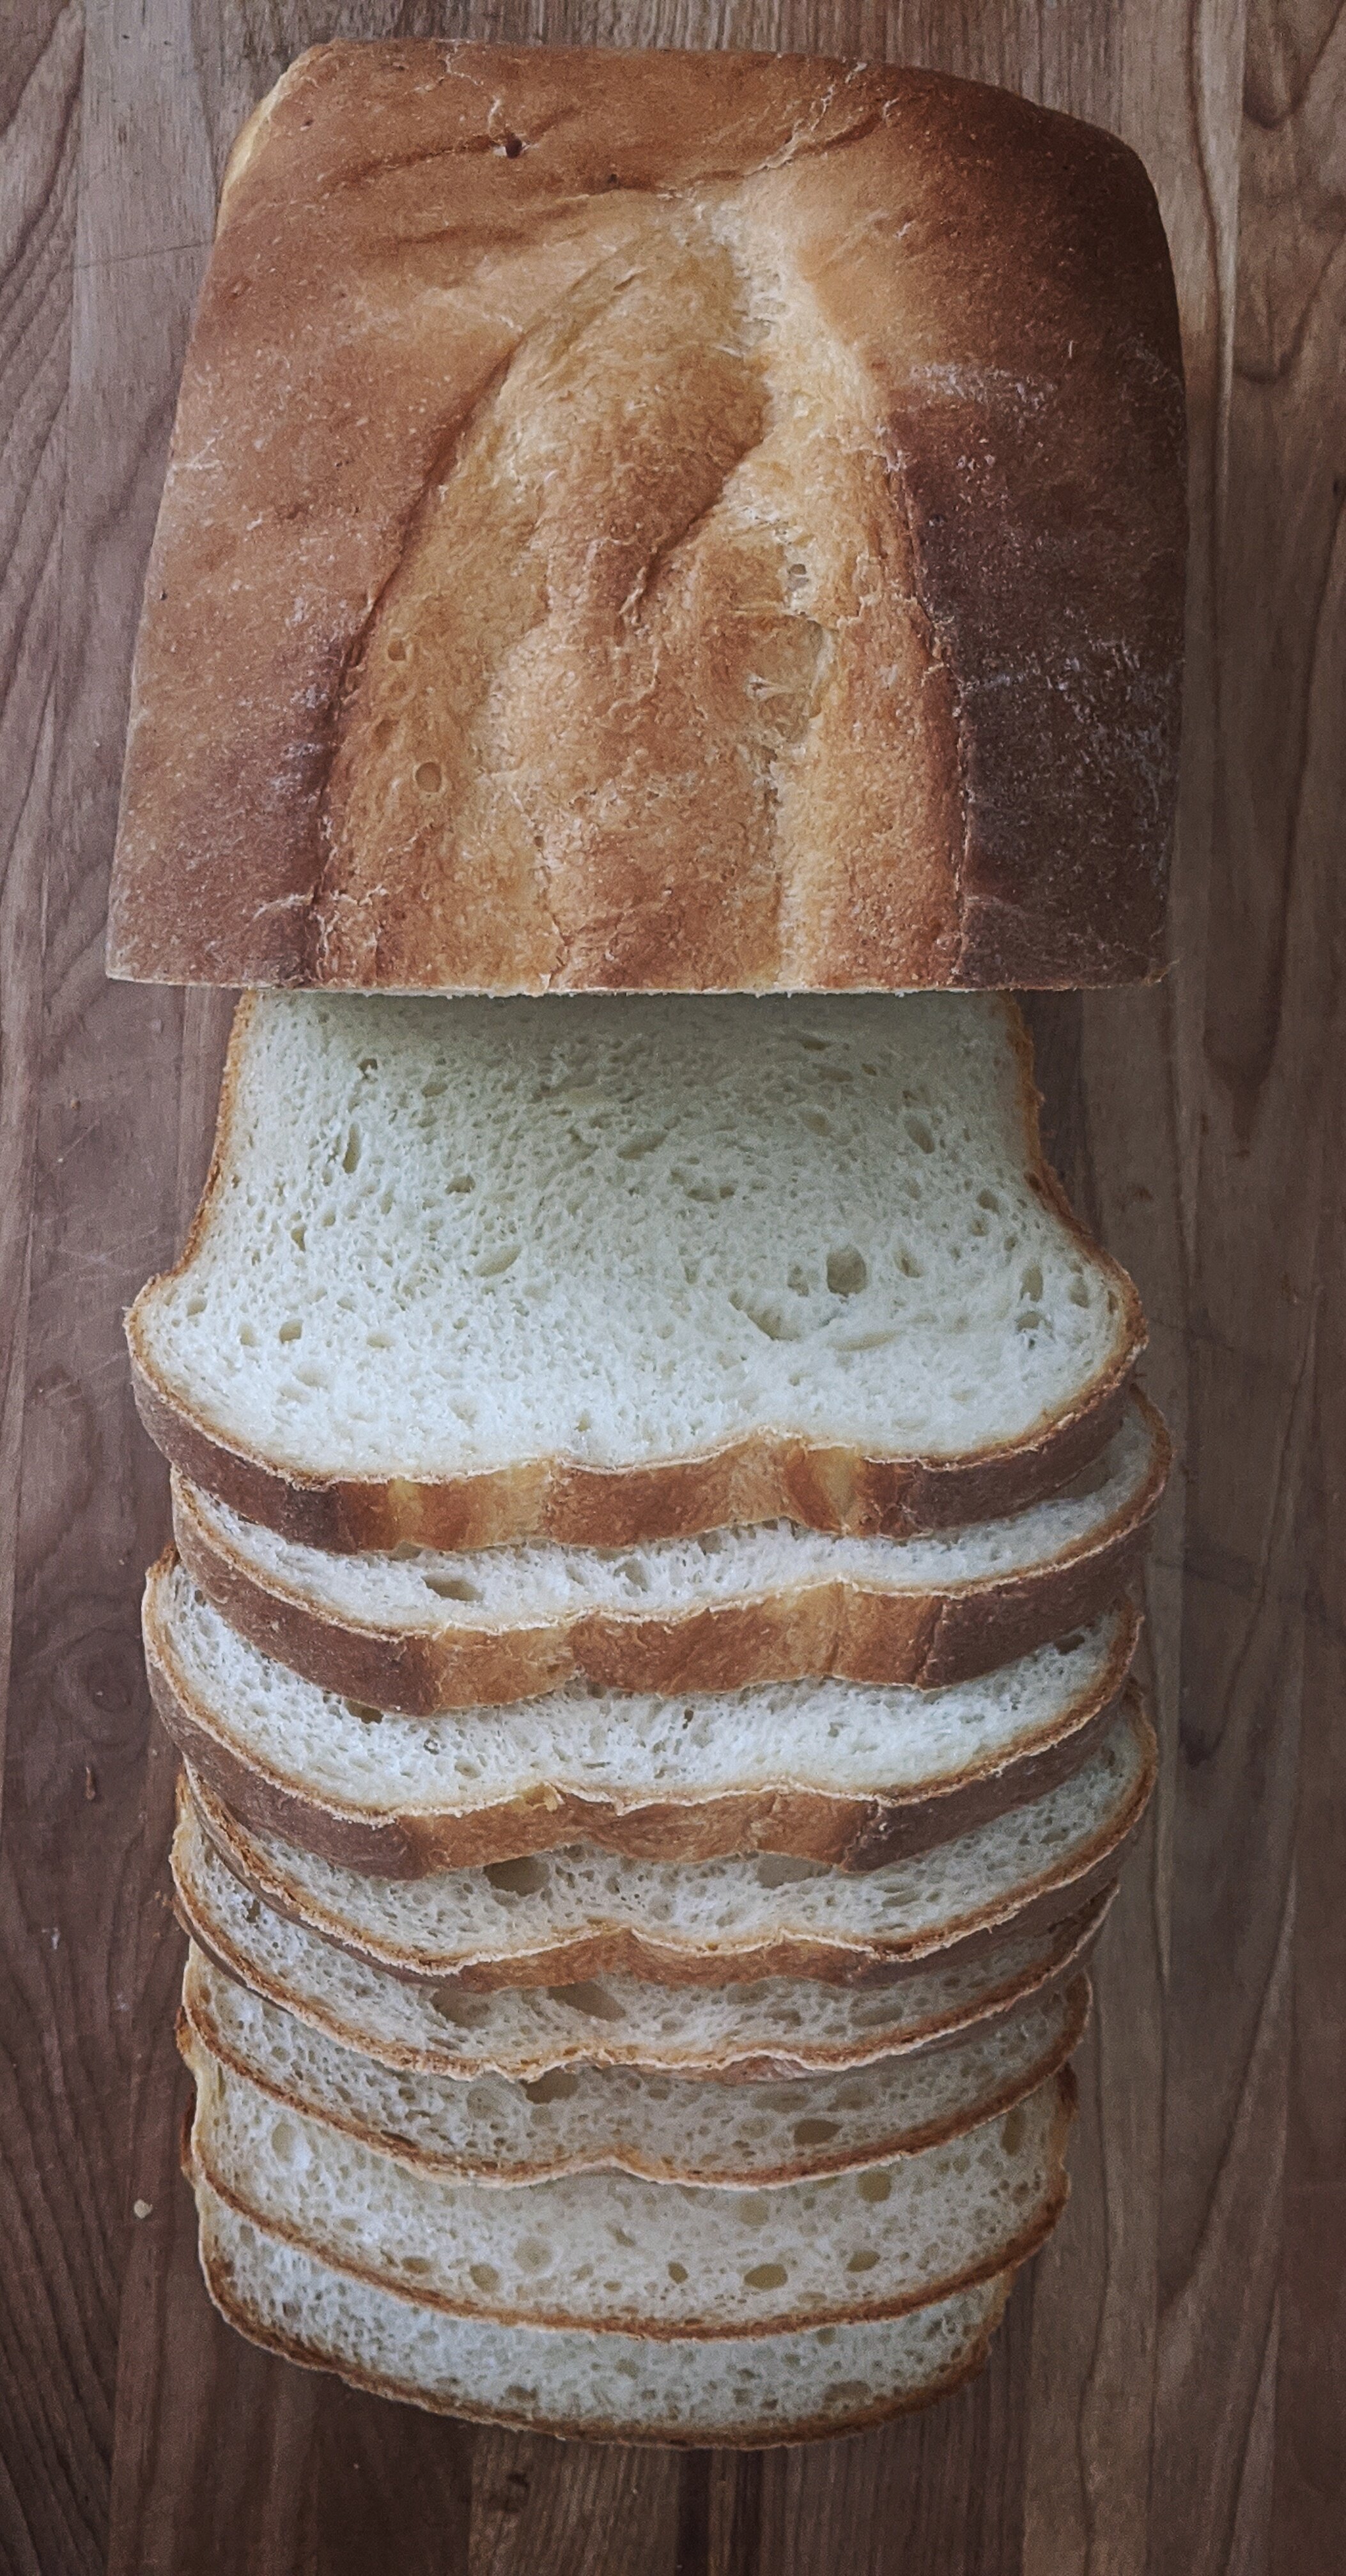
Going sourdough turns baking into a lifestyle. I baked a lot of bread even before I started using natural leavening, but the entire process was a lot more spontaneous and less of a commitment. A sourdough starter requires care and attention. Not constant attention and not time-consuming commitment, but it does need to be worked in and worked around. Diligence and care often are their own rewards, but the actual loaves of sourdough, those are what makes it all worth it. Bread person or not, a slice of sourdough bread, with its depth of flavor and creamy, open crumb, toasted with butter or cut for a deli sandwich, cannot fail to please. It is simplicity, it is perfection. It's the daily bread, the bread of life, the bread worth breaking with friends.
Sourdough opens up the world of bread, both forwards in time and back. You leaven dough just as people did ages ago. You get into a rhythm, you incorporate it into your day. You start to understand the work of yeast simply by experience. You feel liberated from recipes and start experimenting with flours, add-ins, fermentation periods and techniques.
But don't be overwhelmed! It is all so very basic. You need just a small list of things: flour, water, salt, starter, time, and an oven. The rest can be varied. I'm going to include what looks like a normal recipe with ingredients and instructions, but then I'm going to walk through it as it looks in my day. I suggest you follow these guidelines a couple times - at least until you have some successful loaves - and then you can begin to play around with it. And if you have a few failures, don't give up! I probably bake an average of 4 or 5 sourdough loaves a week and I still turn out a pretty unspectacular loaf every now and then. I try not to beat myself up about it but instead use it as an opportunity to understand how different variables change the result. With sourdough, you're always shifting, adjusting, adapting, learning.
There's a whole lot we could discuss about sourdough starters and the dough building process, but for now I'm going to keep it really simple. Assuming you have a starter with some life in it, you should be good to go! Sometime in the future we'll do a sourdough tutorial and include some more in depth analysis of the elements of sourdough and maybe even some troubleshooting.
Basic Sourdough Loaf
Ingredients:
435g all-purpose flour (I use King Arthur)
285g water
120g active sourdough starter
9g salt
Equipment:
You can get by without some of these, but I highly recommend for precision and/or ease:
Kitchen scale
Large bowl
Dough scraper
A medium bowl (or banneton) and a clean kitchen towel
Instructions:
Combine starter, flour, and water and mix well.
Let sit (autolyze) for 45 min.
After the autolyze, add salt. Knead dough a bit to develop a little gluten.
Let sit for 30 min.
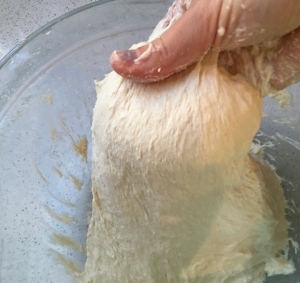
Stretch and fold the dough the first time. This is how to stretch and fold: Wet your hands. Gently scoop under one side of the bread with both hands, grab lightly, and pull the dough up and over onto itself. Rotate the bowl in quarter circles and repeat until all four "sides" are done.
Repeat 30 min rest/ stretch&fold 3 more times.
After the fourth stretch and fold, let the dough bulk rise for 1-2 hours, or until it has developed some bubbles and grown about 1.5 times in size.
Carefully scoop dough out onto a lightly floured surface. Form the dough into a loose boule, cover with a bowl or towel, and allow to bench rest for 30 minutes.
Meanwhile, prepare your baking pan. You can bake this in a greased loaf pan or you can proof the dough in a towel-lined bowl or banneton and then flip it out onto a baking stone or dutch oven at baking time. I use the banneton lined with towel which I've dusted well with all purpose and brown rice flour. My banneton is oval shaped but a medium sized bowl could work just as well.
After the bench rest, shape the dough into either a loaf or boule. Shaping can be tricky. The dough is sticky but you don't want to incorporate too much flour. The trick is to work quickly and shape the dough without handling it too much. This takes practice and confidence. A bench scraper will be your friend! Use the elasticity in the dough to create some tension in the loaf. Then plop the dough either seam side down if you're baking in a loaf pan, or seam side up in the proofing basket. Cover the exposed dough with the towel or with oiled plastic wrap.
Let the loaf sit at room temperature for a bit, until its rise is approaching the rim of the pan or basket. This will depend on how warm the dough is and how warm your kitchen is. Sometimes I let it sit only 40 min, sometimes 90.
Put the loaf into the fridge overnight. This will retard the rise of the dough and allow it to develop flavor without over proofing. Also, cold dough is much easier to work with!
At least 30 minutes before you want to bake, heat the oven to 475. If you're baking the loaf in a dutch oven, put the dutch oven in the oven to get nice and hot. If you're baking on a stone, put the stone in the oven to get nice and hot, but also a cookie sheet or broiler pan on the lowest rack - at bake time you'll pour hot water into this pan to create steam, which will allow the dough to expand and develop a good crust. If you're baking the loaf in a loaf pan, just put the pan for the steaming water in the oven.
When the oven is preheated, take the loaf out of the fridge. If you're baking in a pan, simply score the dough with a slightly off-center cut down the length of the dough, pour a cup of hot water into the broiler pan, and bake for 35 minutes or until golden/dark brown. If you're baking on the stone, turn the dough out onto the stone so the seam is now down, score, pour water into the broiler pan, and bake 35 min. If you're using the dutch oven, do the same but without the water. The lid of the dutch oven traps the steam of the dough and creates the same steam effect as the hot water.
Let loaf cool completely if you can and then slice and enjoy!
So the way this looks in my day is something like this:
5:30am: When I wake up I take my jar of about 50g starter out of the fridge to take the chill off.
7:00am: Feed my starter in a 1:1:1 ration, so, mix in 50g water and 50g flour
2:00pm: When starter is fully active, set aside 50g starter for next loaf, then mix dough ingredients (minus salt) and let autolyze.
2:45: Add salt, knead a bit, let sit
3/3:30/4/4:30: Do my stretches and folds
4:30 - 6:30: Bulk rise
6:30: Pre-shape, bench sit
7:00: Shape into loaf, place in pan
8ish: Put in fridge
5:30am the next morning: Preheat oven to 475.
6am: Bake
And just like that, I have a fresh baked loaf of bread for the day. Yes, it means that I have to plan a day ahead for a loaf. Yes, it means that the day before I have to be around in the afternoon to do the stretches and folds. Generally I'd be doing dinner around that time anyway, so that's no big deal. Also, we're an early to bed, early to rise family so this is what works with my schedule, but there's no reason this couldn't be shifted a couple hours later. I basically do this every other day: one day prepare dough, next day bake and eat, next day prepare dough, next day bake - and so forth. It's a rhythm and a habit.
Try it!
The starter right after being mixed. It's kind of like a thick pancake batter.
The starter when fully active - so bubbly!
The dough when just mixed, without salt. It's just a shaggy mess really.
After autolyze. Note the gluten development.
Pre-shape bench rest. Don't sweat this step too much, just shape lightly and let sit.
In my early morning dark kitchen, puffed out of the banneton and ready to bake!
SMELL IT.


