iced wedding dress sugar cookies
I had a ton of fun making iced wedding dress sugar cookies for a bridal shower over the weekend. Usually, I don't have the patience to do a classic iced cookie, with the multiple steps of outlining, flooding, and then finishing with decorative piping on top -- not to mention the time waiting for the icing to dry in between, compounded when you are using multiple different colors. More often than not, I opt for the far simpler wet-on-wet technique (which can actually yield quite stunning results). You can imagine how pleasantly surprised I was by how therapeutic these classic iced sugar cookies turned out to be for me, especially when spaced out over a couple days. I particularly loved getting lost in the piping of the dress embellishments. It proved a tremendous creative outlet.
A little on the cookie recipe: this recipe is my absolute FAVORITE. I discovered it years back, and I've been using it ever since. The cookies themselves are...perfect. Flavorful, tender, sturdy enough to stand up to intricate cut-out shapes, yet still delicious to eat. But more important than the cookies, it's the recipe I love. NO need to soften the butter! NO need to chill the dough! It is a cinch to mix up, and a dream to work with. The cookies keep for two weeks. You can freeze the dough at any point in the process--before shaping, before baking, after baking. You can even freeze them fully iced (with royal icing). I'm telling you, the recipe is incredible. The only beef I have with the recipe is that it is difficult to halve, since it calls for 1 egg -- but I'm even okay with that, because the dough freezes so easily.
Now I'm going to blogger-crush a bit here. The cookie recipe is from Bridget over at Baked at 350. I first stumbled on her blog in search of a recipe for a certain type of cookie that my husband loves: those packages of round, soft vanilla cookies piled with frosting and sprinkles. Since then, I've learned that those are called Lofthouse Cookies (and yes, I DO have a recipe for those). At the time, I didn't know what I was looking for, and found myself Googling things like "soft, chewy, thick sugar cookie." Somehow in those searches, I found a recipe that seemed like a possible match, so I decided to give them a try--and I've never looked back. This is now my GO-TO EASY-PEASY NO-FAIL sugar cookie recipe. Trust me, it's amazing. And Bridget herself over at Baked at 350 is amazing with her cookie skills. I just love scrolling through her cute and creative creations. You should check her out.
Iced Wedding Dress Sugar Cookies: The Process
I started this project 2-days in advance with a great dress-shaped cookie cutter and a double-batch of my favorite sugar cookie recipe. I made the dough, rolled it out, cut the dress-shapes, and cooked up all the cookies (a double batch of the recipe made about 48 cookies).
It was quite the process to shuffle 8 trays of cookies through the freezer (to chill before baking--it helps the cookies keep their shape) then the oven and on to cooling racks. Thankfully, these cookies are super friendly towards making-ahead, so I was able to bake them up two days before the bridal shower and store them in airtight containers.
The next day, I made up my royal icing. My preference is typically either a real royal icing (made from egg whites) or a classic icing (like this), because of taste/flavor. This time I tried out the Baked at 350 Royal Icing (uses meringue powder), and... I didn't love it. I thought the flavor was a bit blah, the texture dry, and the finish a bit dull. Granted, meringue-powder icing has a reputation for being just that underwhelming. Also, Bridget herself admits that royal icing can be finicky, and she does a fantastic job trying to troubleshoot.
BTW, You'll need a double batch of the icing for 4 dozen cookies.
Keeping the icing at stiff-peak piping consistency, I piped all 48 cookies with outlines. It hurt my hand, a lot! The icing at this stage is fairly stiff, so it takes real effort to squeeze it through the piping tip. (Oh, by the by, I used a small round tip. In hindsight, I think I'd use a smaller round than what I chose.)
I found if I kept the piping bag propped inside a tall glass cup with a damp paper towel stuffed in the bottom to keep the tip from drying out, I could come and go from this throughout the morning. Prepare breakfast...pipe a tray of cookies. Empty the dishwasher...pipe a tray of cookies. Take the girls on a walk...pipe a tray of cookies.
After the cookies were all piped, they were ready to be flooded with icing. Splitting the remaining icing into two, I thinned out one half to flooding consistency. (Save the other half in an airtight container for piping the dress embellishments later on.) Flooding the 48 cookies was way less work than piping the outlines, and so satisfying!
A note here: my flooding was a little sloppy at first, but I got better as I went on. You can go through and pop any air bubbles with a toothpick before the icing sets. I didn't worry too too much about areas where my outline was less than perfect, or where there was a cluster of air bubbles I failed to pop. When it came time to decorate and embellish the dresses, there is room to cover a multitude of sins. :)
After all the cookies were filled, I let them set for a couple hours and didn't return to them until around dinner-time. I wanted to be sure that the icing was firm before adding any embellishments to top.
Once the flooded icing was set, I went about piping the decorations. I actually decided to thin the stiff-peak icing just a tad so that there was better flow. Then, I set to work decorating the cookies, and let me tell you, it was So. Much. Fun. I found it so engrossing. I'd pipe a cookie, then stir the onions sautéing for dinner. Pipe a cookie, then tend to the pot of boiling water. Pipe a cookie, and set out plates on the table. Pipe a cookie, and oops! the onion burned. and oops! the pot is boiling over. and oops! everyone is waiting for me at the dinner table.
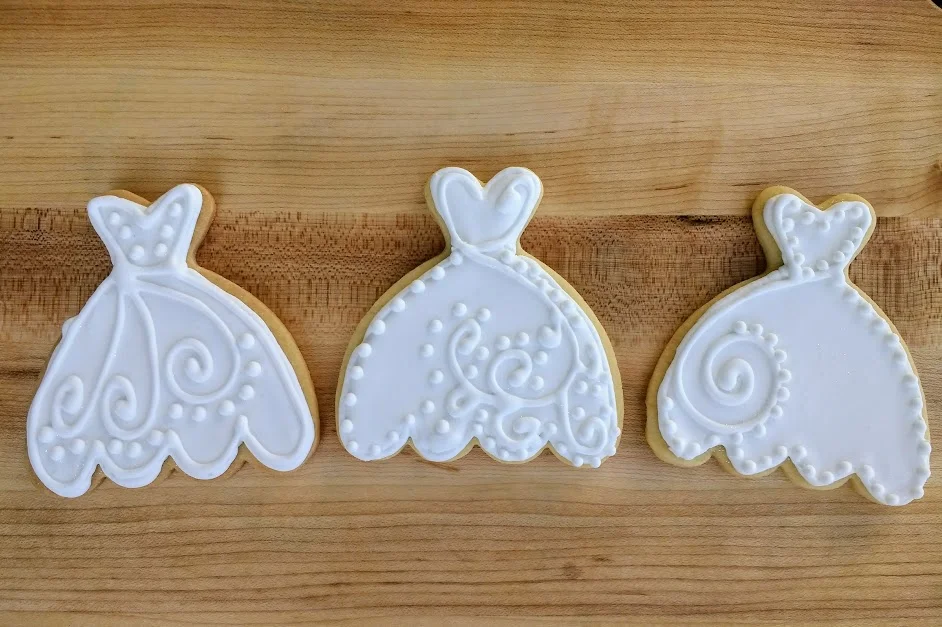
Some of the cookies has decorative swirls.
Some were sweet and simple:
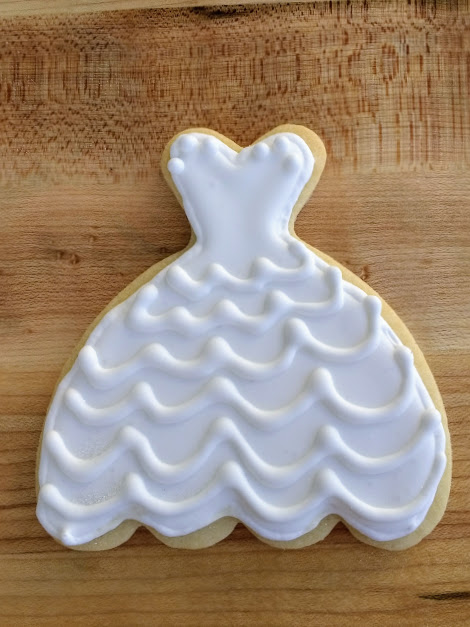
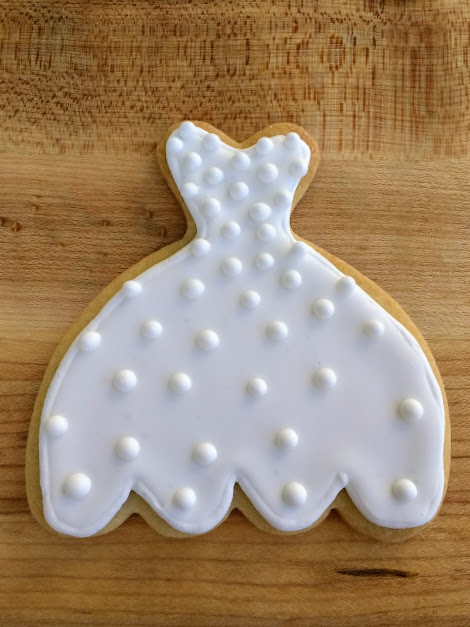
Some had ruffles and some had dots:
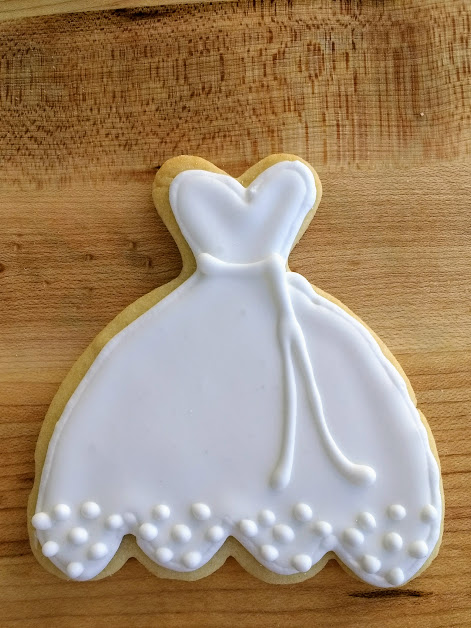
Some had spirals, some had buttons, some had sashes, some had ribbons, some had bows and some had beads. It was so much fun and so engrossing to see where the creative genius led with each cookie dress!
I think I'm better known for my cake-baking, but after this experience making wedding-dress sugar cookies, I'm tempted to become more of a cookie person. Cakes are always down to the wire, every little mistake can have majorly disastrous consequences, and I'm always finishing up the last touches RIGHT before the event. Cookies, on the other hand, are small and safe. They NEED to be finished the day before so they can rest overnight. And one mess up is no big deal - you can always eat it.
I really enjoyed making these cookies.
After letting the cookies set overnight (yes, they can sit out uncovered overnight without getting stale, and they need to in order to be completely dry!), I dusted them with platinum disco dust, packaged them in a box and sent the sweets off to their destination: a sweet bridal party for a sweet young lady!


