apple pie and a winner crust
Easy as pie. Who in the world came up with that?! I’m not sure. But I feel they must never have made one. In my baking experience at least, I have never, ever said: “Oh, this ol’ pie? I just whipped it up right before dinner.” No way. How would the crust have been chilled? How could the pie have set? IT ISN’T POSSIBLE! Cake on the other hand….
But pie is wonderfully delightful and comforting. Deep down, I think it should be easy. It should be something we’re eager to bake and share, not something to balk at. But what really turns most of us off from baking pie? The crust. Enter this recipe that saved me by saying two things: ONE: Don’t fear gluten, that is, don’t worry about overworking the dough and TWO: Use as much flour as you’d like.
How is this possible? Doesn’t that break all pie baking commandments? Well, due to the equal ratio of butter to flour, no. Plus, working in some folds does wonders. If you’re into baking science, read the full exposition here.
As for the filling, this is a standard recipe, no mind blowing, inventive flavors. Just yummy, soul satisfying apples & spices that fill your house with a maddening aroma of mulled cider.
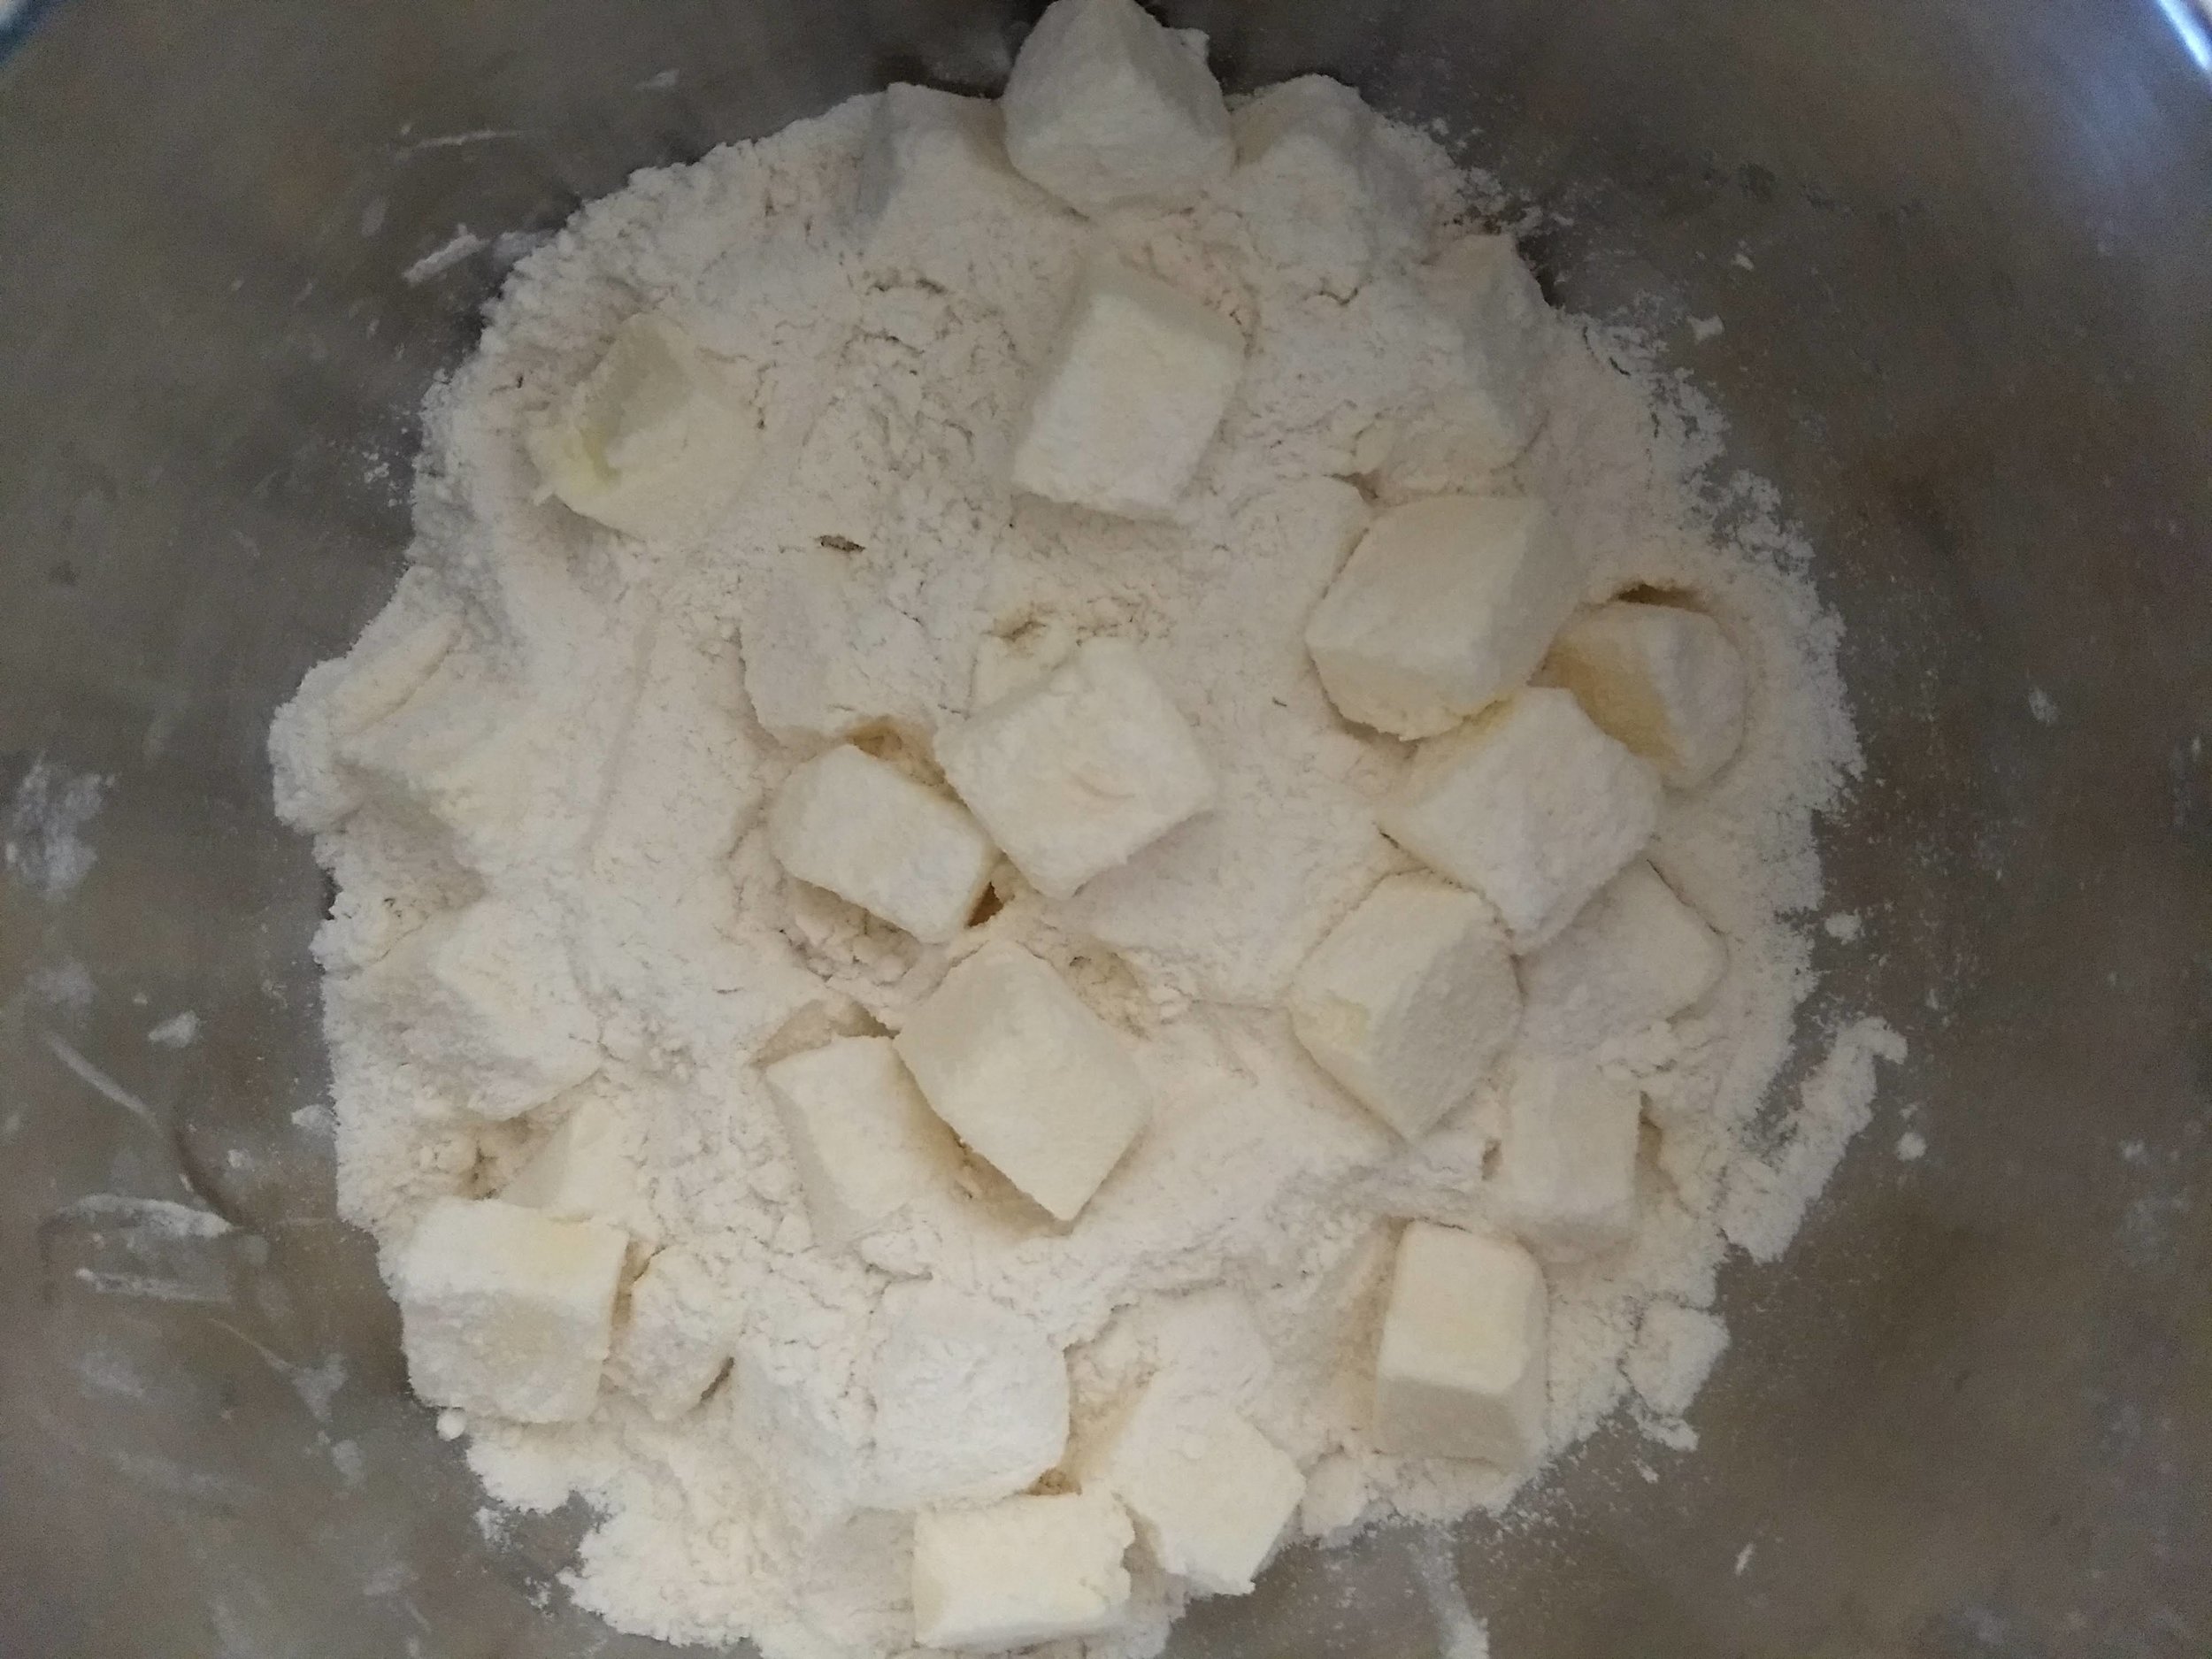
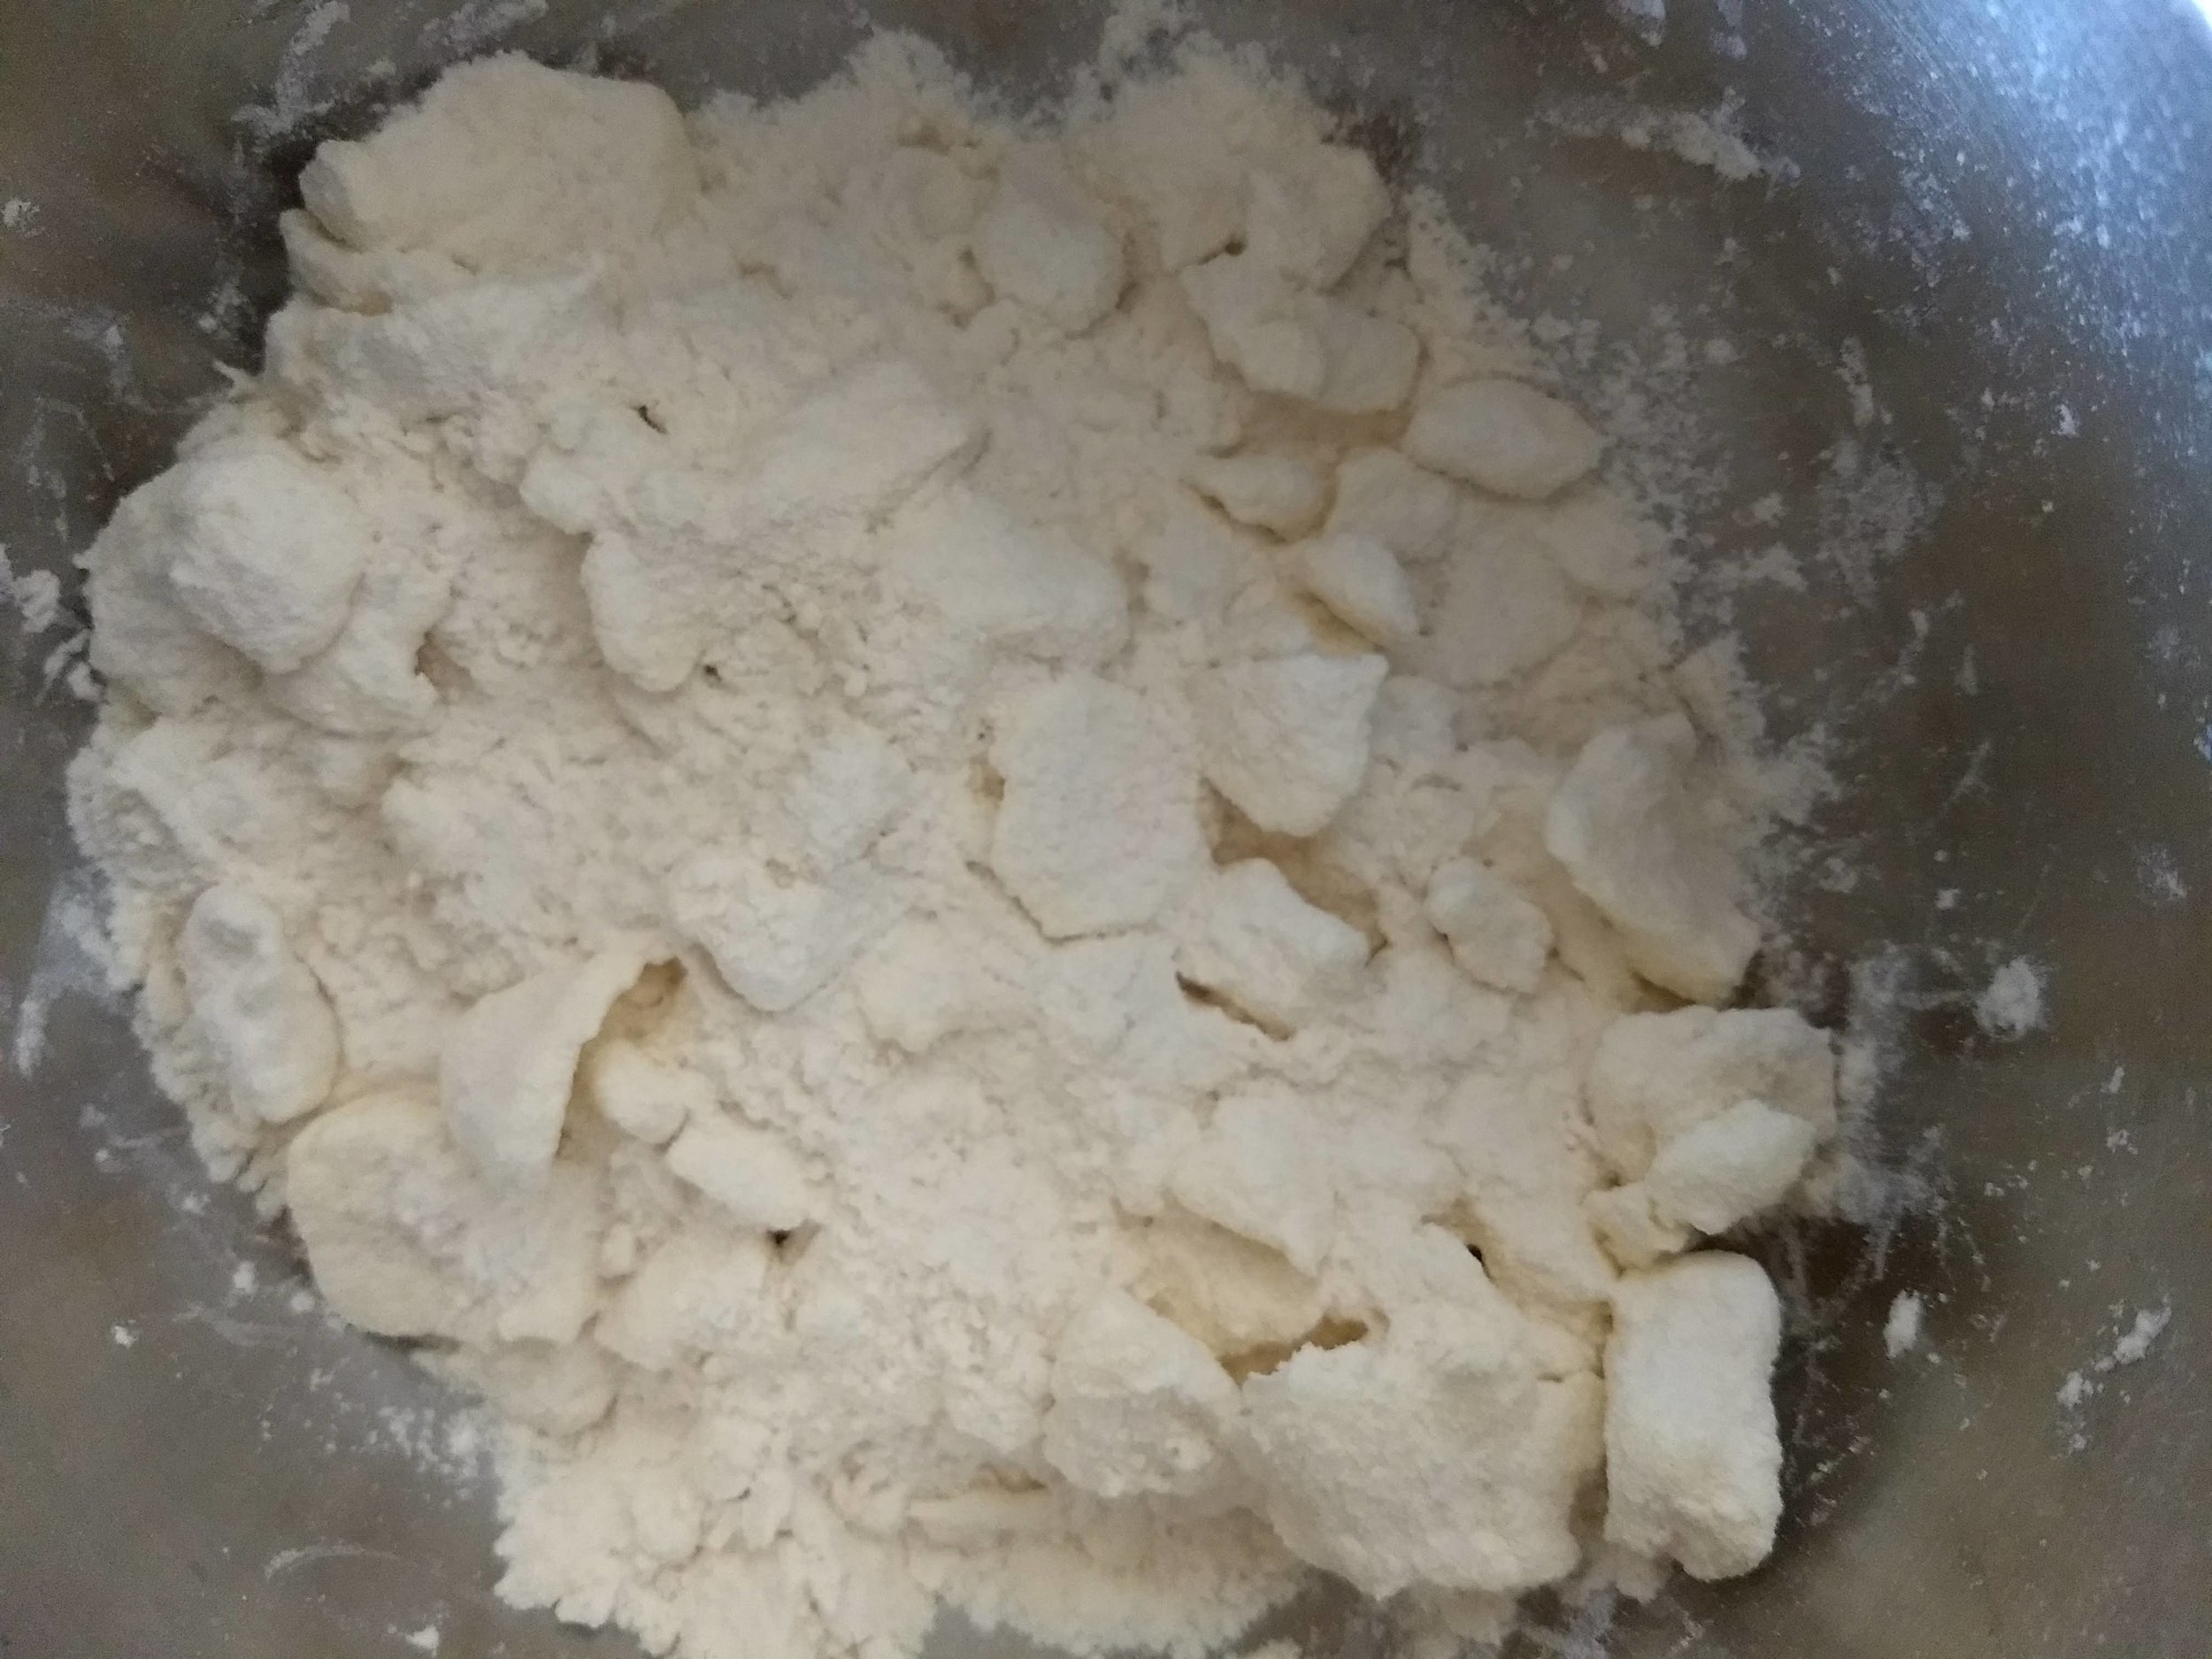
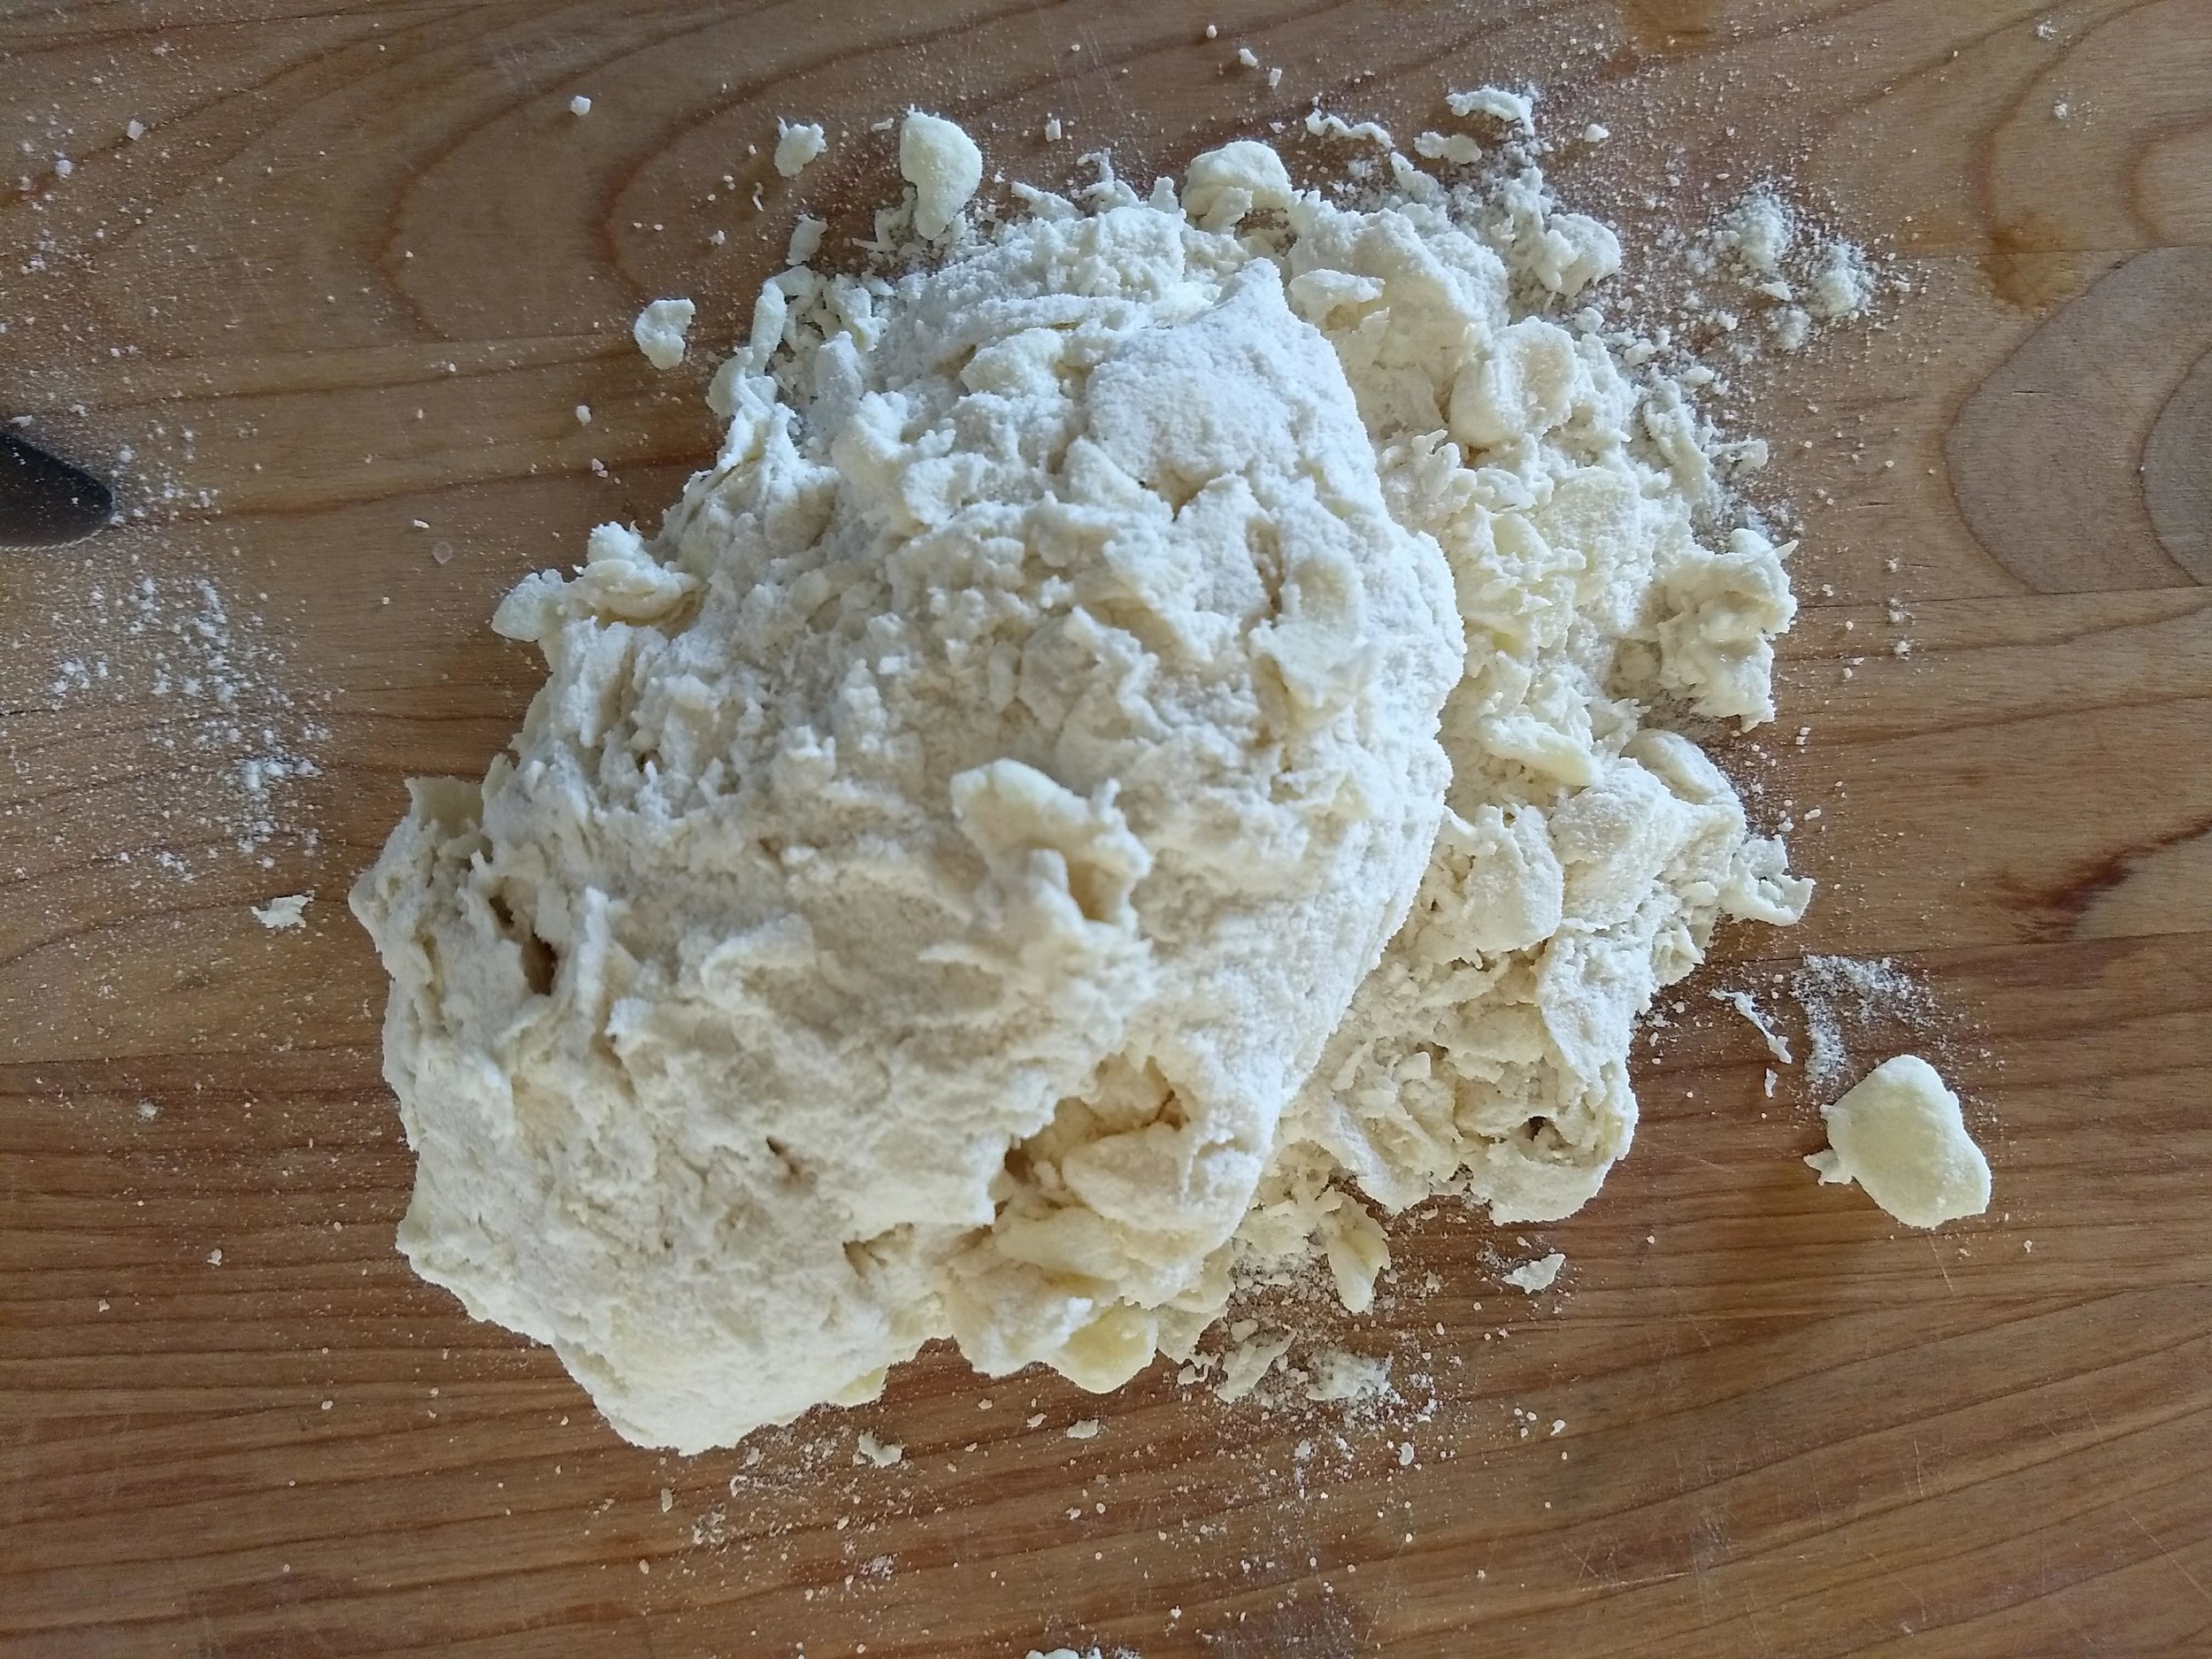
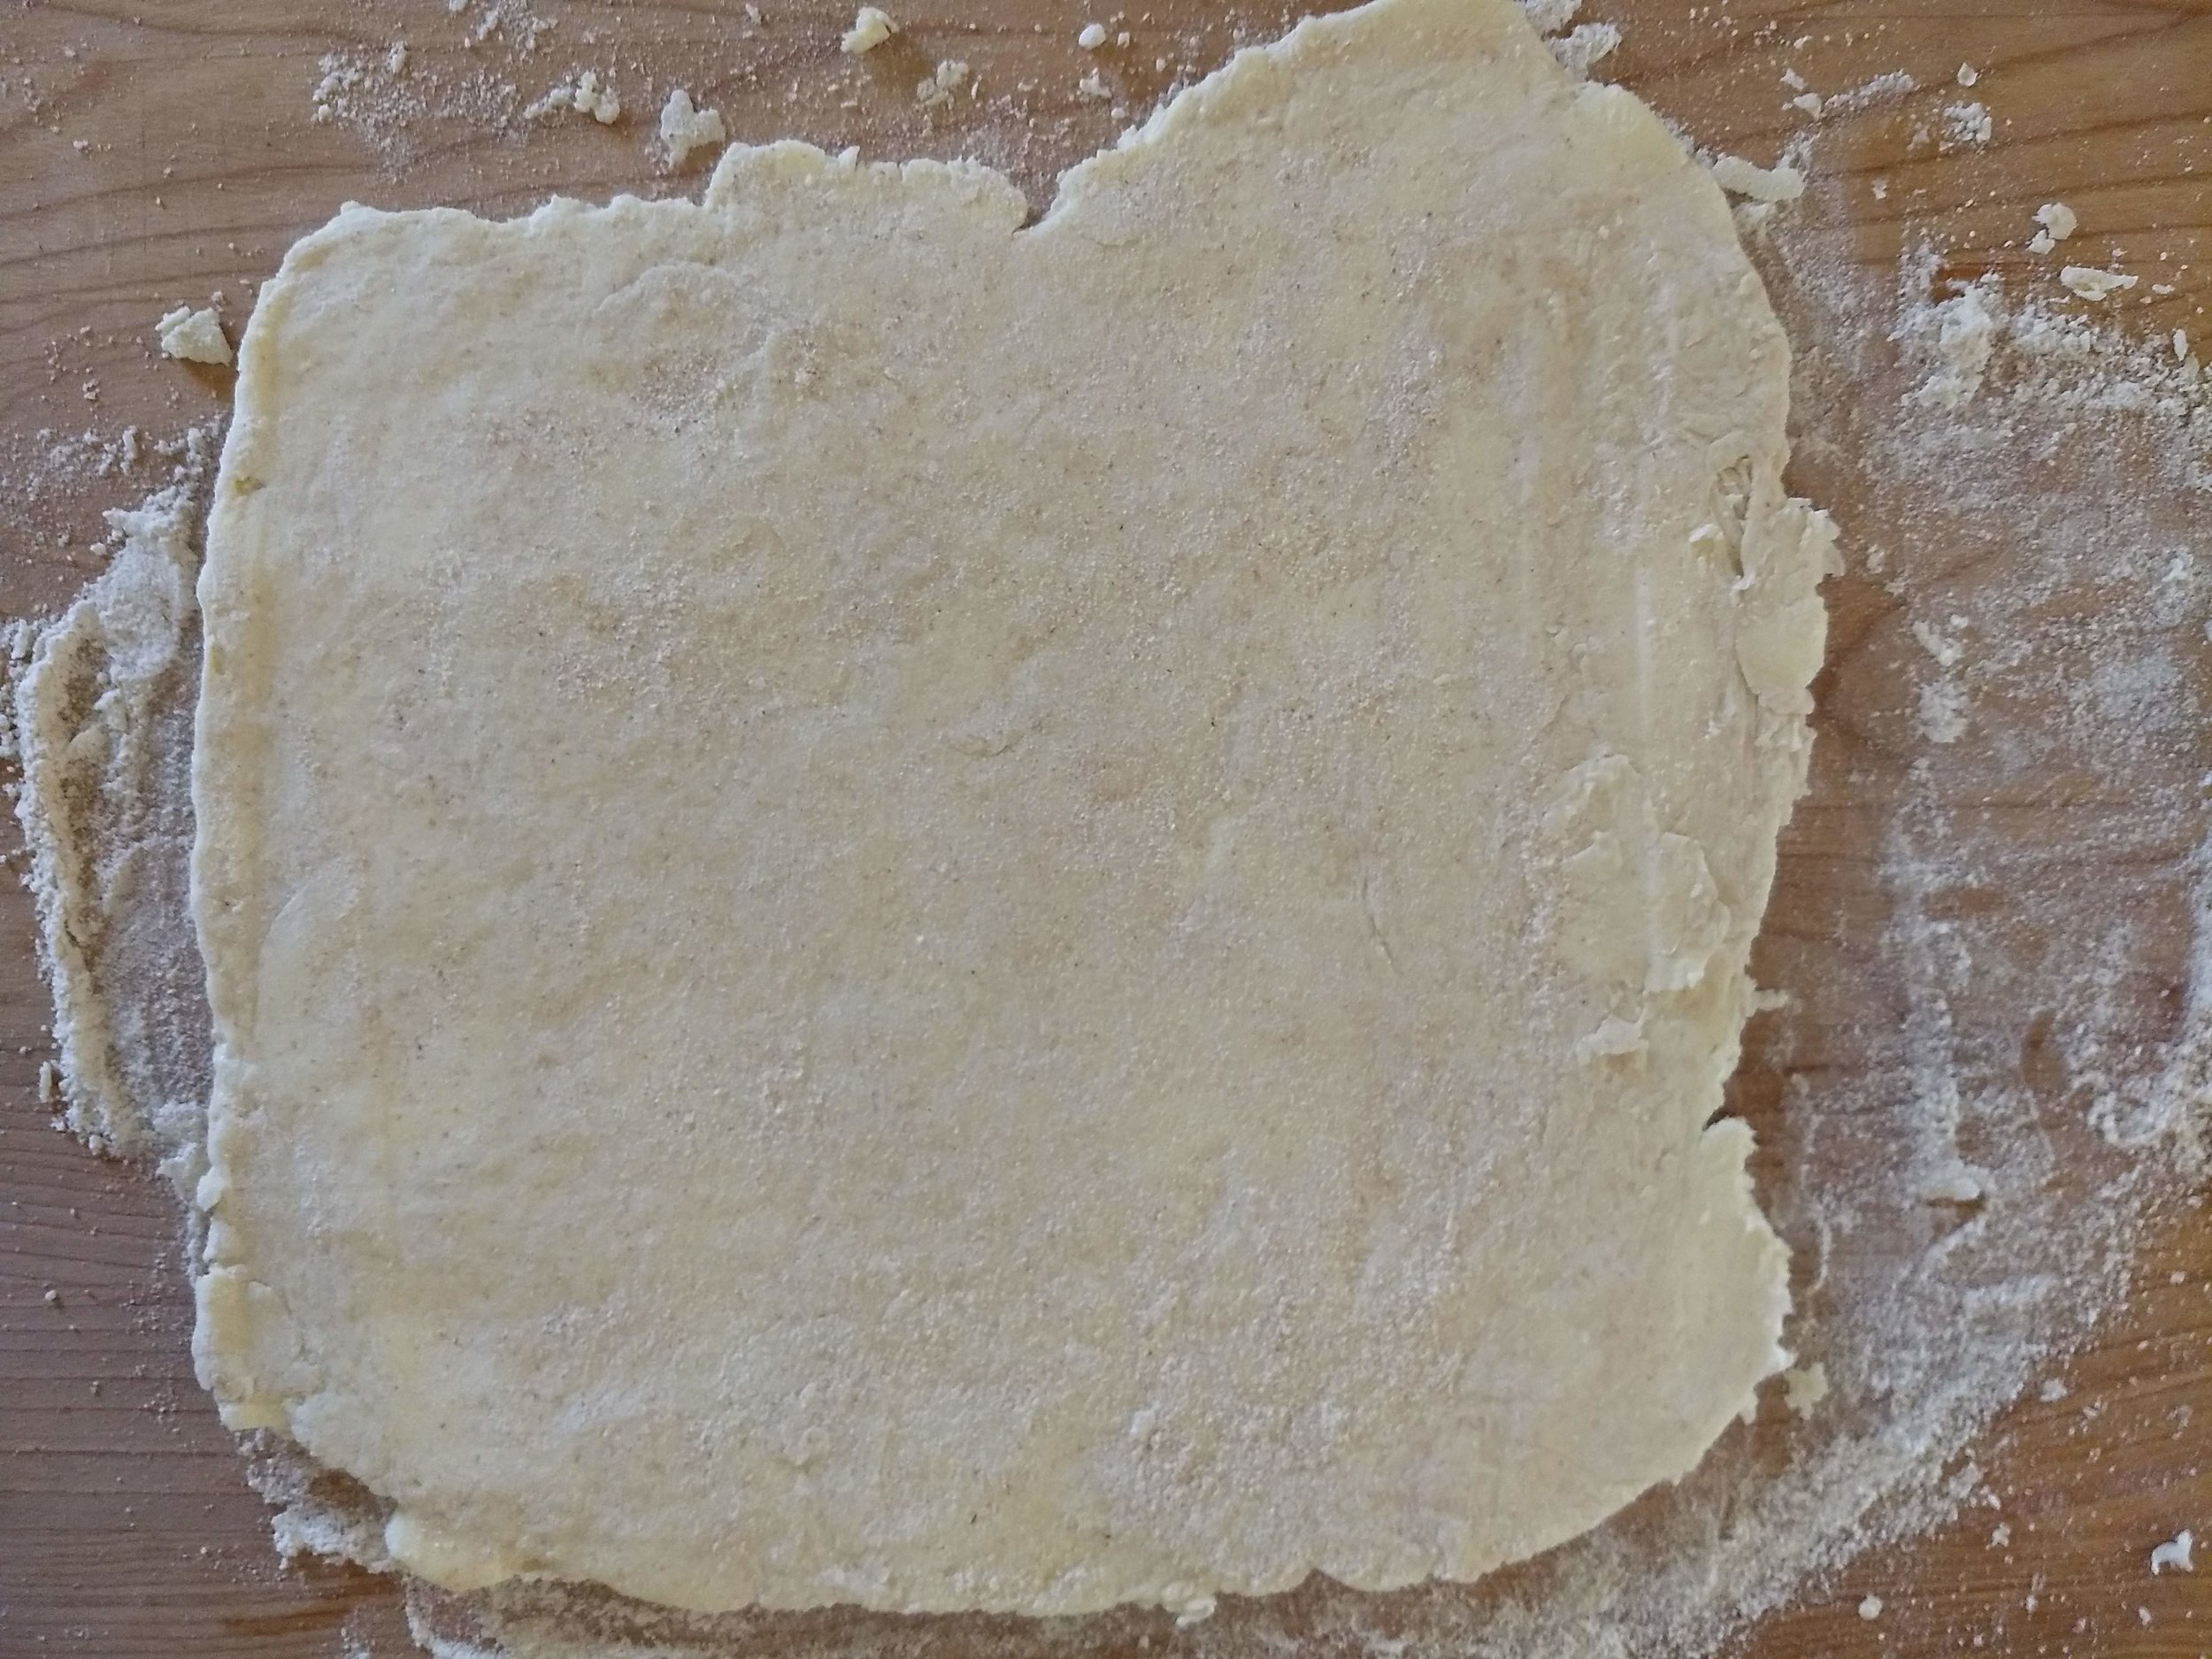
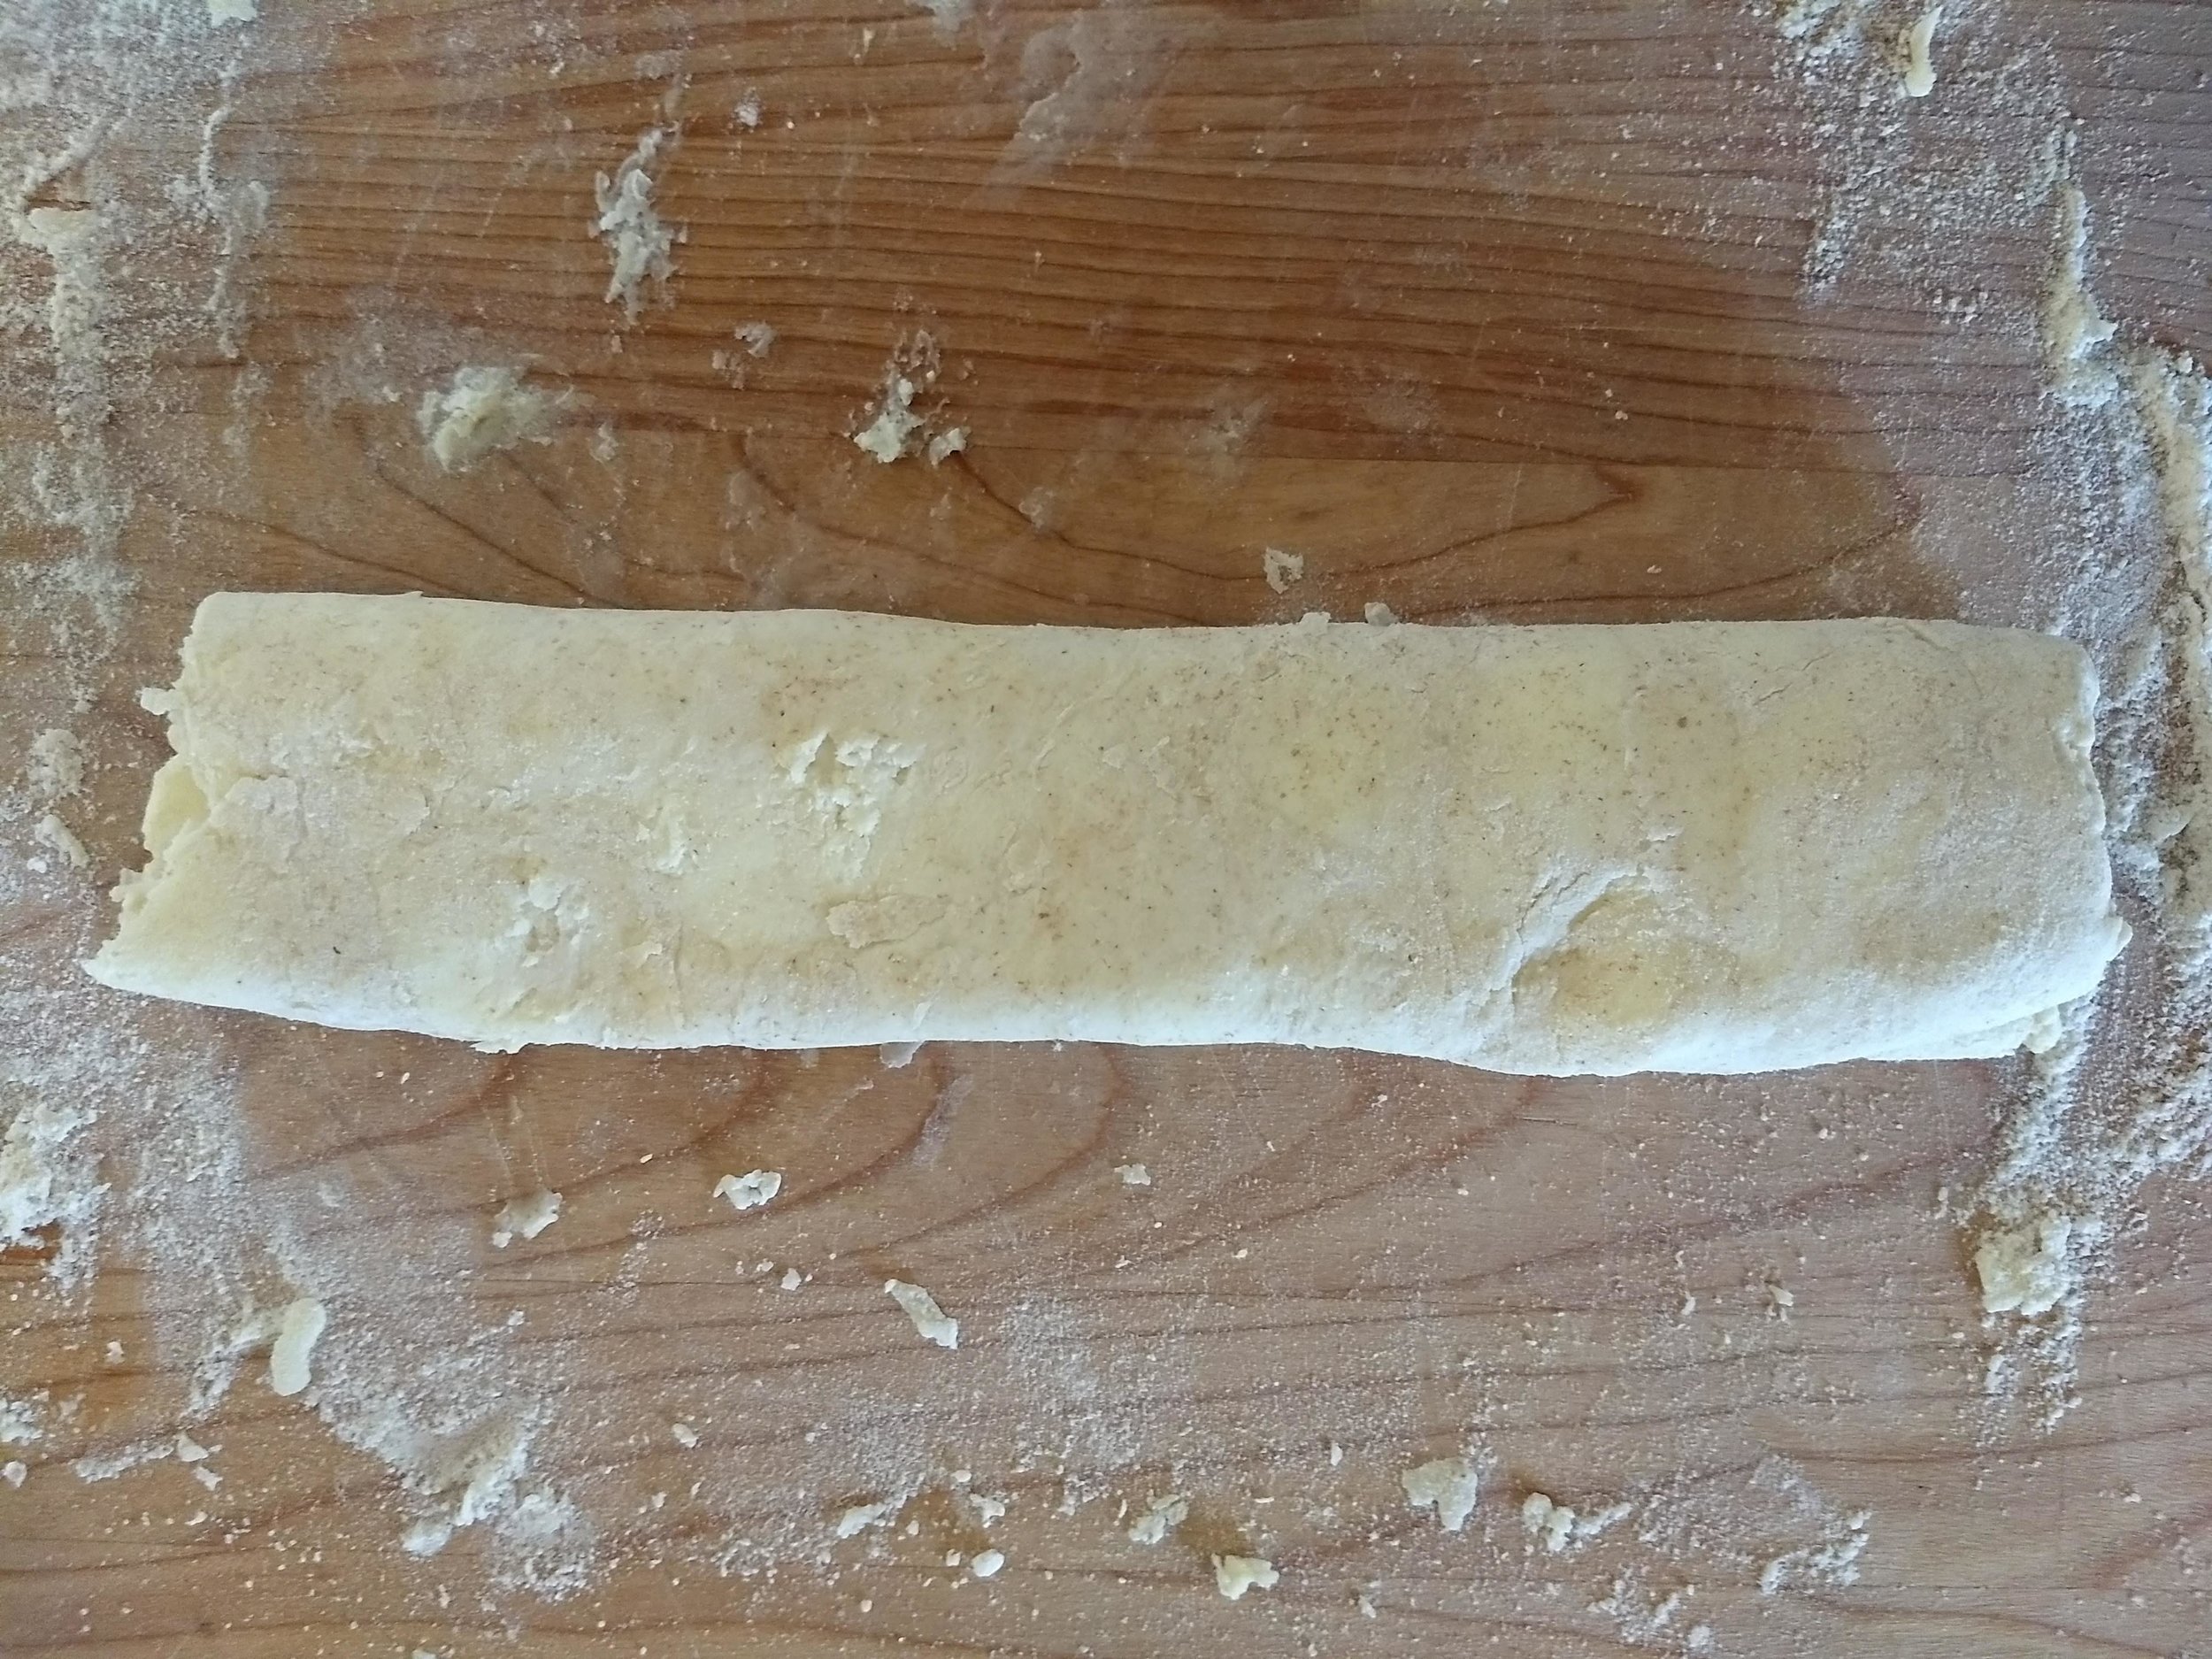
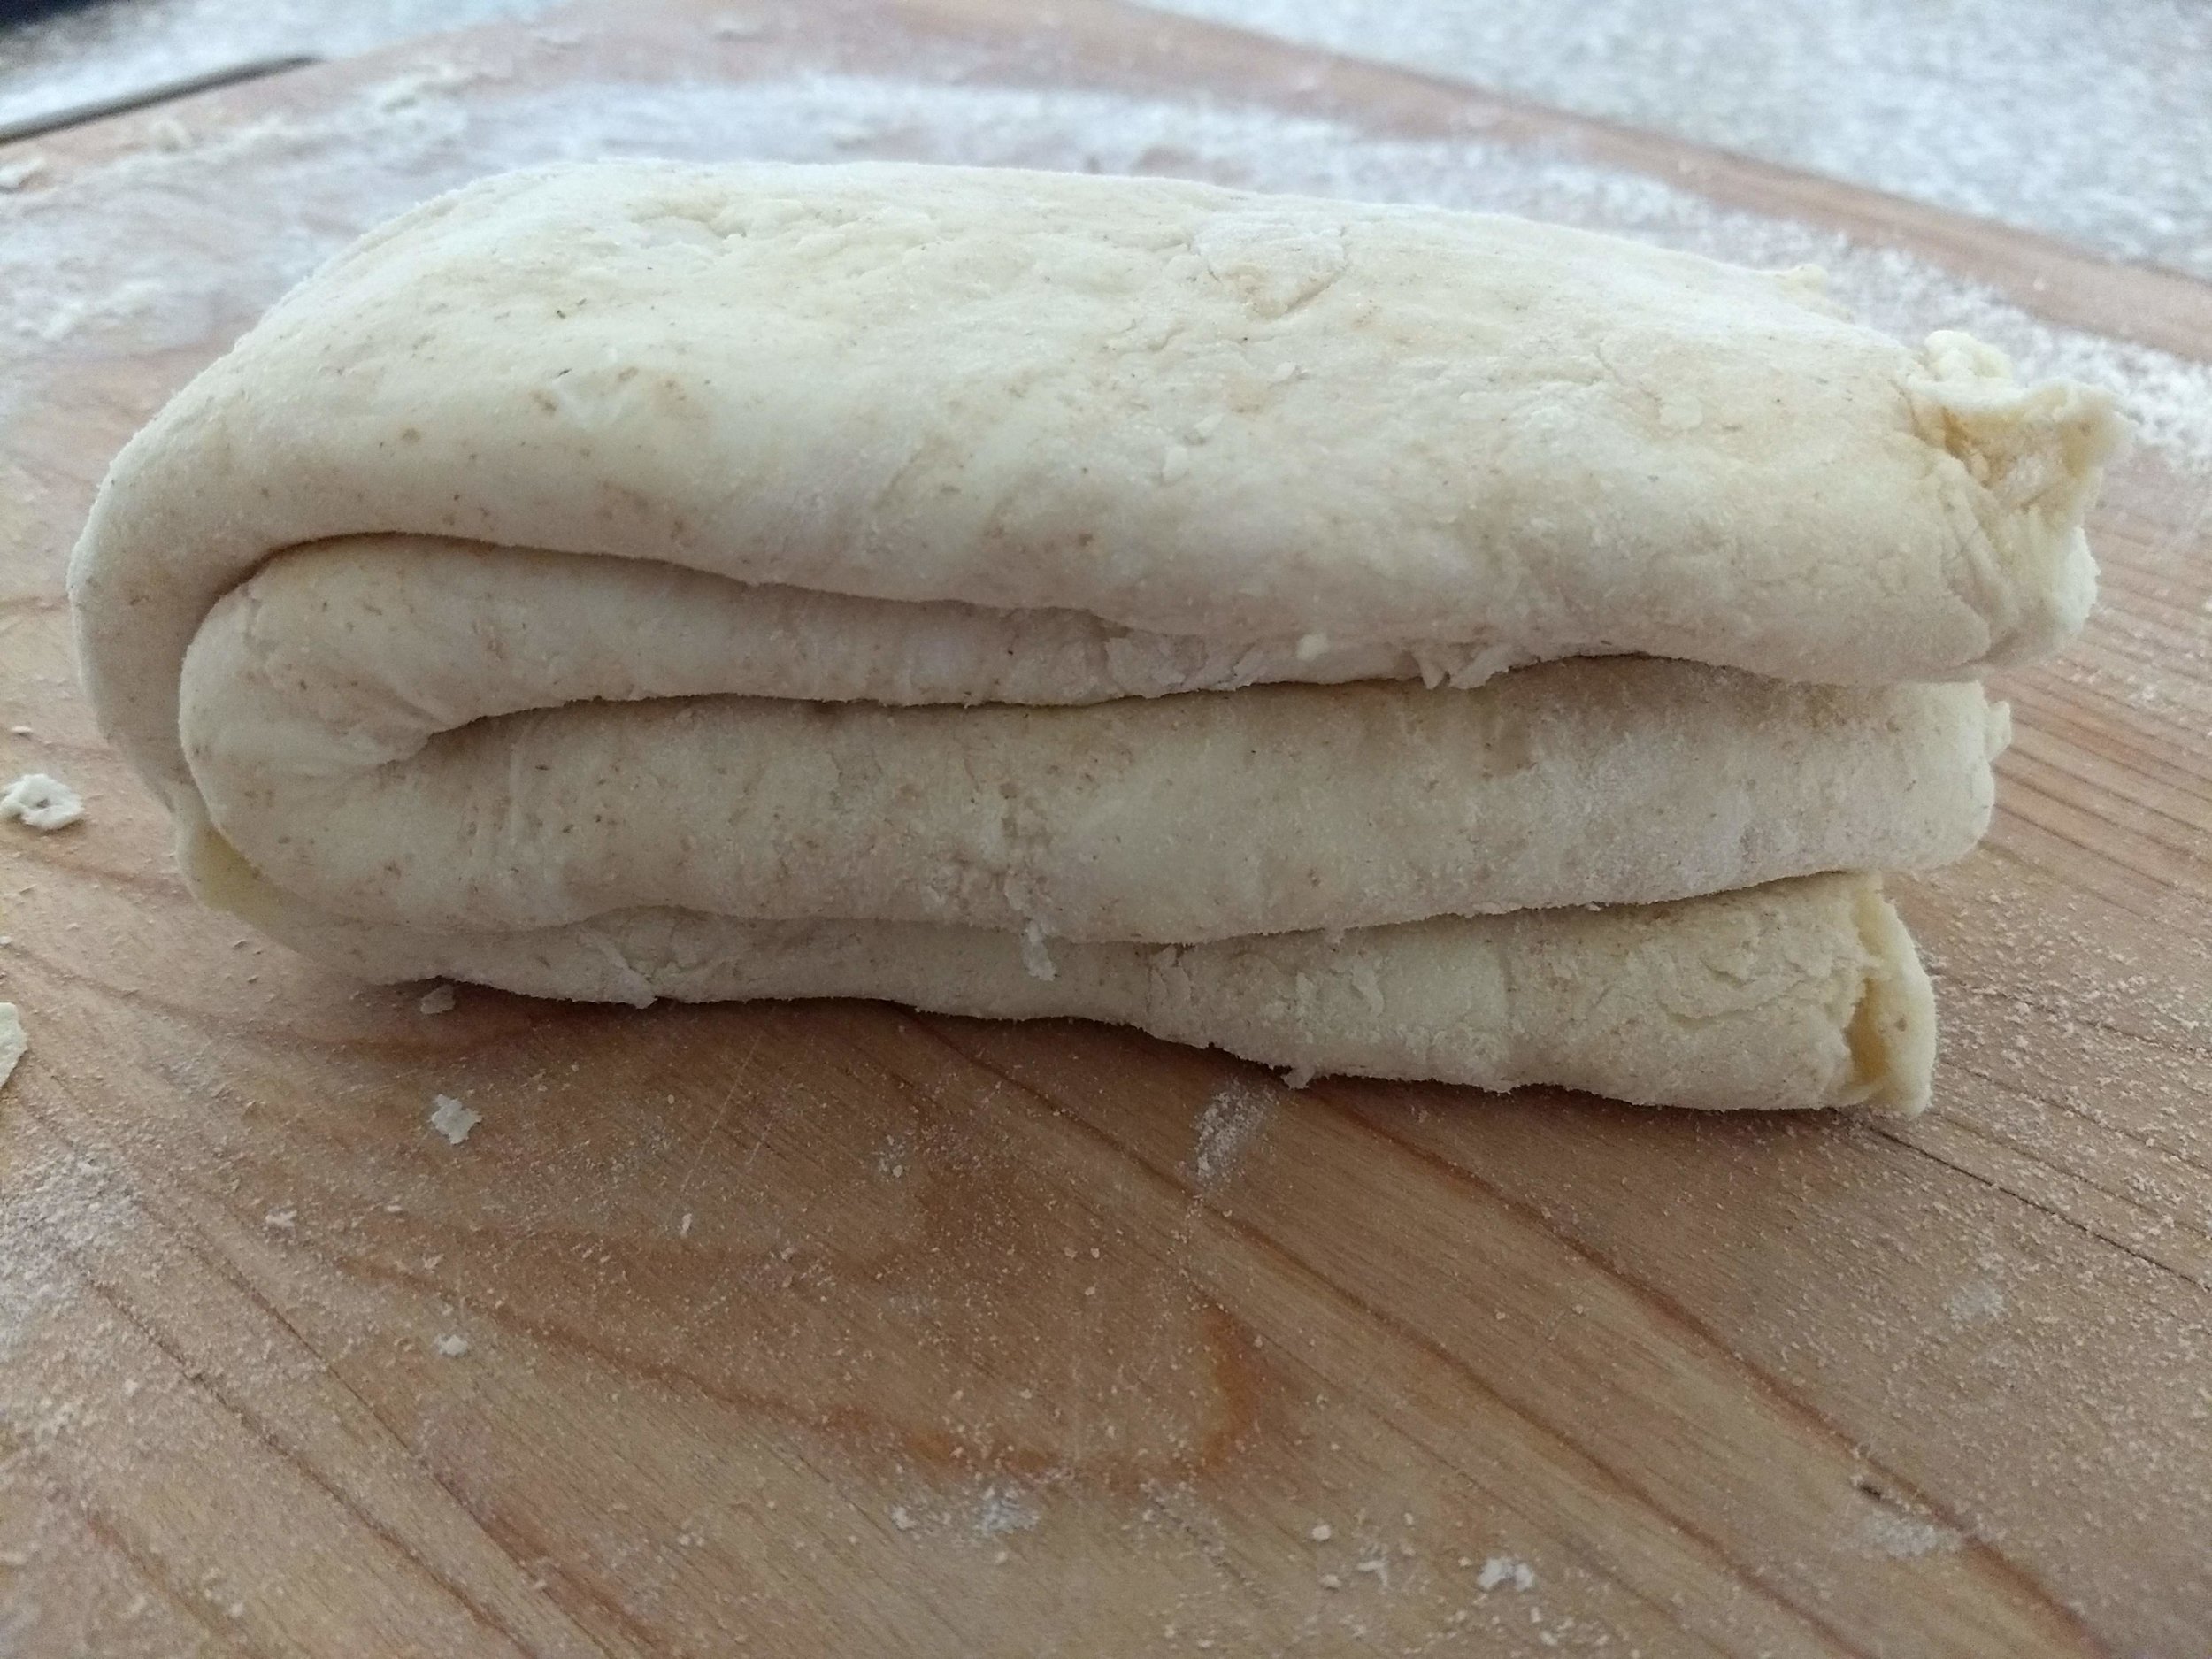
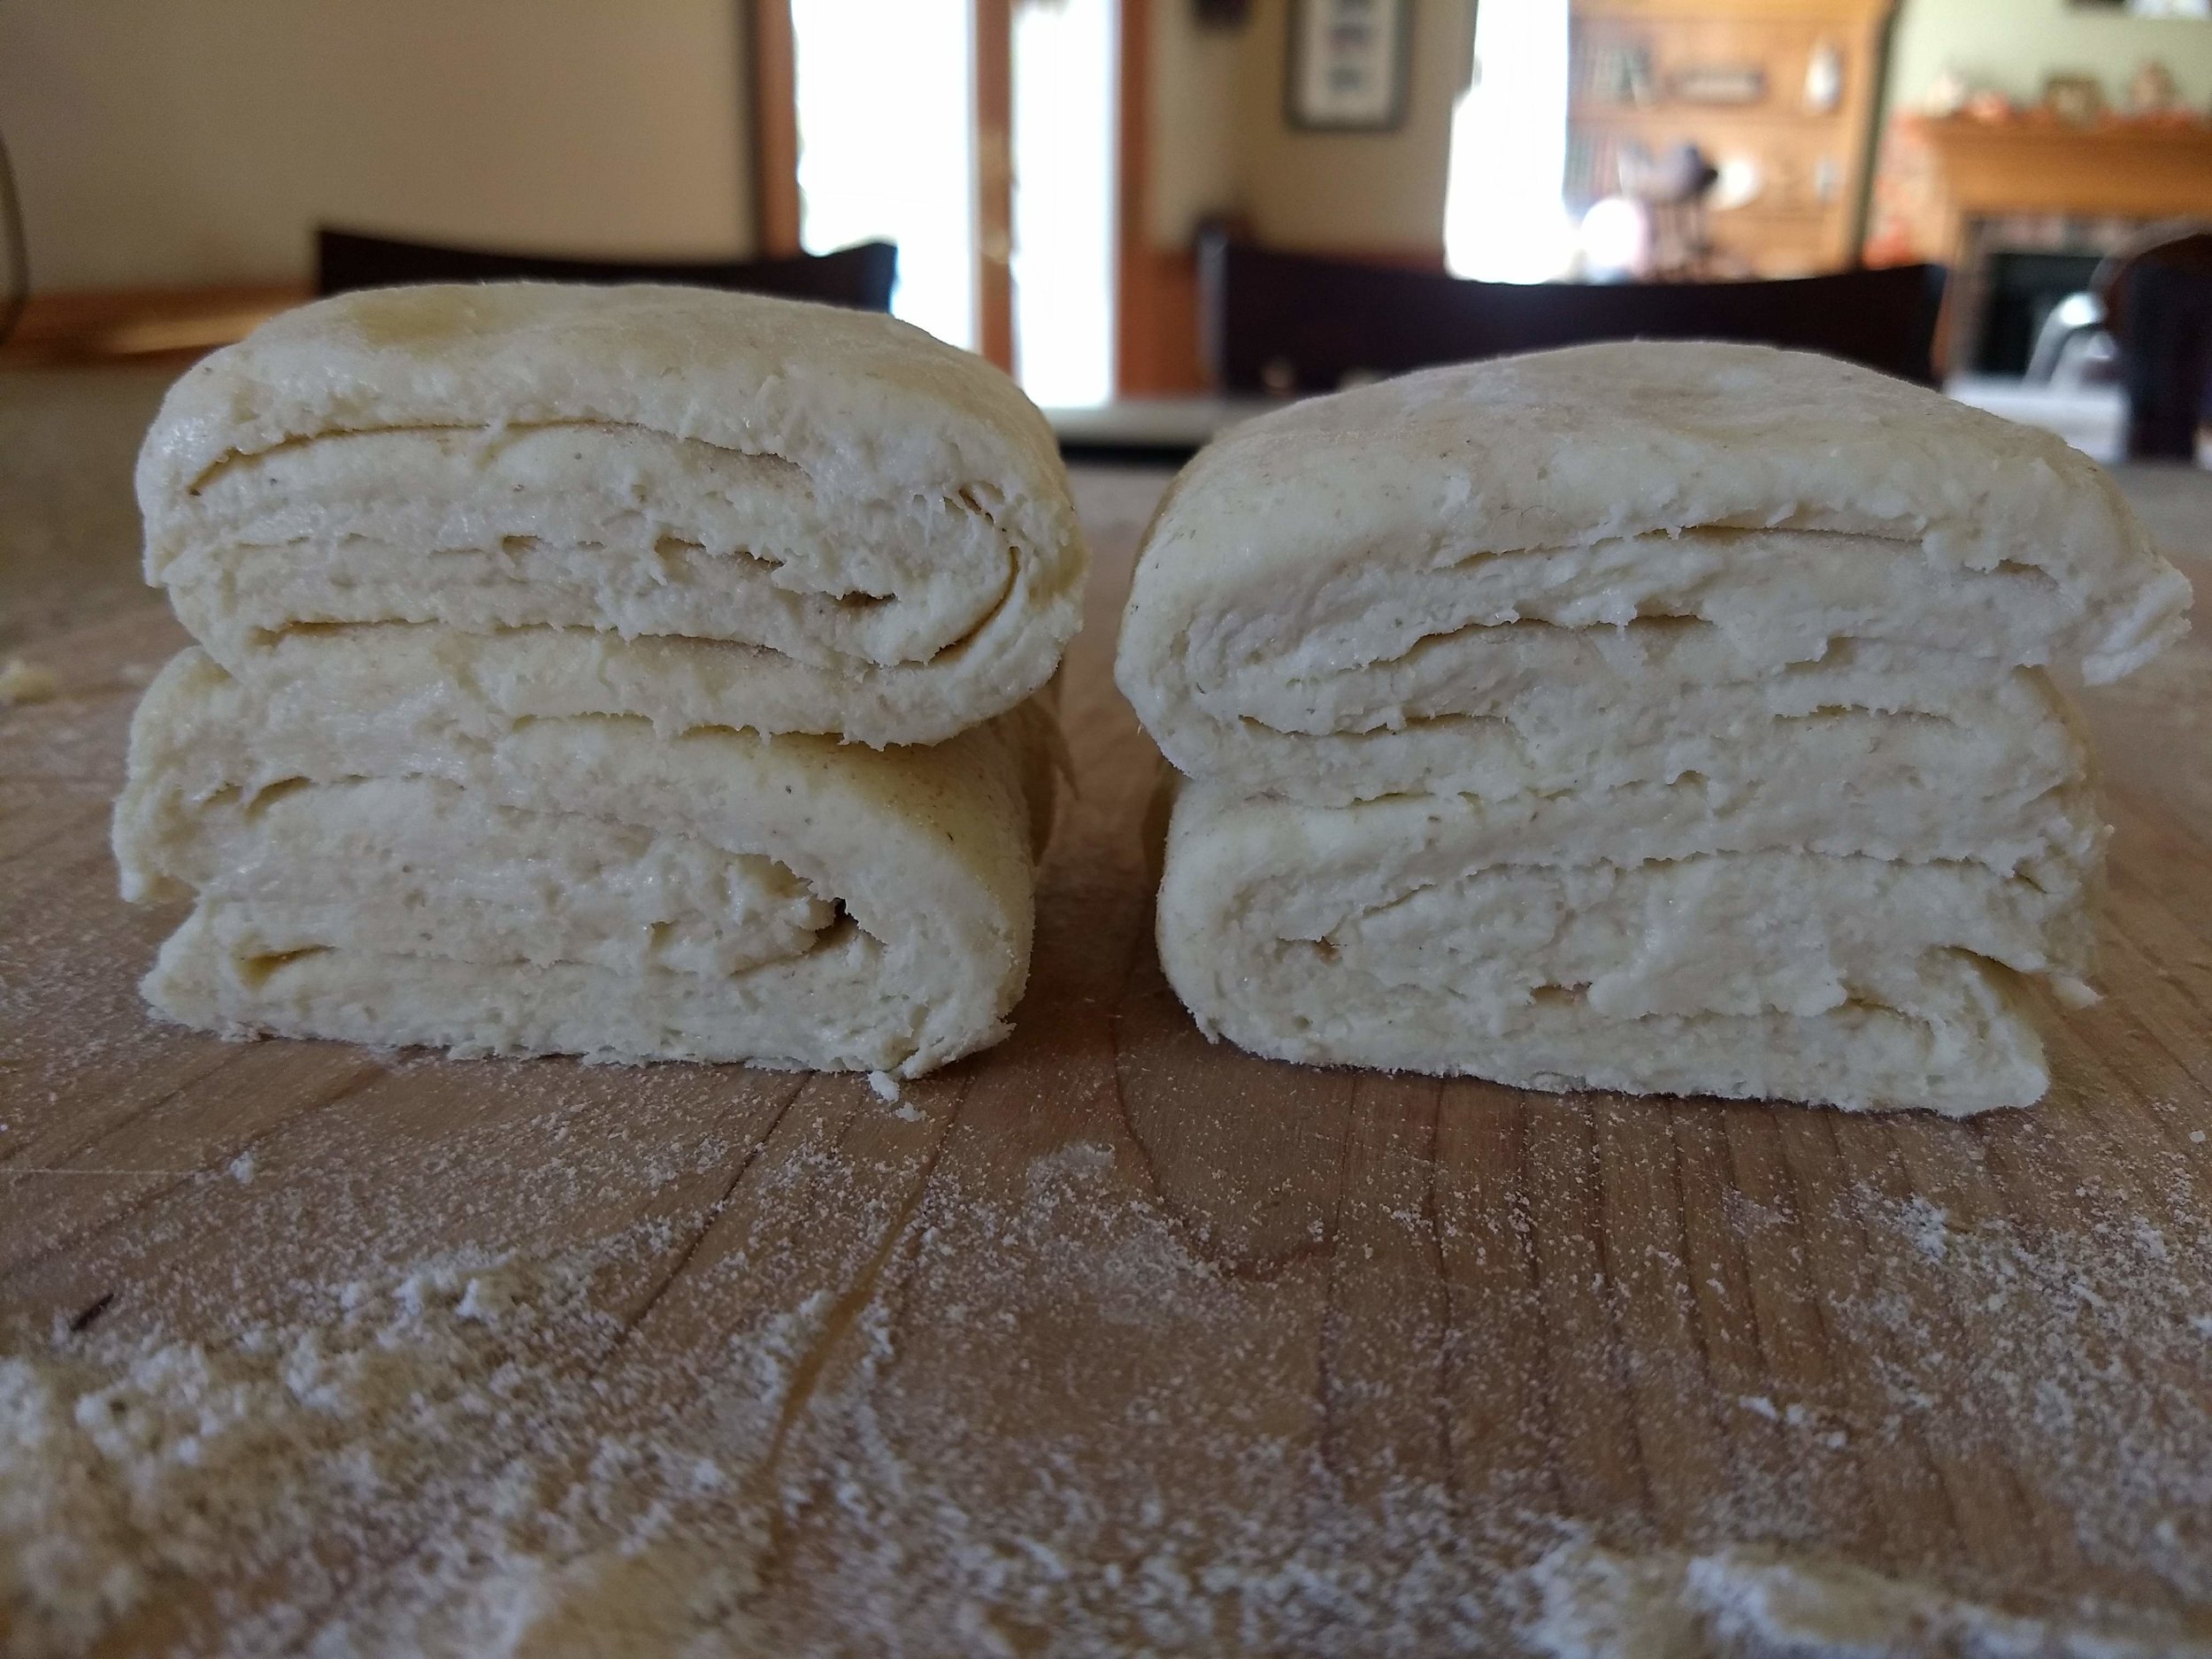
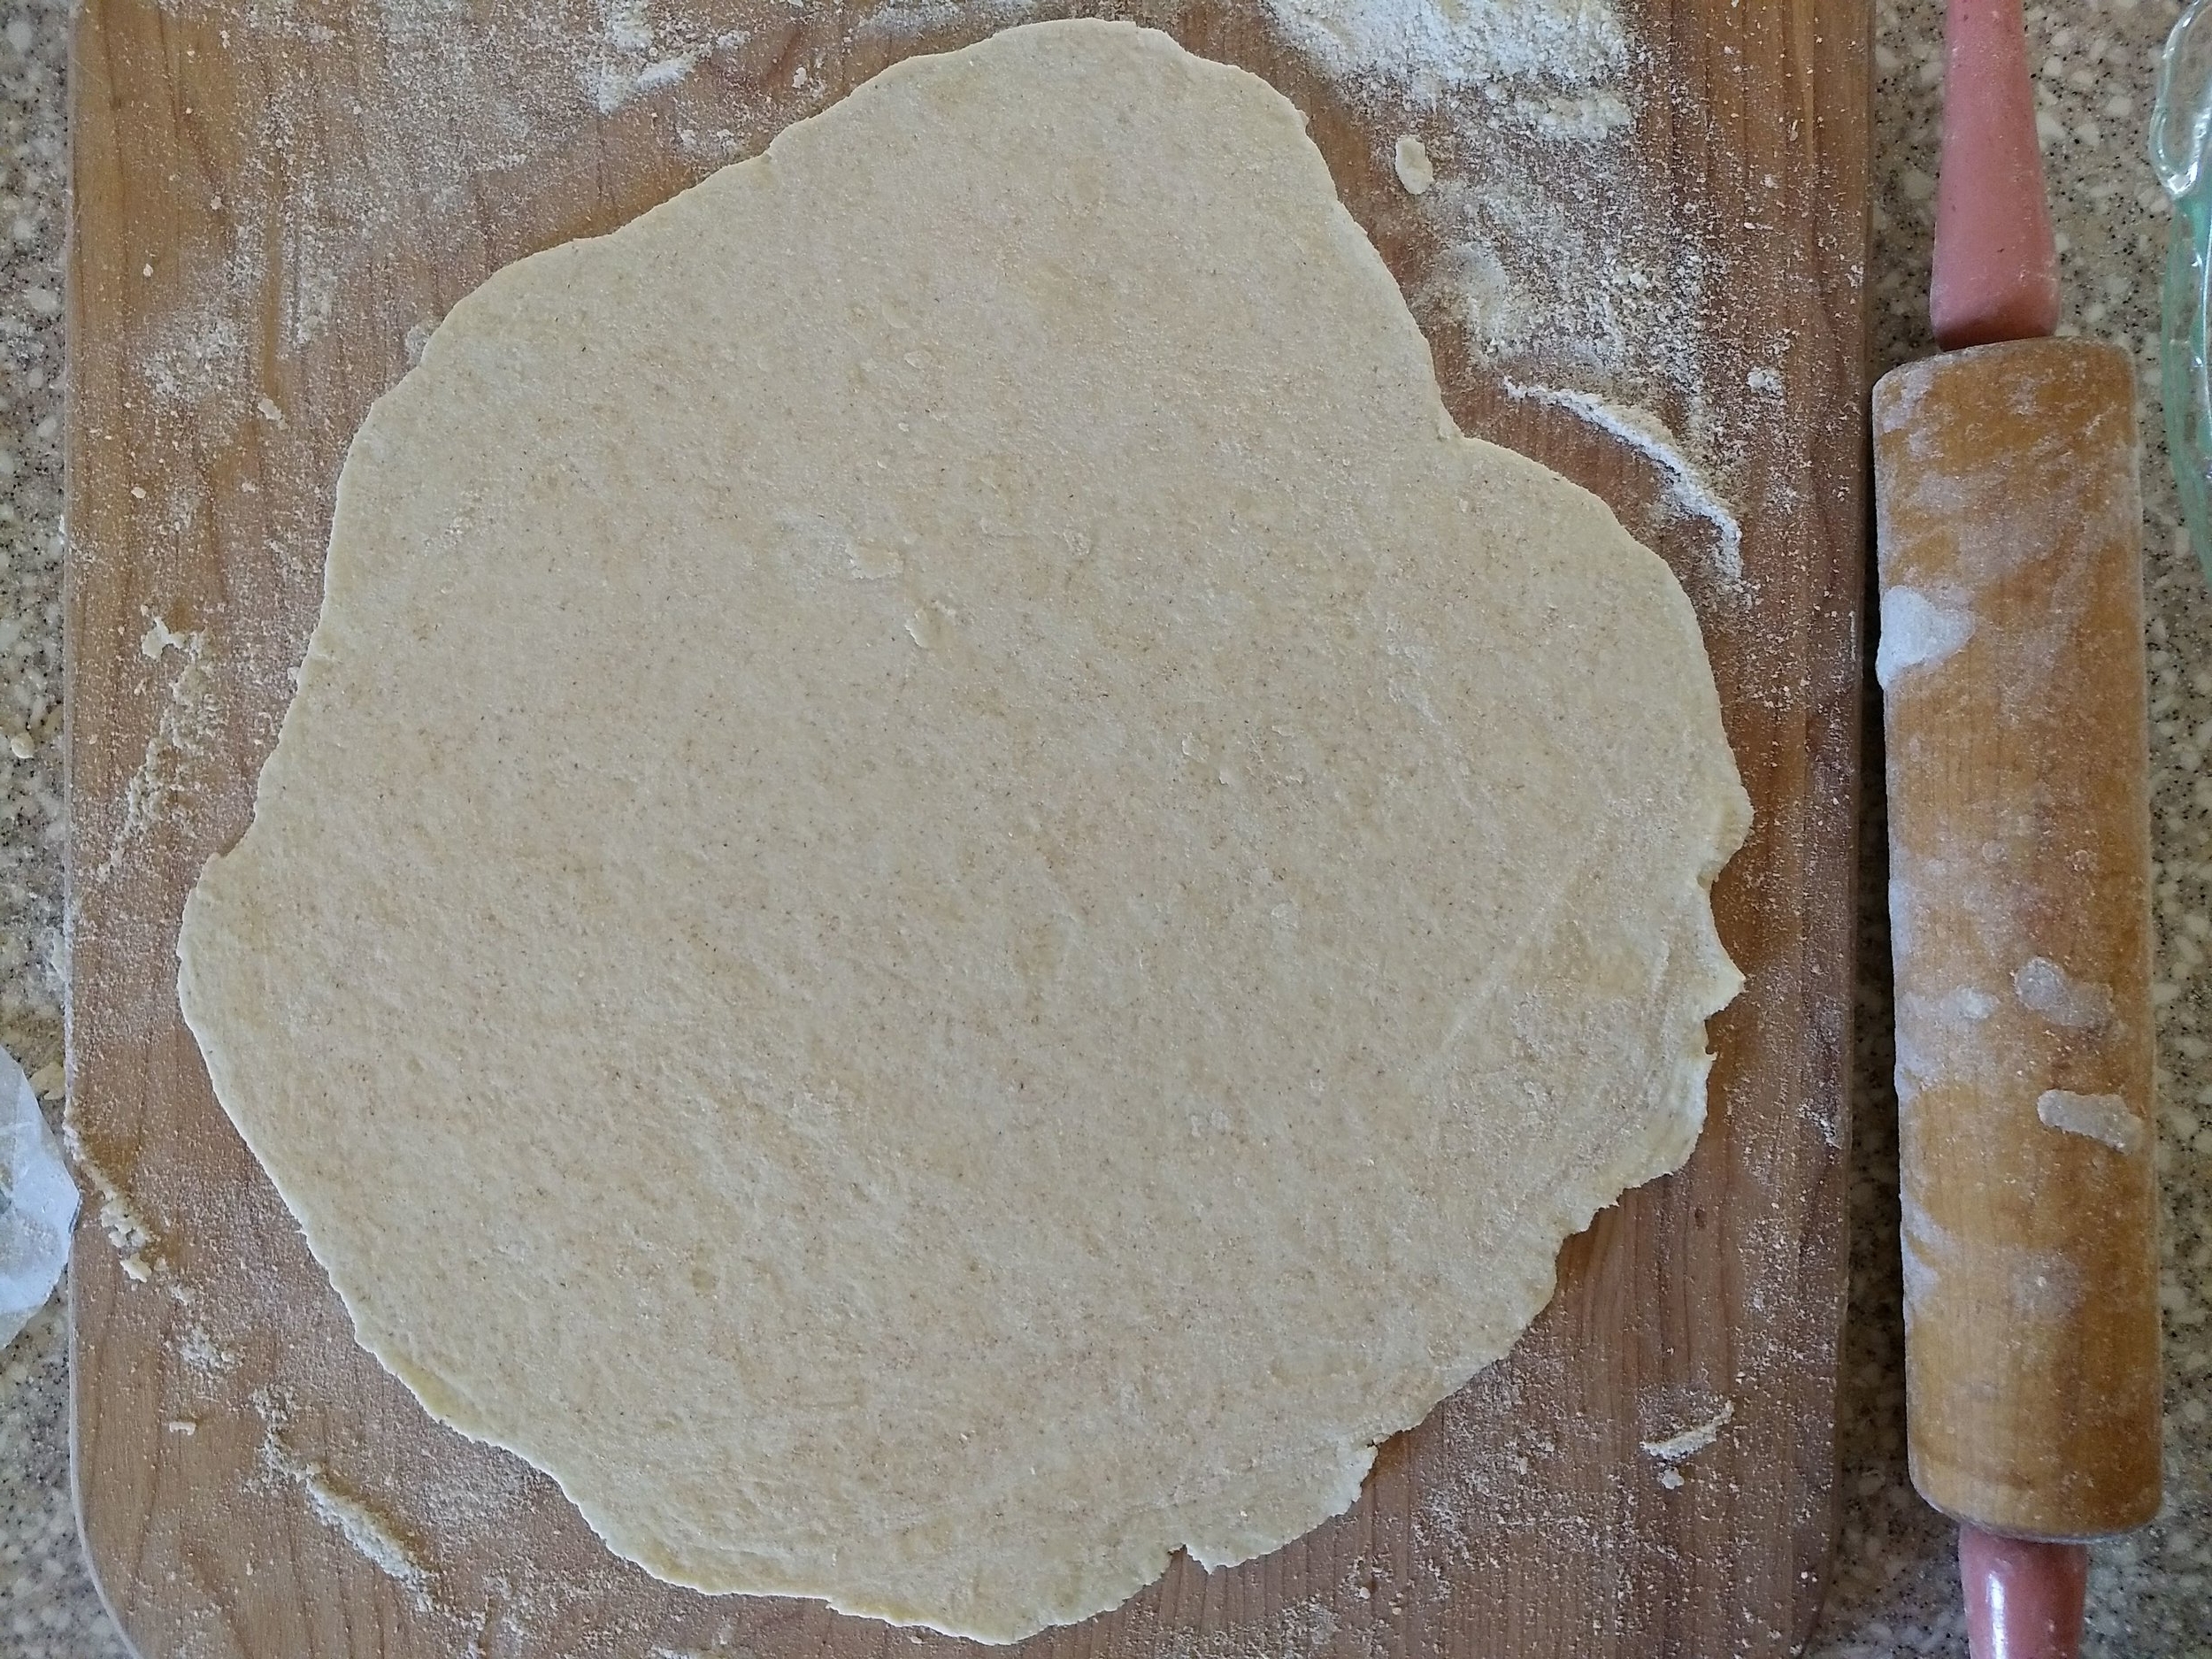
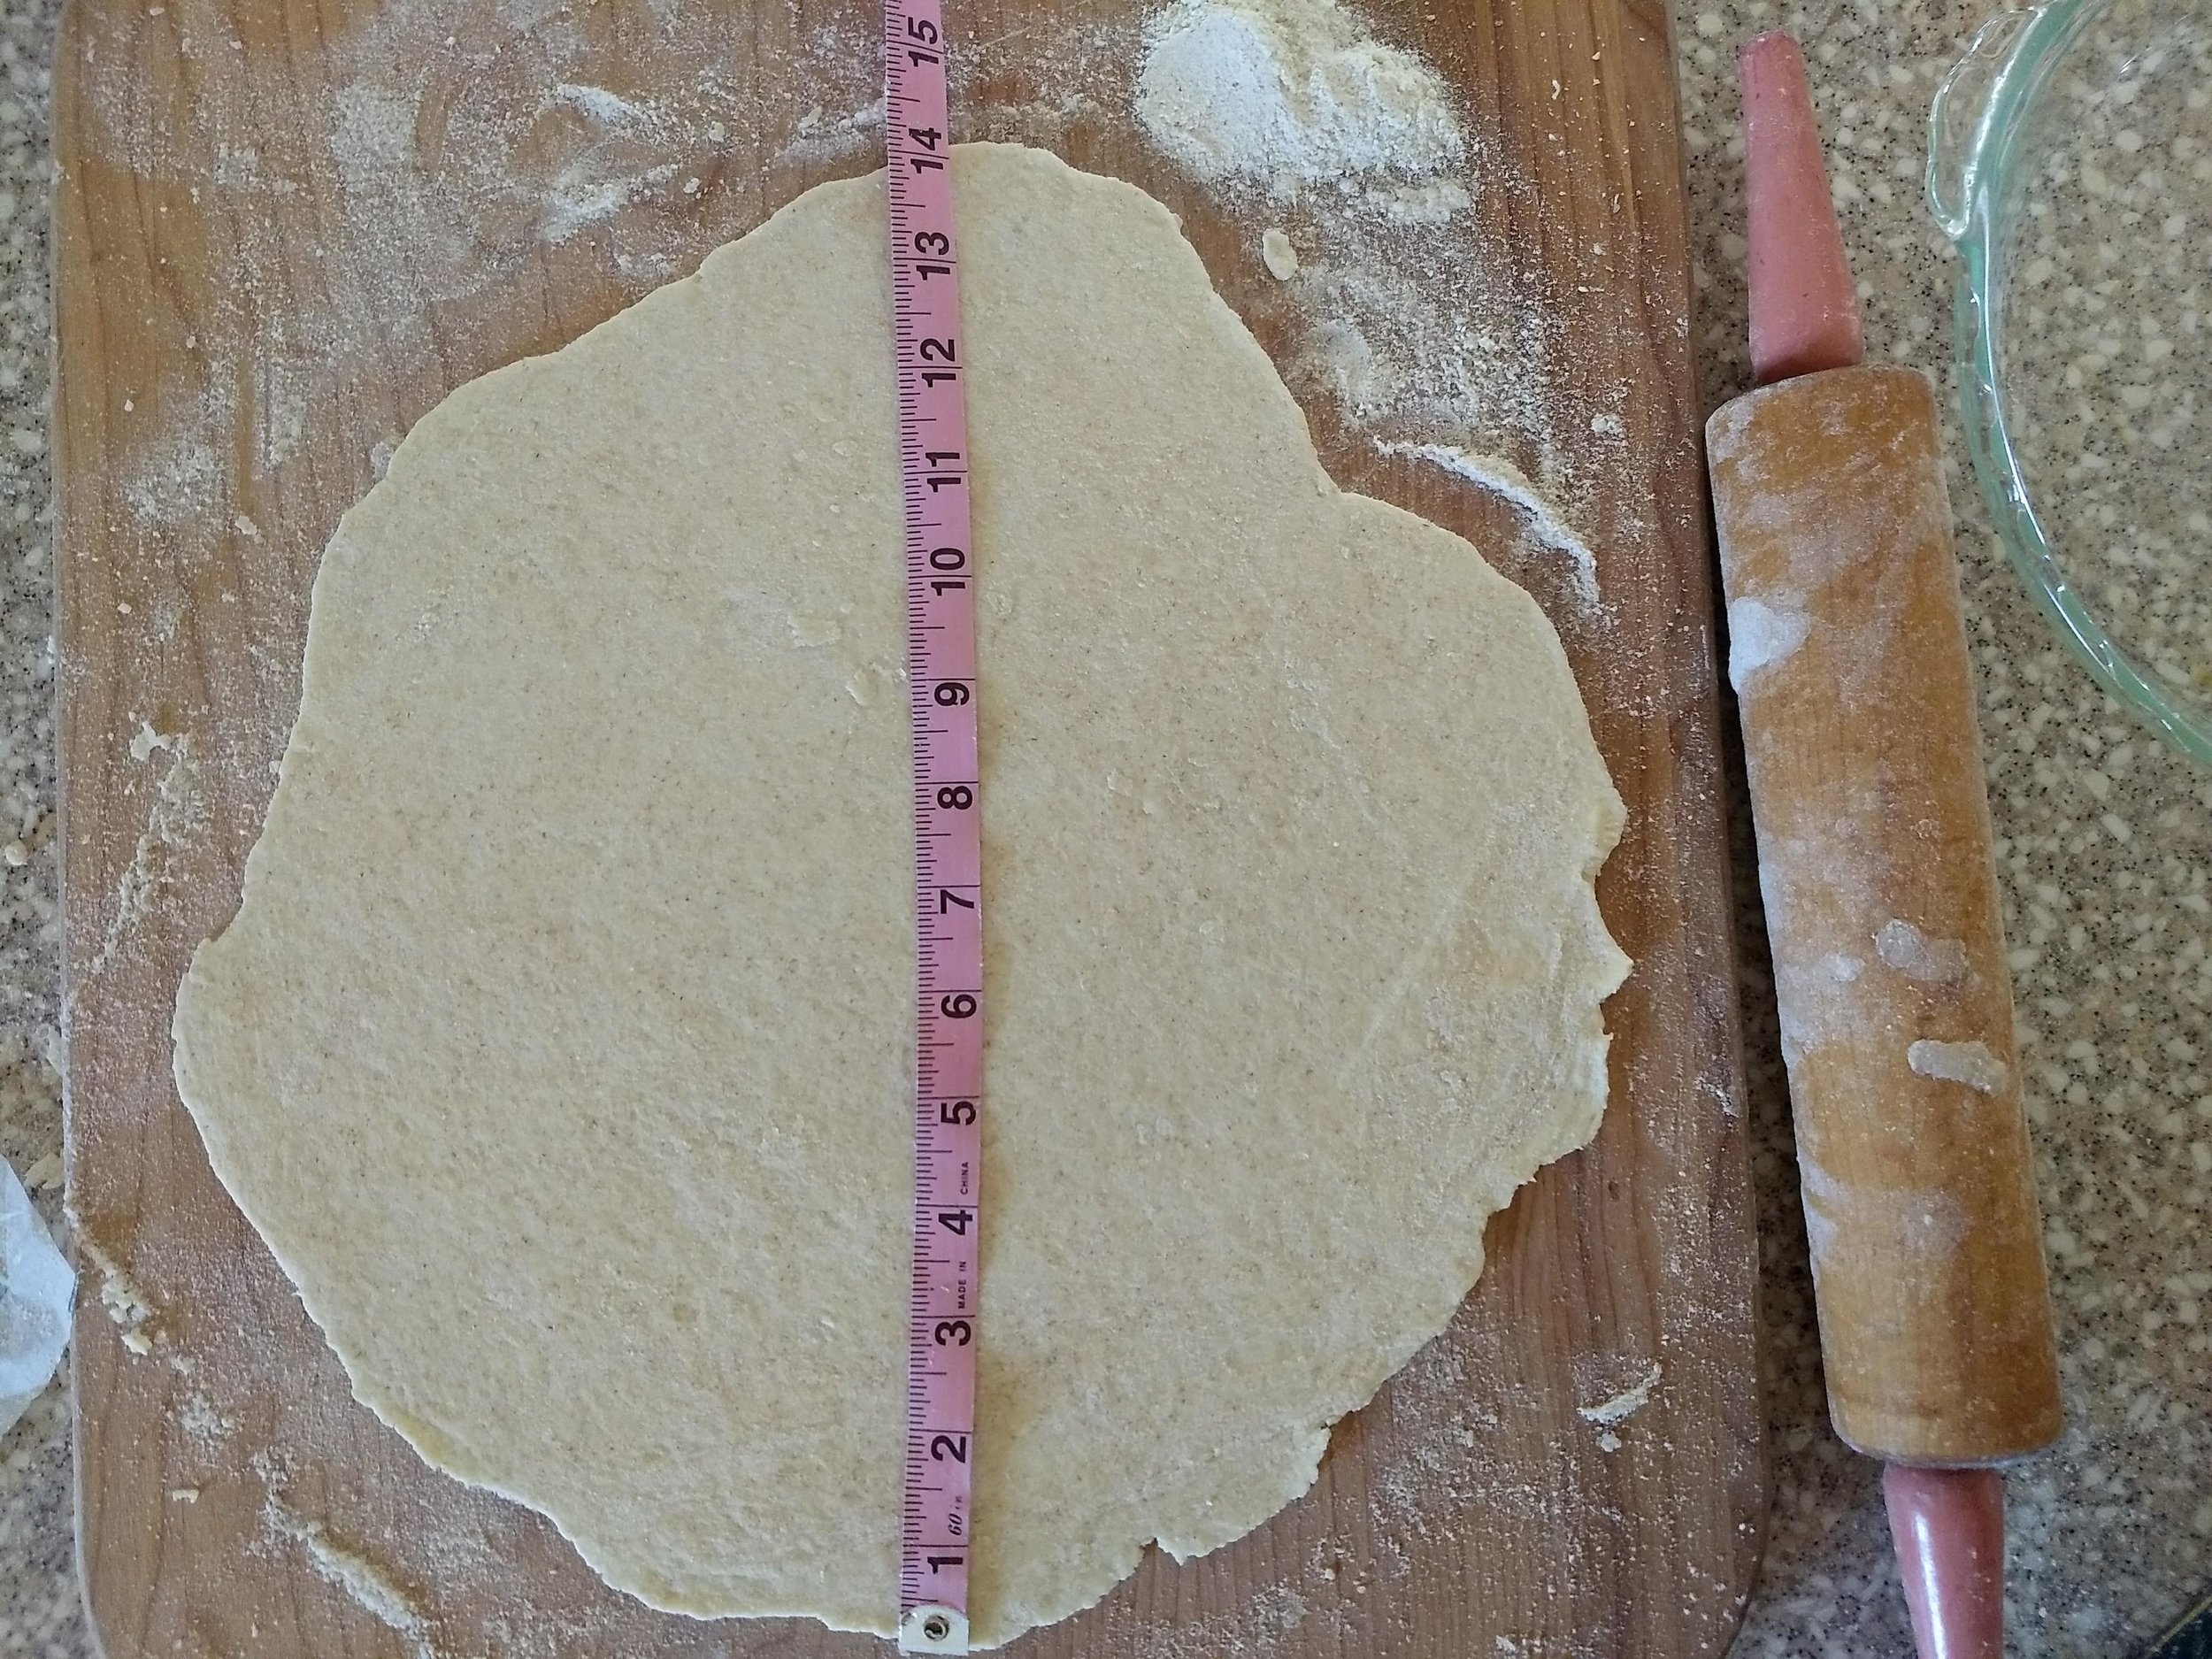
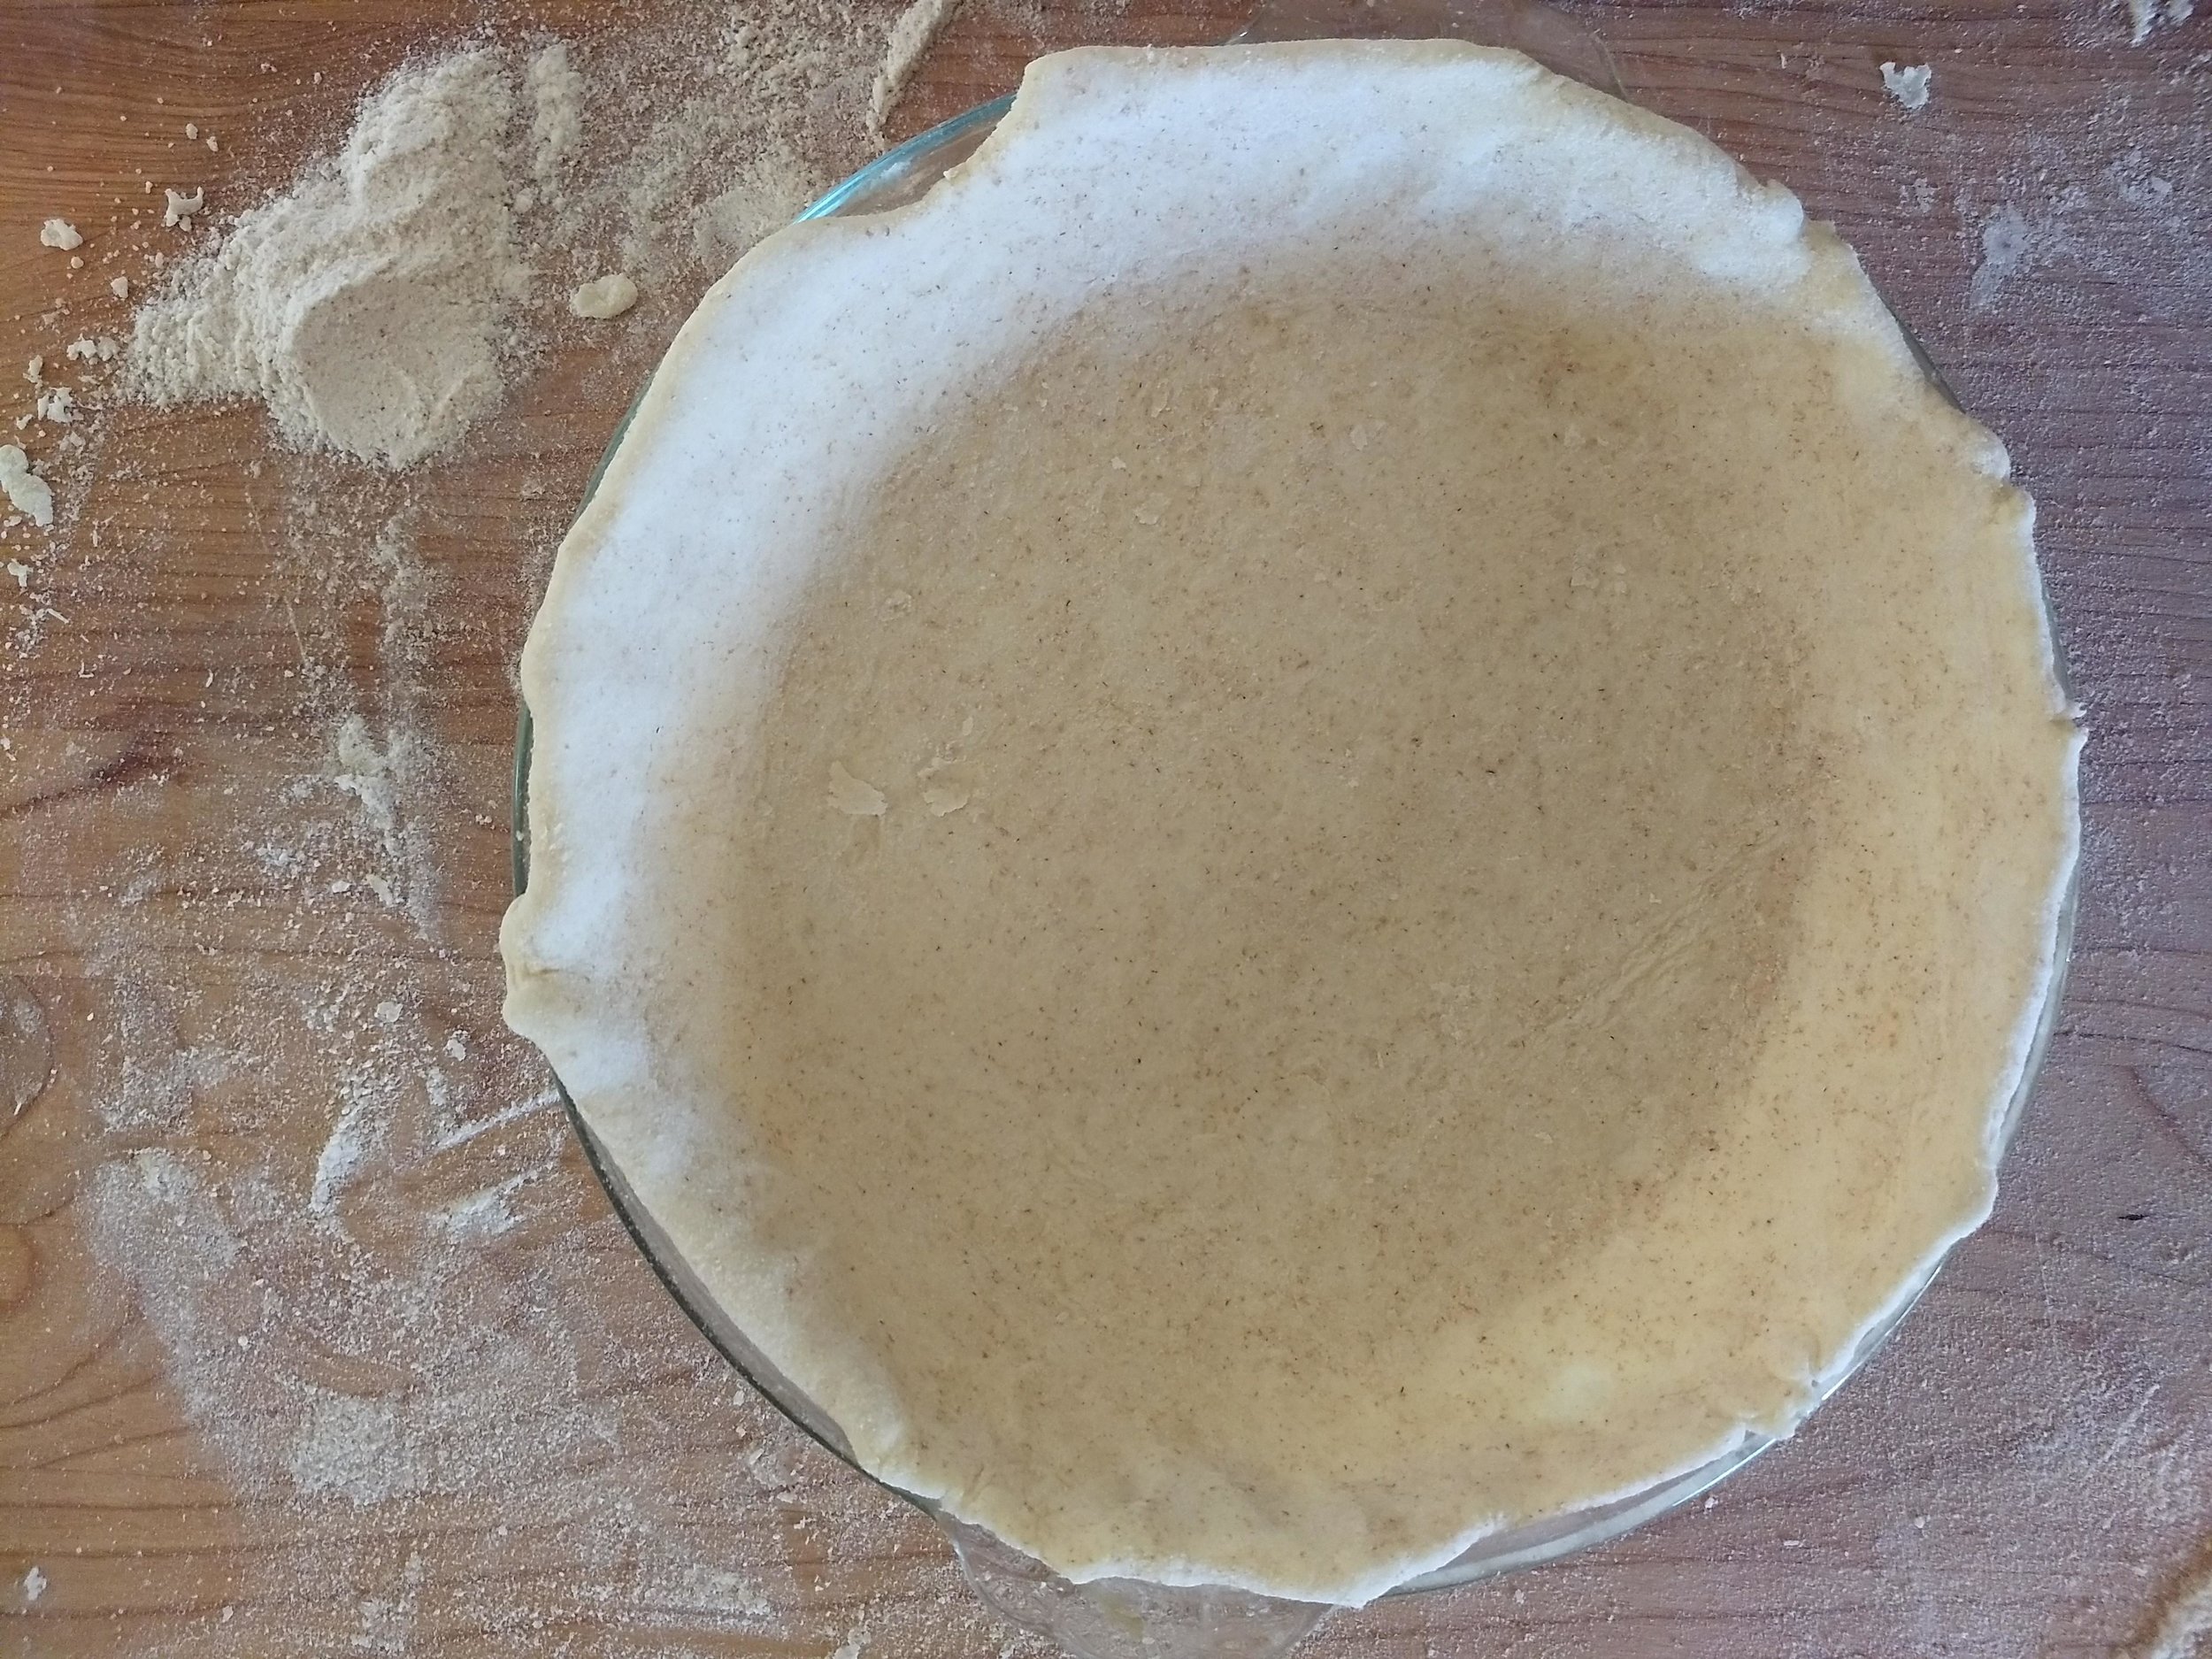
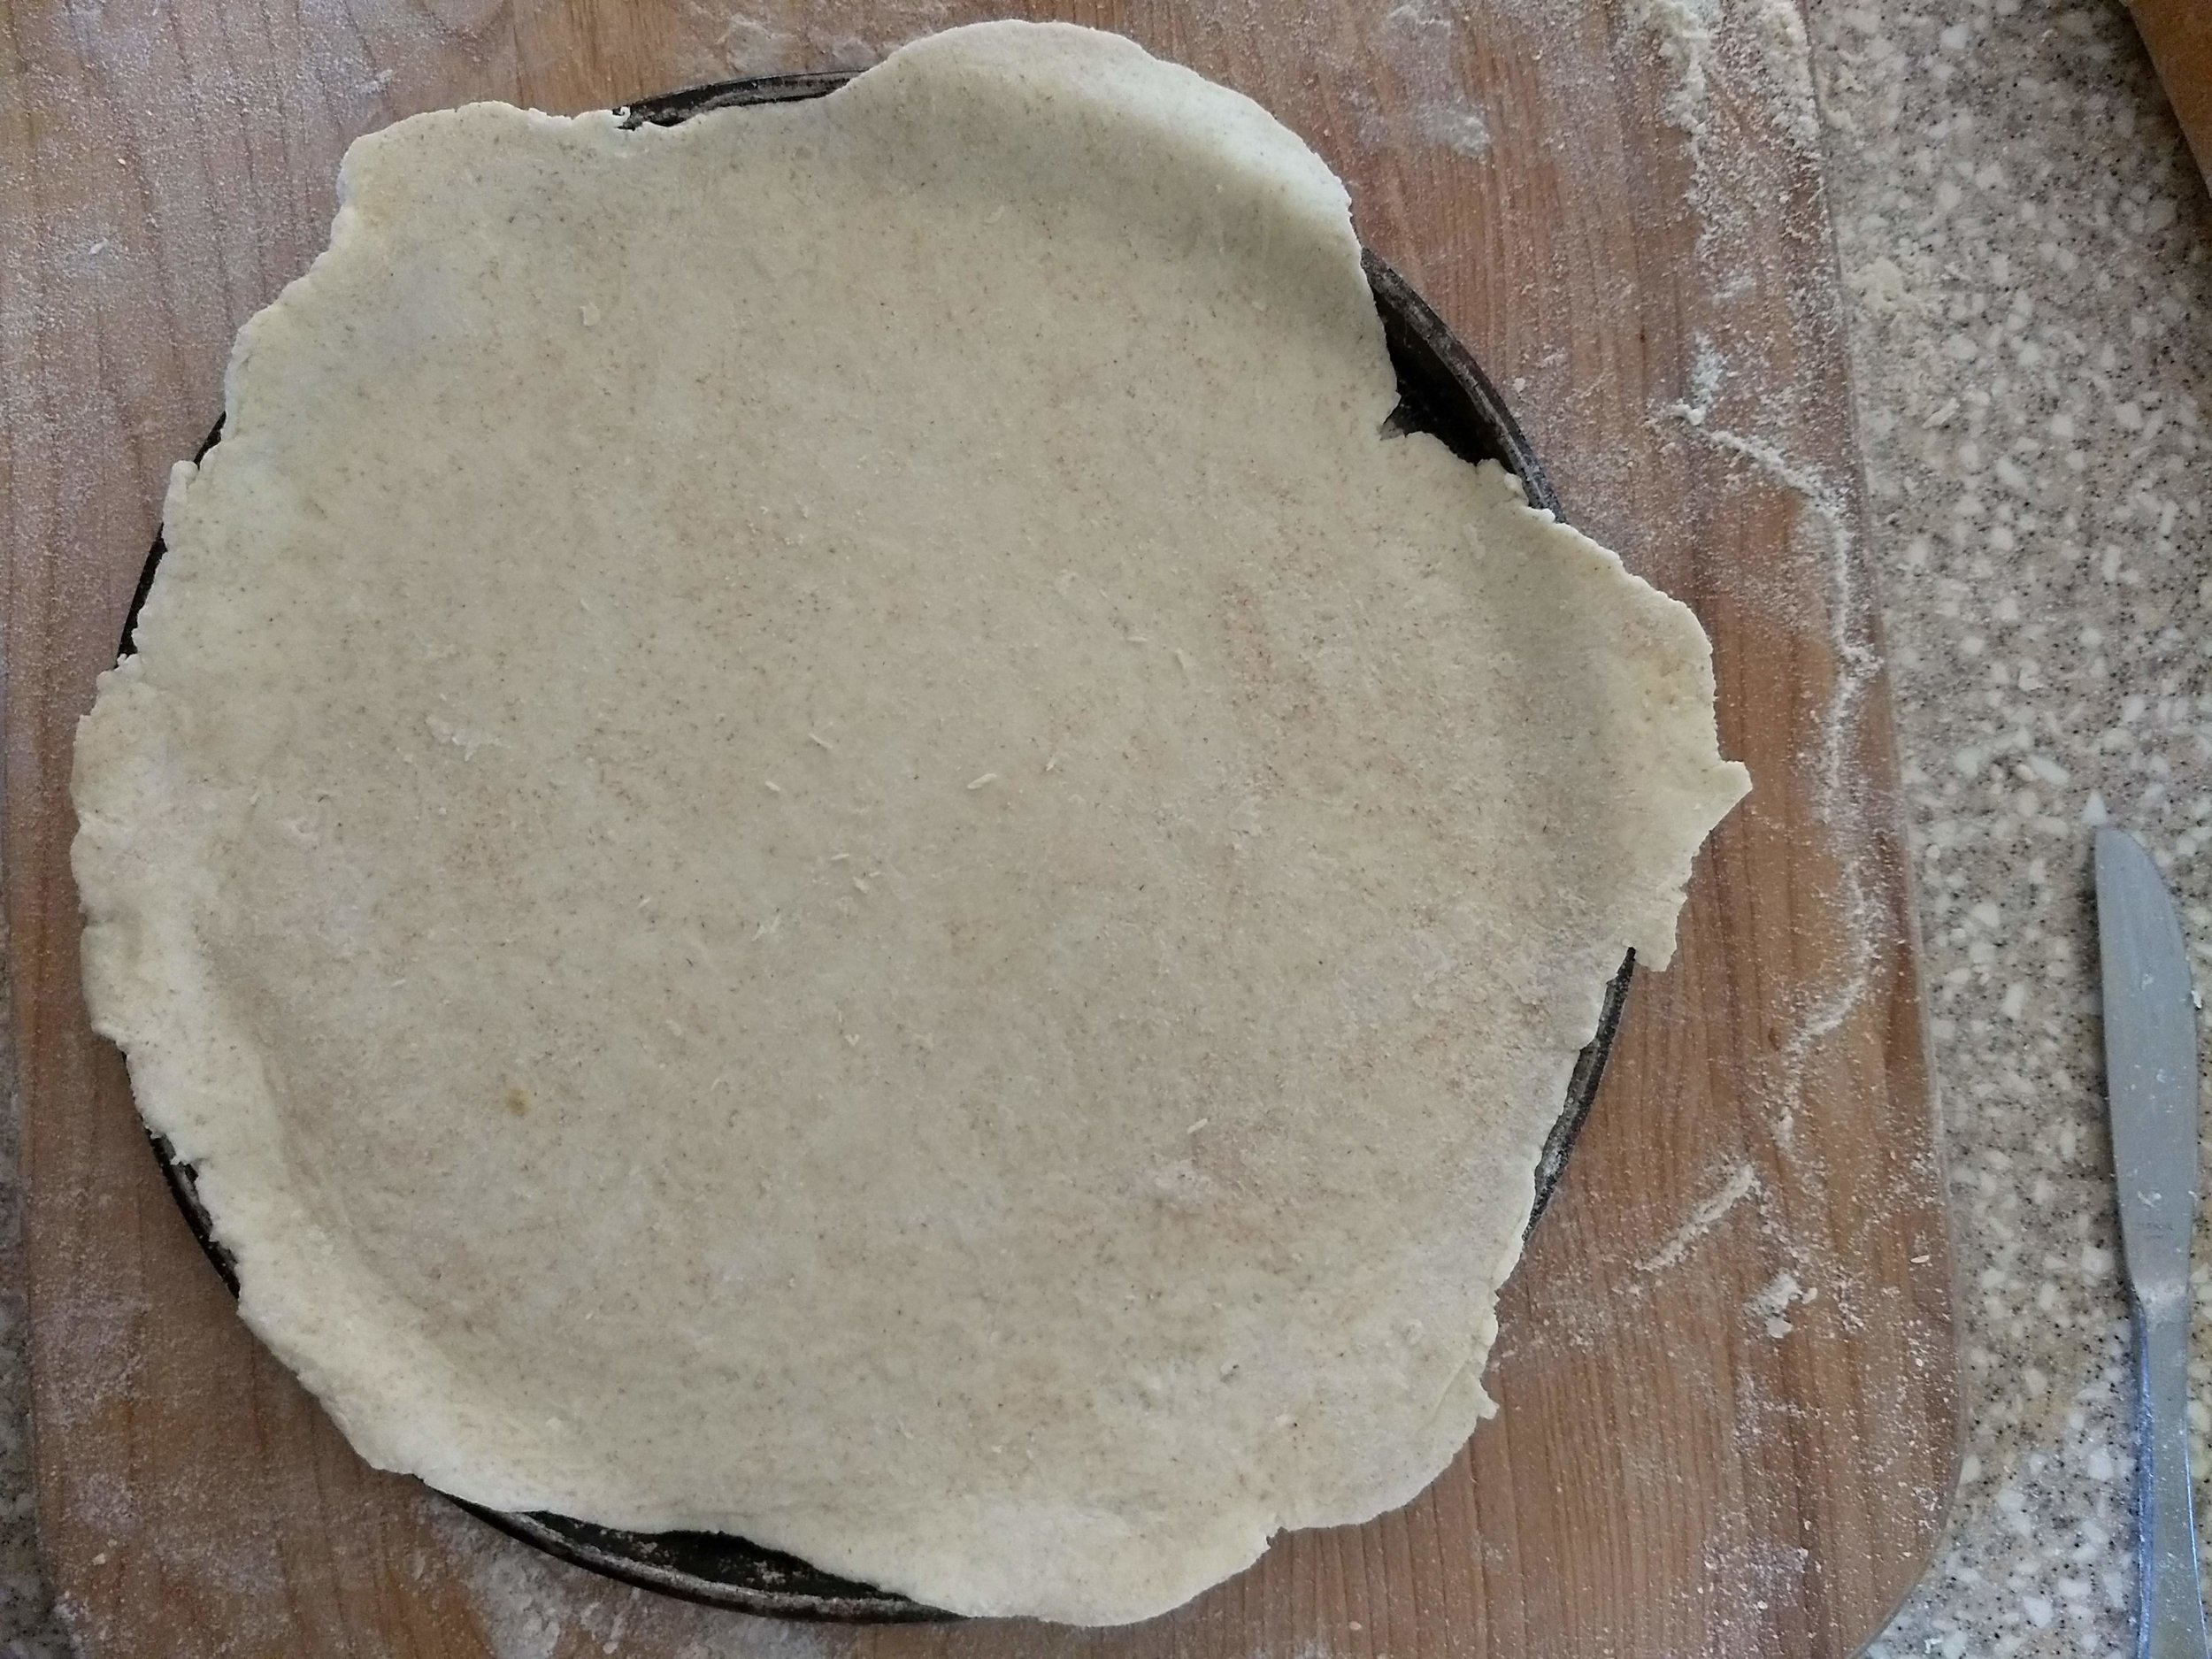
flaky pie crust
If at any point during the rolling period your dough feels extra soft (reading above 65-70 degrees, if you have a thermometer), place in fridge briefly before continuing. Also, disclaimer: this crust won’t keep intricate designs so check out Sarah’s crust recipe here if you’re wanting to try your hand at that.
Ingredients:
8oz (1 2/3 cup) flour
1/2 tsp salt
1 tbs sugar (for savory pie, omit)
8oz (2 sticks) butter
4oz (1/2 cup) cold water
Directions:
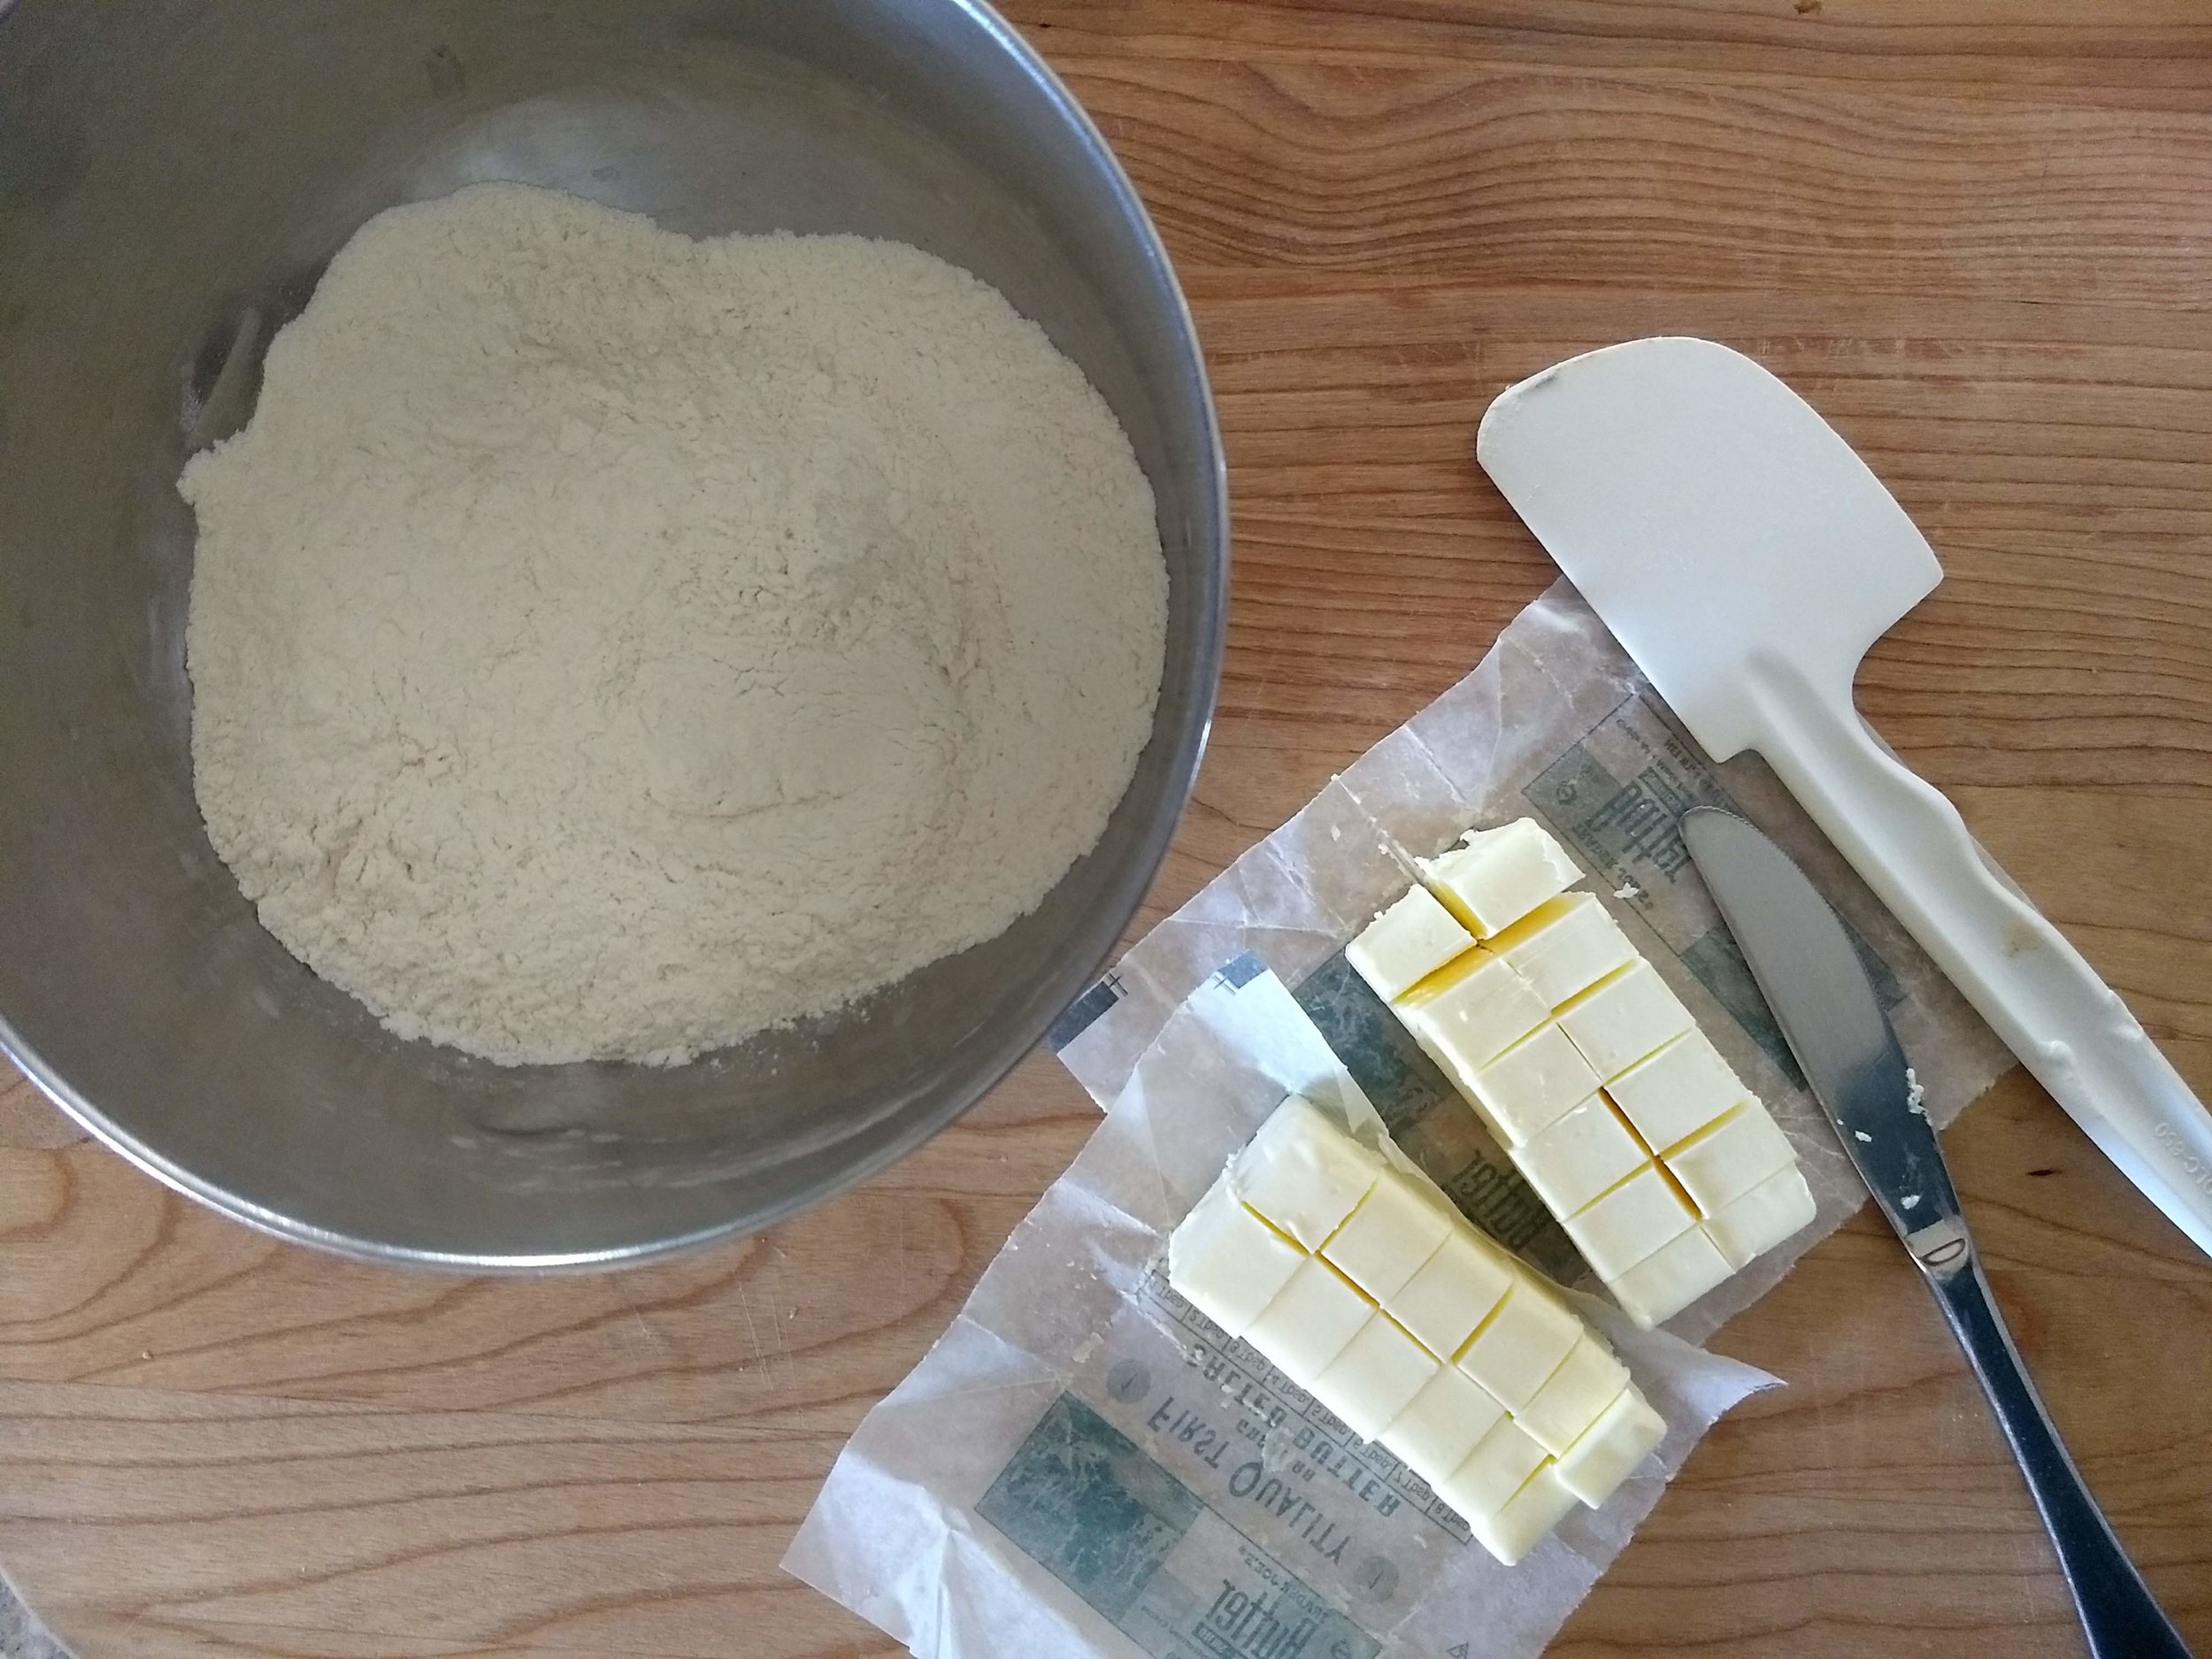
Mix together flour, sugar, and salt together in a medium bowl. Cut butter sticks into 1/2 in cubes, then gently toss with flour mixture. Make sure none remain stuck together. Then using your fingers, find each cube and smush it flat. One smush per cube is sufficient. Try not to miss any!
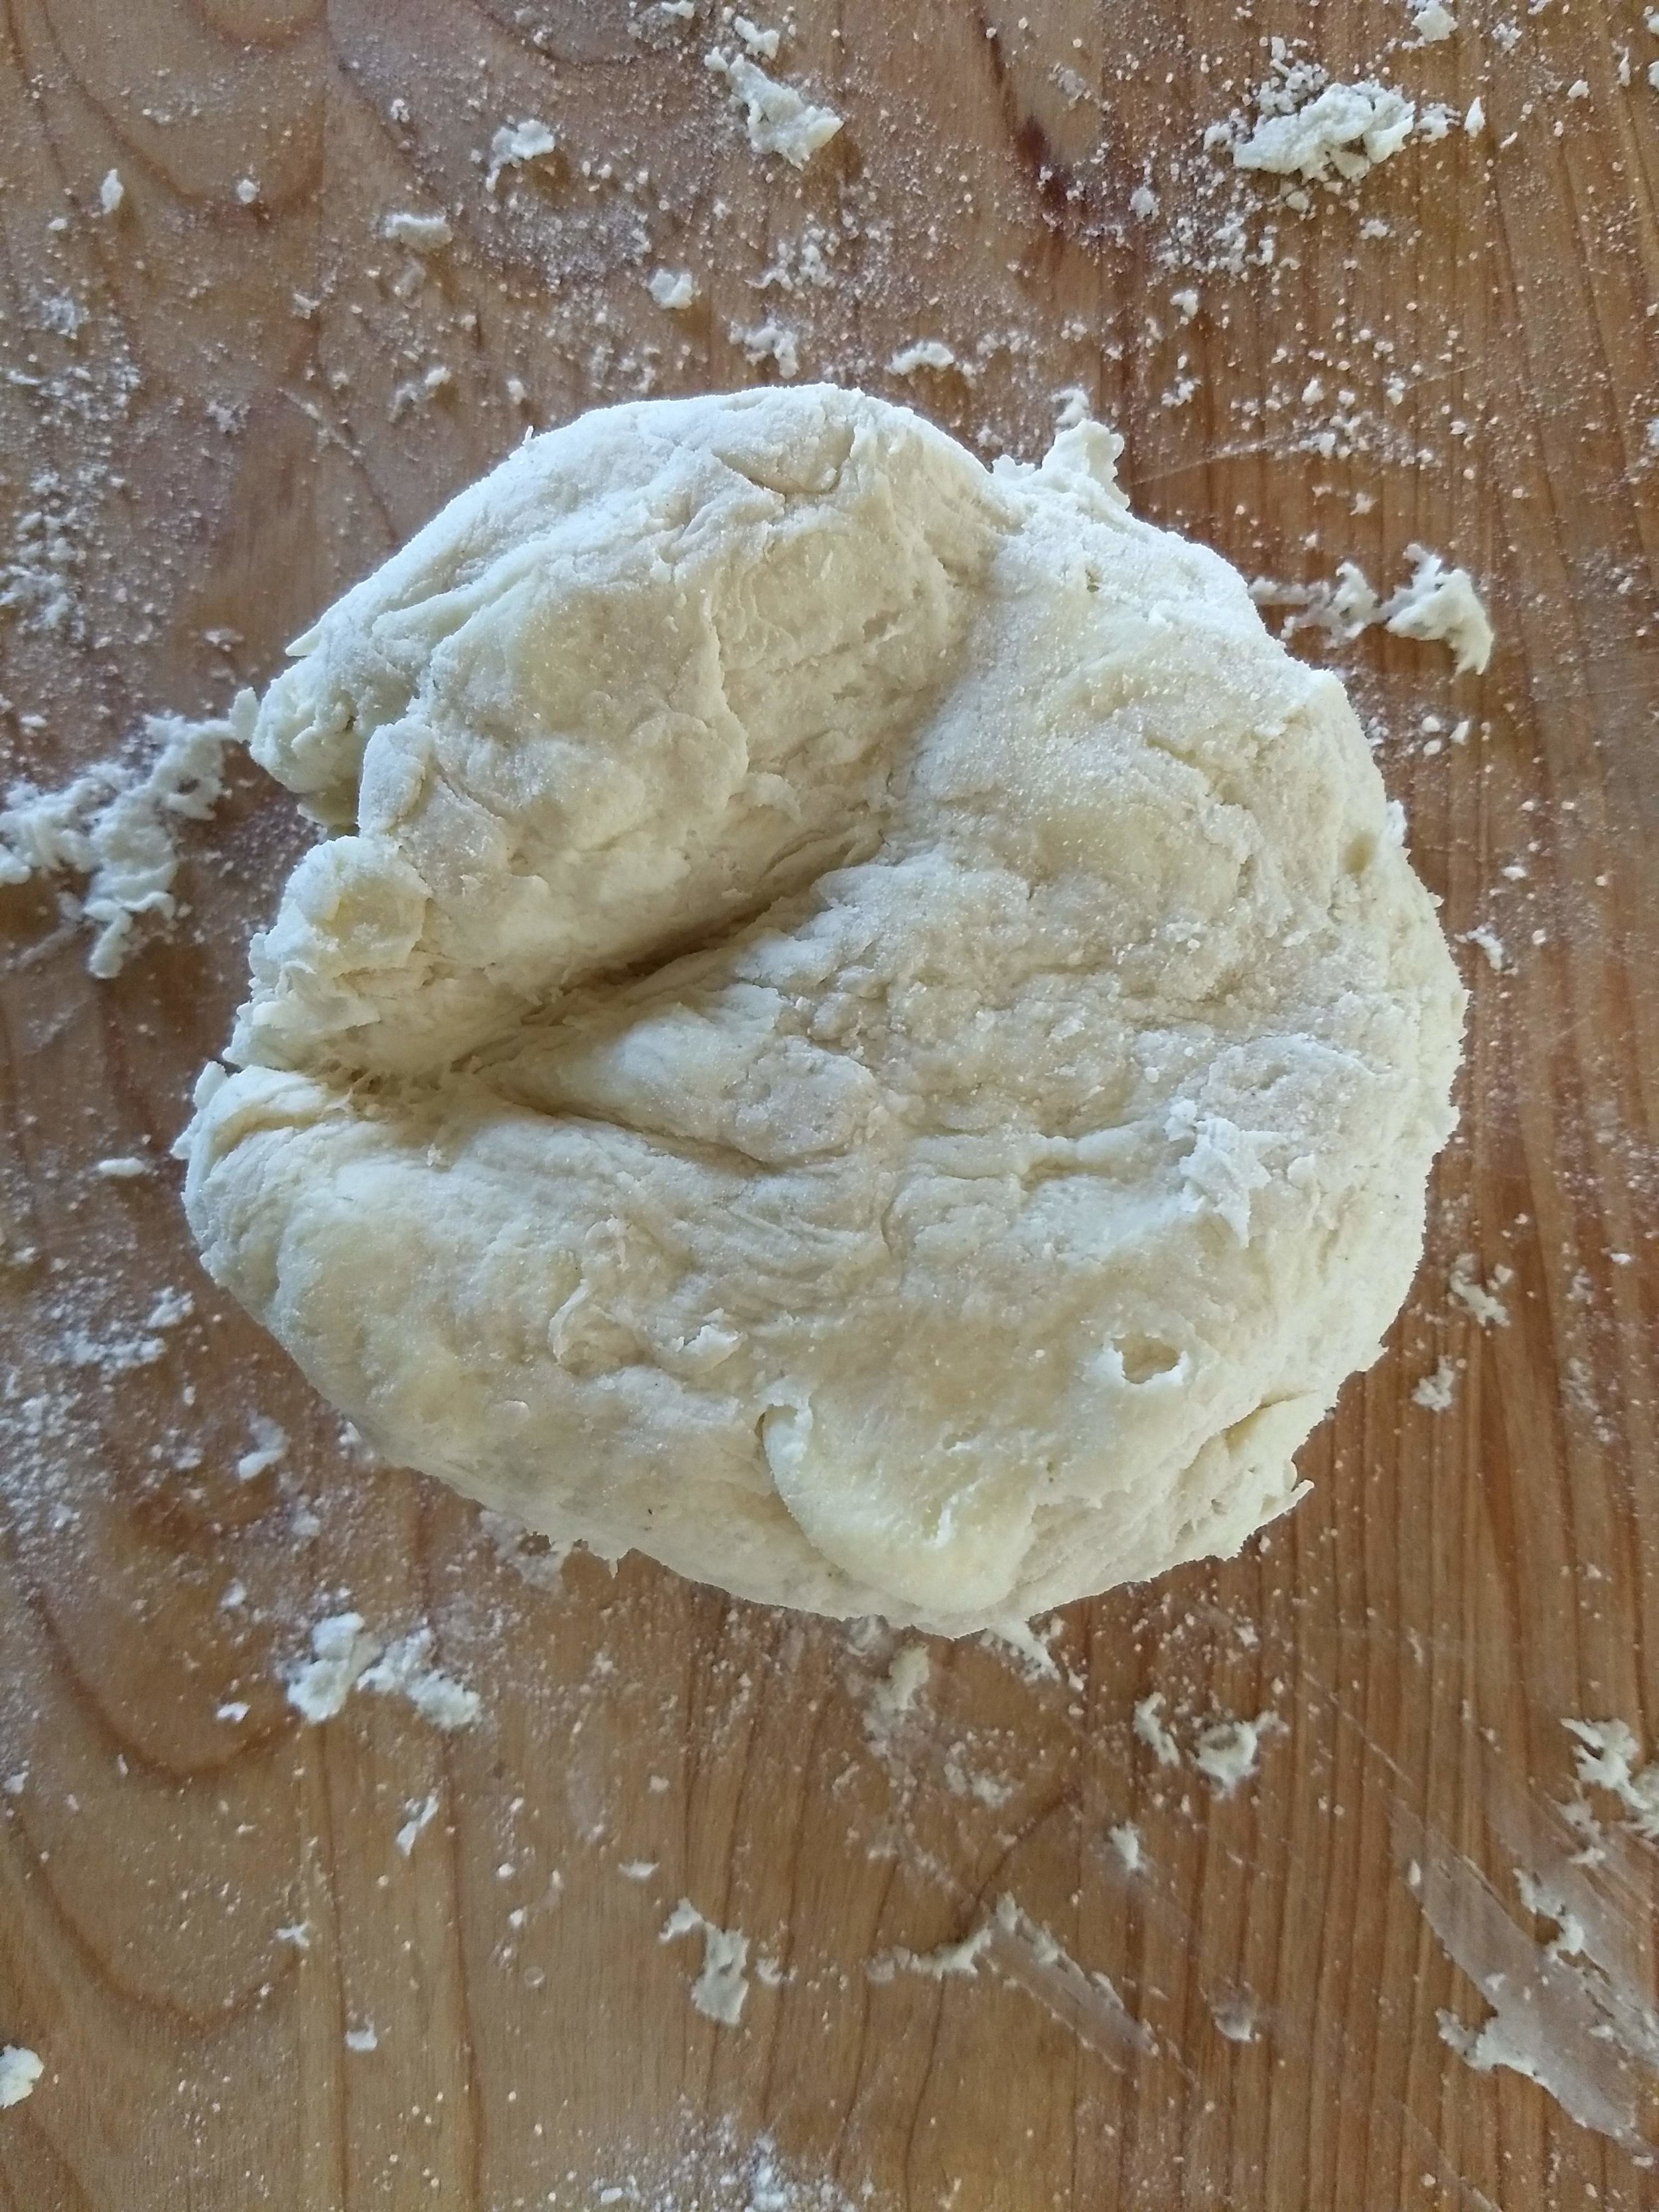
Pour in water and stir & fluff until it starts coming together. Either turn onto a clean surface or knead dough against the sides of the bowl until it forms a shaggy ball.
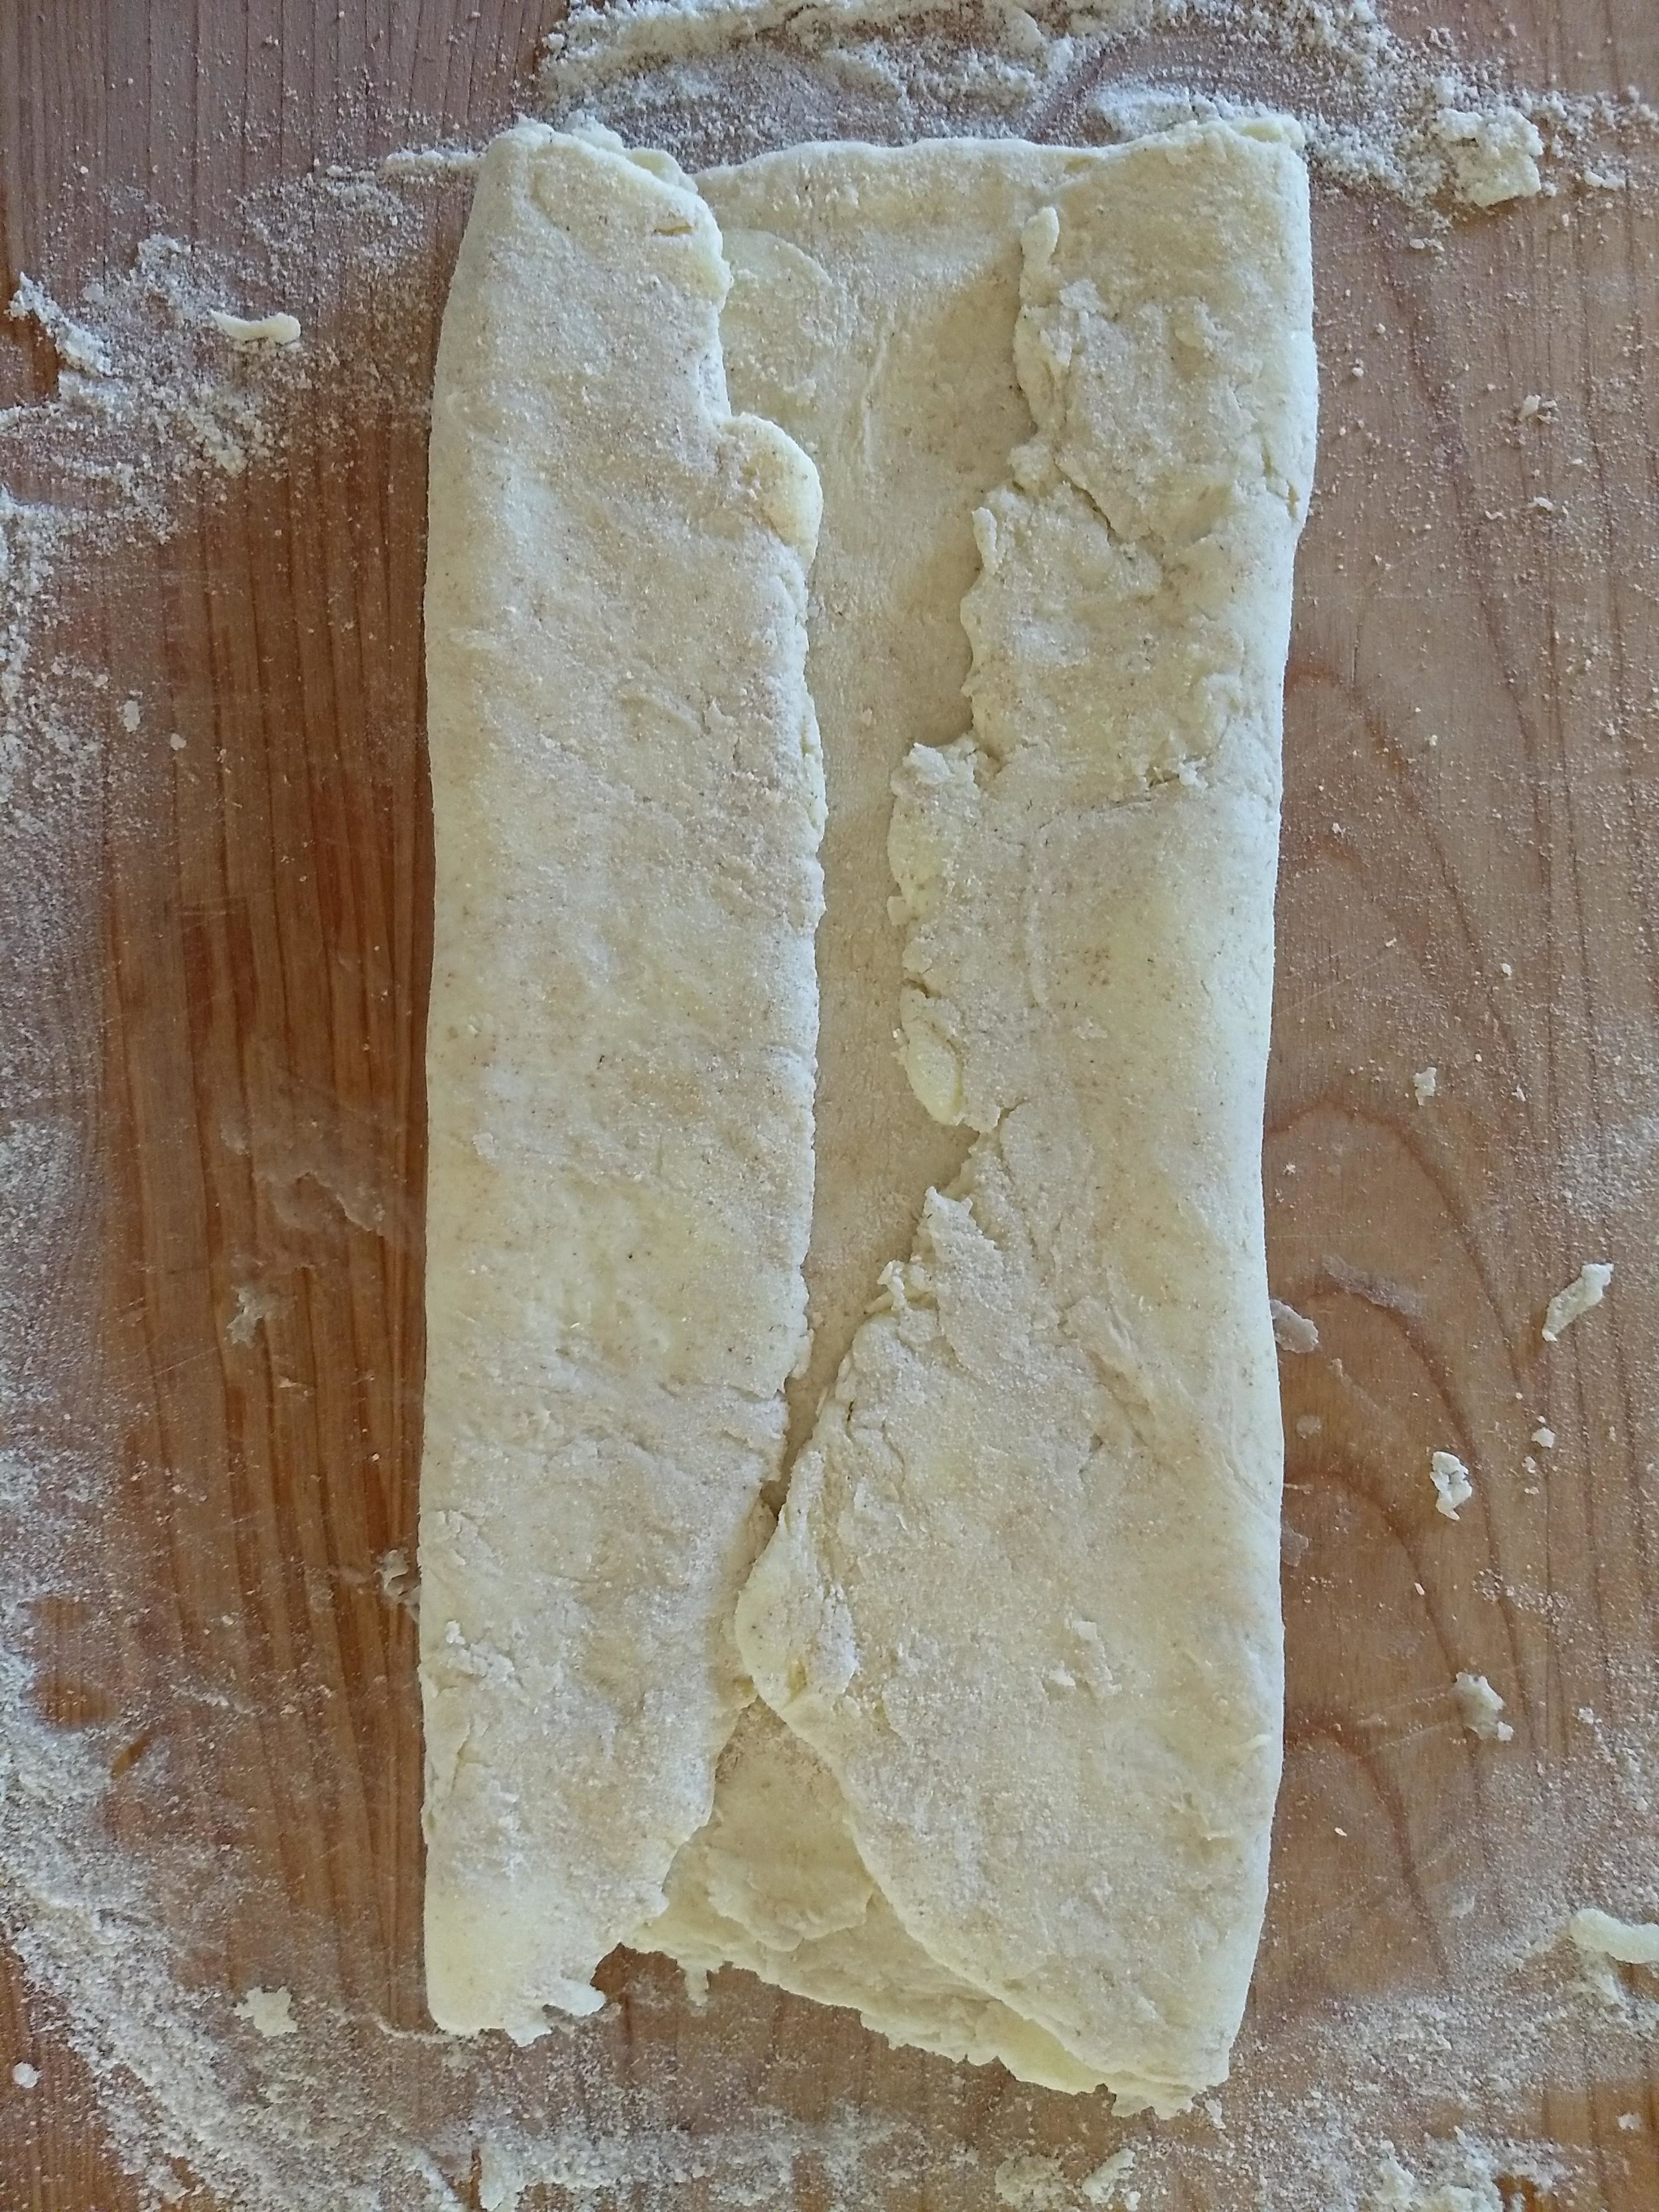
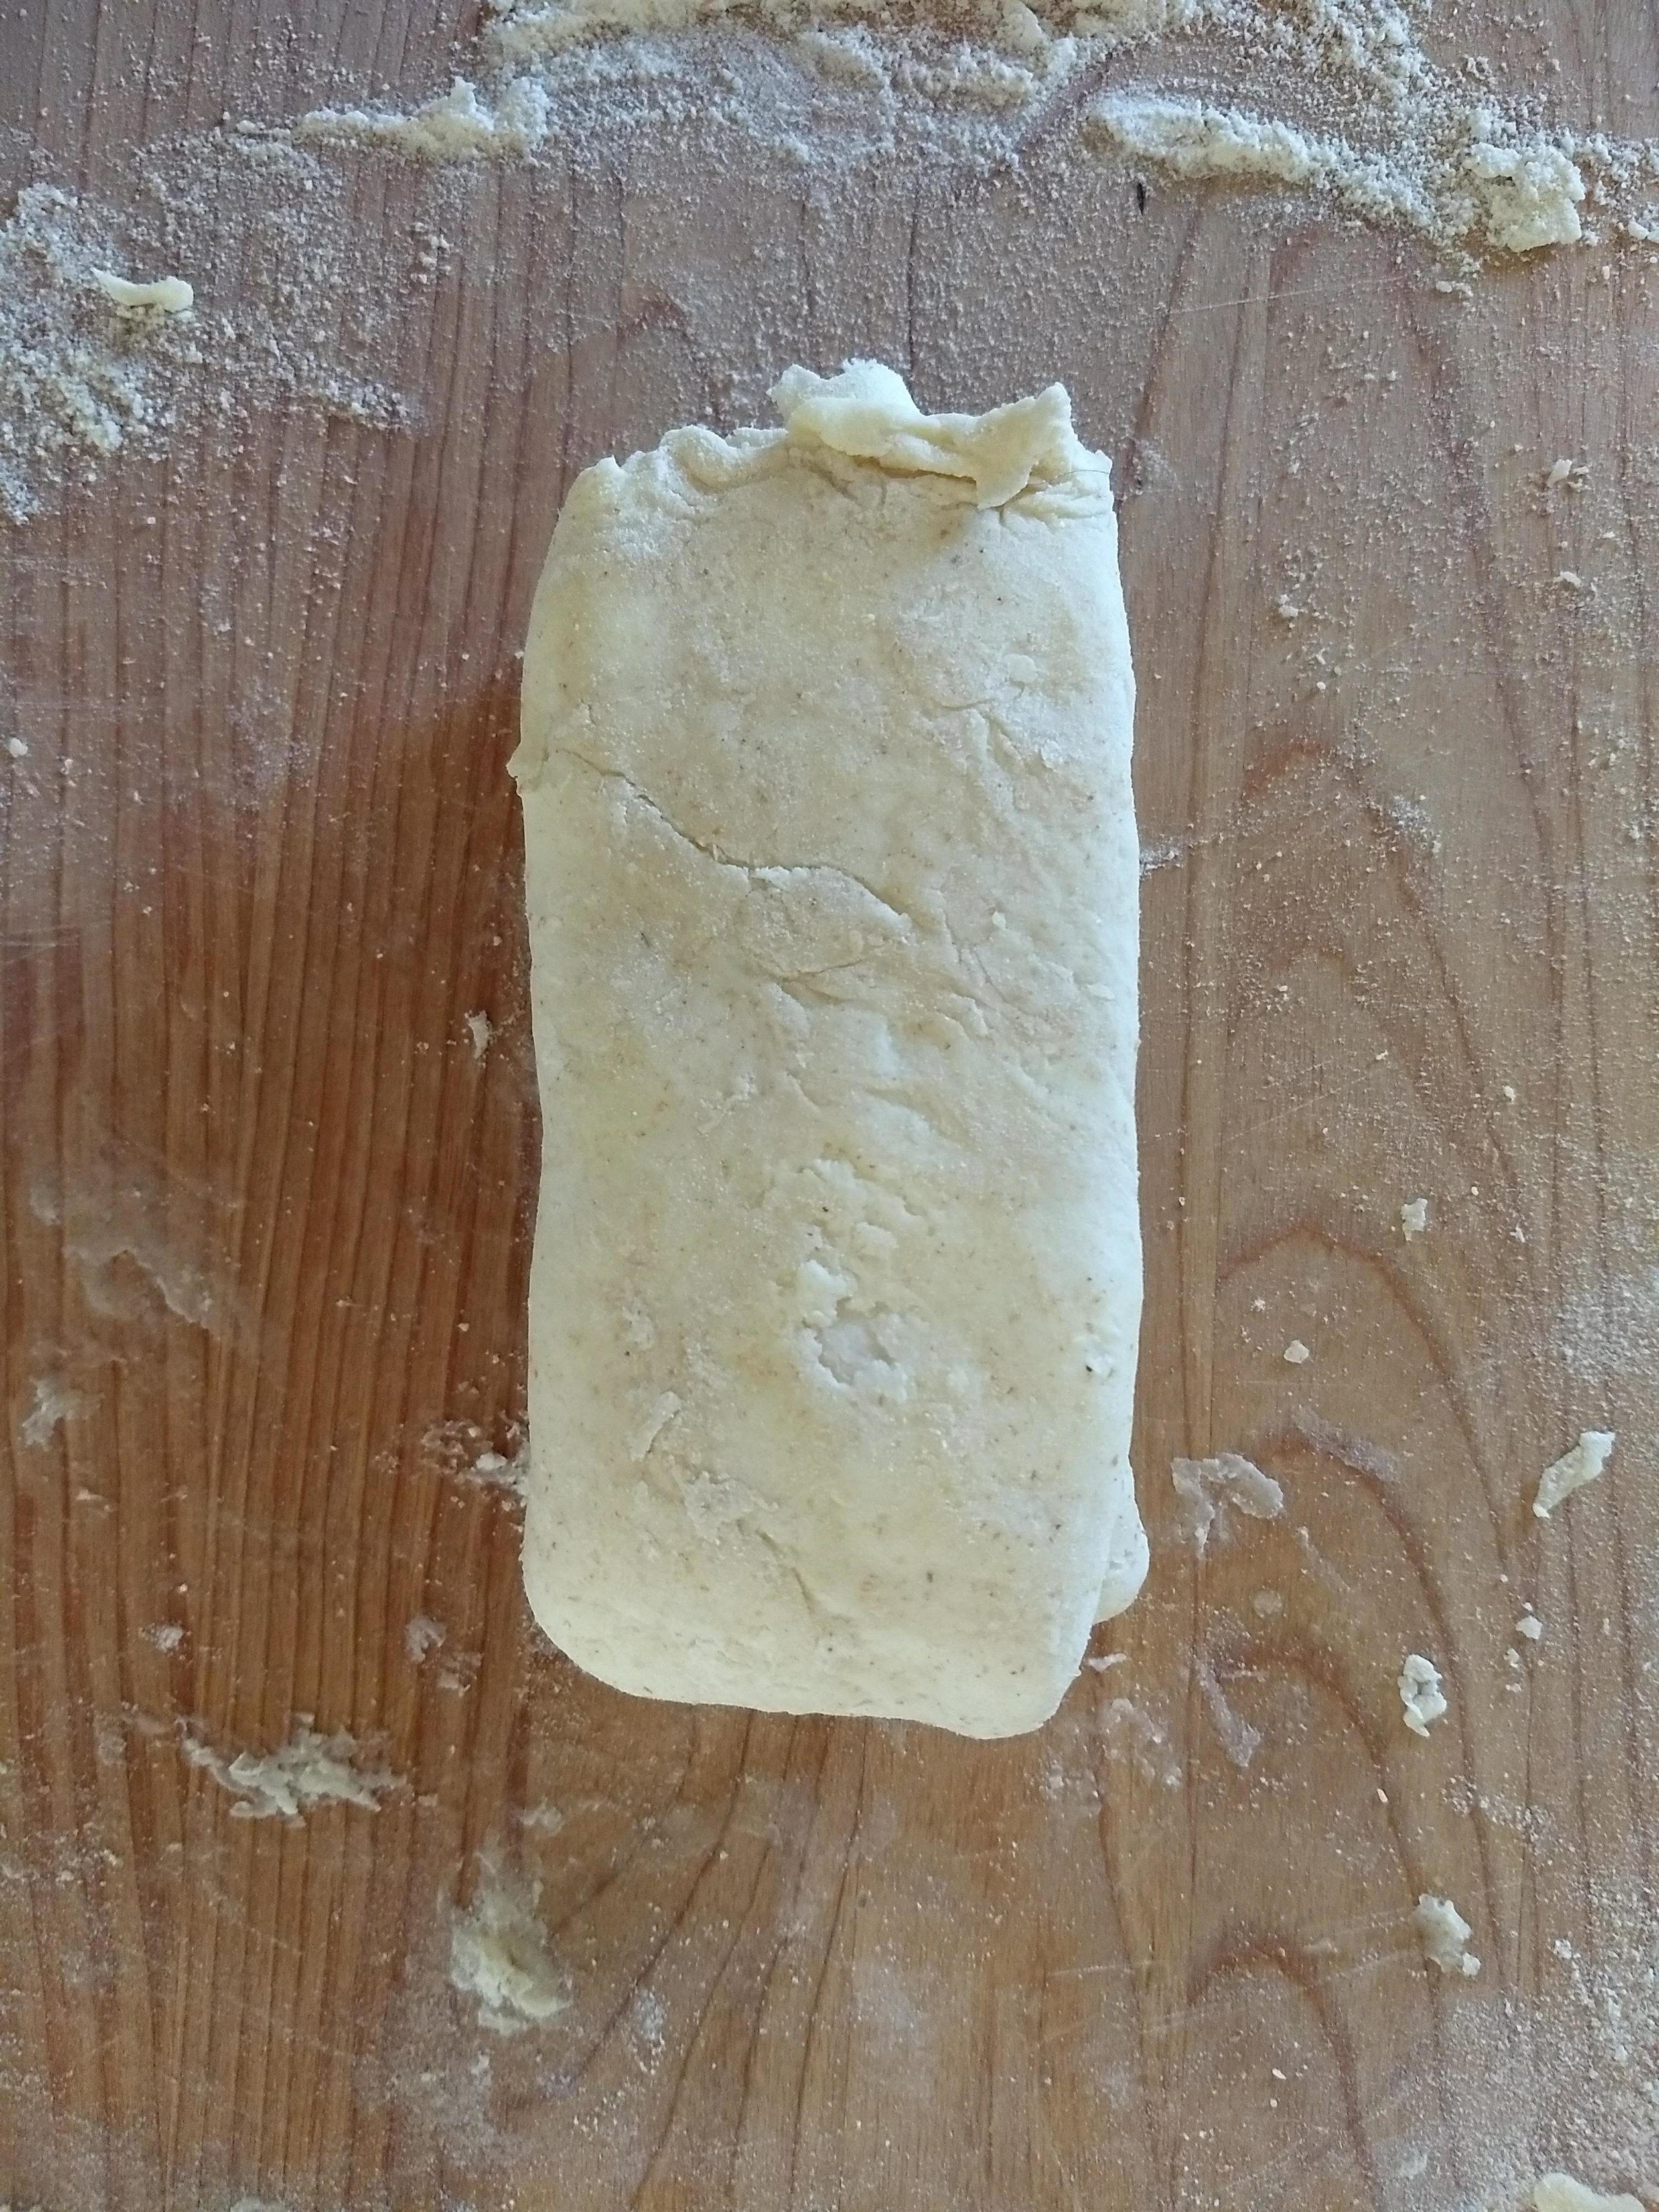
Amply flour your working surface. Then roll dough into a rough 10x15in rectangle. Fold the shorter sides toward the center, then fold in half along the middle where the edges meet. Fold in half again, bringing the short sides to stack on top of each other. Cut in half, making two squarish pieces.
Using as much flour as you’d like, roll one squarish piece into a 14in circle. Gently lay into a pie plate. If needed, gently brush or blow off excess flour. Trim edges so that you have 1.25in overhang all the way around. Cover with plastic wrap, then refrigerate for 2 hours or up to 24 hours before filling or baking.
For two single crust pies, repeat step 4 for second squarish piece.
If making a double crusted pie, roll second squarish piece into a 14in circle for a standard top crust or into a 9x15in rectangle for a lattice top. Place, uncut, onto baking sheet, wrap with plastic, then refrigerate for 2 hours or up to 24 hours before using.
For a blind baked crust, adjust oven rack to lower third and preheat oven to 350. Line chilled pie shell with a sheet of aluminum foil, pressing so it molds to the shape of the pie plate. You may need a second sheet of foil. Fill to the brim with sugar then place on a baking sheet and bake until set and golden, about 60 to 75 minutes. Fold long sides of foil toward the middle then gather up the short sides and use both hands remove from pie plate and transfer sugar to a heat proof container. If needed, bake the crust a few minutes more to get the bottom nice and golden. Let sugar cool completely, then use in recipes as normal. The slight toasting will add a little depth of flavor.
good ol’ apple pie
Ingredients:
4 to 4.5 lbs baking apples (a mixture is nice, but realize that they make bake to different degrees of softness. I like the added dimension, both in texture and flavor.)
Juice of one lemon or 1 tbs apple cider vinegar (to keep apples from browning)
1/2 to 3/4 cup brown sugar (depending on your sweetness preference — I always opt for 1/2 cup)
3 tbs flour, or other thickener such as cornstarch or tapioca flour
1/2 tsp salt
2 tsp cinnamon
1/2 tsp nutmeg
1/2 tsp allspice
Pinch cloves
Pinch ginger
Beaten egg, for washing crust (Optional but so critical for stunning crusts. Just an egg white, just a yolk, cream, or milk work too.)
Directions:
Place baking sheet on lowest rack and preheat oven to 375.
Once oven is preheated, put lemon juice or apple cider vinegar into a large, wide bowl. Peel, core, and either slice or chop apples into 1/4 to 1/2in thick slices or chunks. As you cut them, transfer to bowl and toss with juice/vinegar to keep from browning.
In a separate bowl, mix the sugar, flour, salt, and spices.
Add sugar & spice mixture to cut apples and mix thoroughly to coat. Dump into chilled pie crust, scraping whatever sugar & spices that remain. It will seem like a whole lot of apples. Just press down to pack the apples in as tightly as possible. The more air pockets, the more the pie will sink after baking.
Place your crust lid on top. Fold the overhang of the bottom crust over the edges of the top crust to seal them well. Pinch and flute as desired. This crust does not keep tight, intricate designs, so keep your decorations loose and whimsical. If not doing a lattice top, cut some steam vents. Then brush crust with well beaten egg, getting into all the nooks and crannies. If desired, sprinkle with coarse or regular sugar (and sometimes I’ll even do cinnamon sugar :).
At this point, your baking sheet and oven should have been at 375 for at least 30 minutes. GOOD! This is going to help your bottom crust get nice and crisp. Place your beautiful pie onto the sheet, close the oven, then bake for about an hour. You want to bake it until the crust is a deep golden and thick juices are bubbling out. If your vent or lattice allows, prod the apples with a fork or knife — they should offer little to no resistance. (Should your crust be threatening to burn before your pie is down, tent foil over the top of the pie and continue baking.)
Cool for at least 1.5 hours before slicing. Otherwise, expect a sloppy, messy pie. But with vanilla ice cream, is that really so bad?
Notes:
I’ve never encountered a burnt bottom pie crust. I have, however, met many doughy, soft, and soggy ones. At the same time, recipes often make provisions for possible top crust burning. So…why aren’t all pies baked as low in the oven as they can go? That’s what I’ve started to do, and I haven’t looked back.
Why the preheated baking sheet? See the note above; another way to avoid a soggy crust that has worked for me. Plus, you want to use one anyways to catch the juices. If you forget, your smoke alarm will let you know.
I highly recommend glass pie pans. Continuing in the same thread, they let you see how your bottom crust is faring. Golden brown is the goal.
Worrying about pie gap? Since the apples aren’t precooked, expect slight sinking. But due to all the butter in the crust, it sinks down a bit too while baking. So, I’ve experienced only minimal pie gap. Just enough to keep the top crust crisp.
Crust adapted from Serious Eats.


